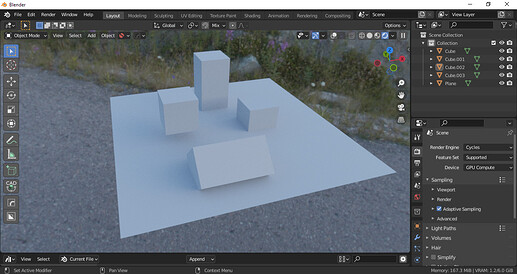
Took time to compare visually and rendertime to full GI solution? I haven’t seen a meaningful difference (>20%) in rendertime between fast GI approx and full GI (32 passes) with CyclesX Optix anymore, even in indoor scenes. Full GI just look way more realistic. I don’t think fast GI approx is worth bothering around with anymore.
Shouldn’t the lamp shade material use subsurface scattering instead of transmission? If so it appears in Diffuse Direct.
Translucent material works better and usually combine with diffuse bsdf. It also commonly used in leaves for trees, plants and many other uses.
Here is simple monkey with a translucent material light from the inside.
Get the translucent monkey test file from link at translucent monkey.
Translucent Monkey Diffuse Direct Pass with Cycles-X.
Translucent Monkey Diffuse Direct Pass with standard Cycles.
Translucent Monkey Diffuse Indirect Pass with Cycles-X.
Translucent Monkey Diffuse Indirect Pass with standard Cycles.
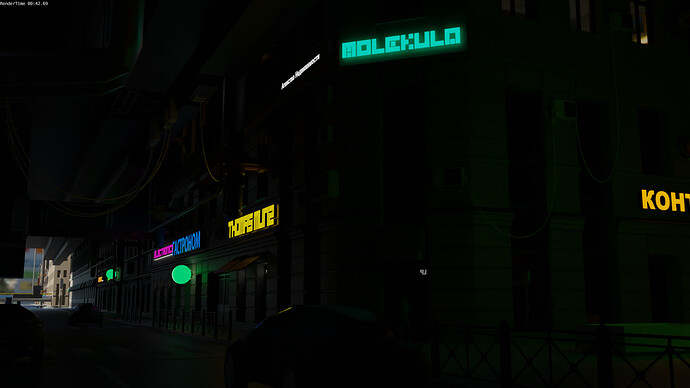
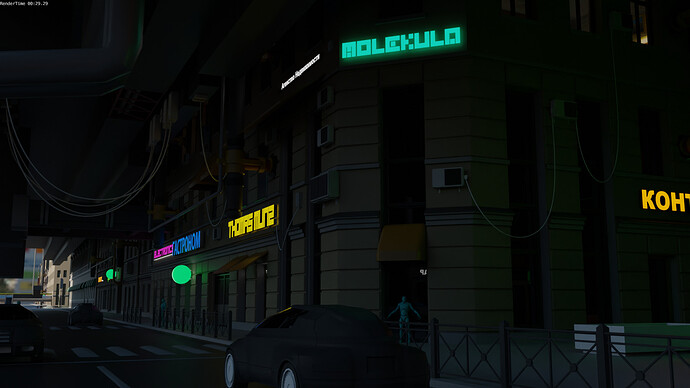
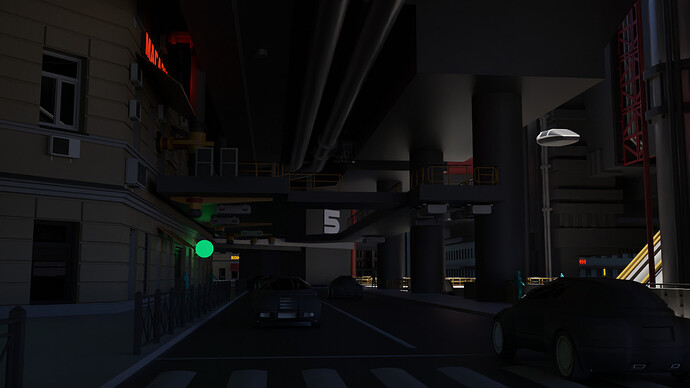
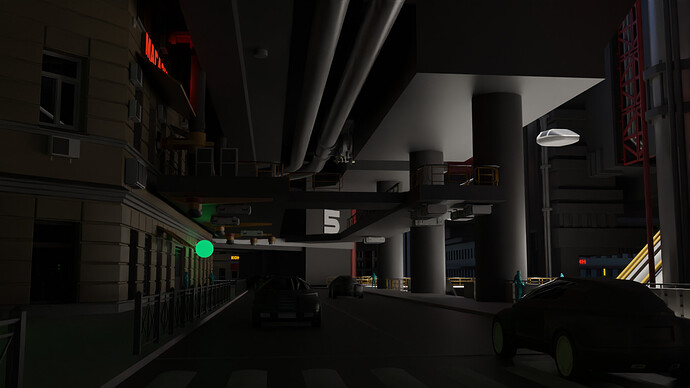
I think you don’t quite understand what Fast GI is and what is can do for your renders. Here is an example: This is another variations of the scene from the video. This is what is looks like with the proper GI:
I could spend hours trying to get the lighting I want, but I used Fast GI instead. It took only 30 seconds and I go this result:
And this was exactly the kind of lighting I was going for. Now I have two renders and I can blend them the way I want is PS (or any other app of your choice).
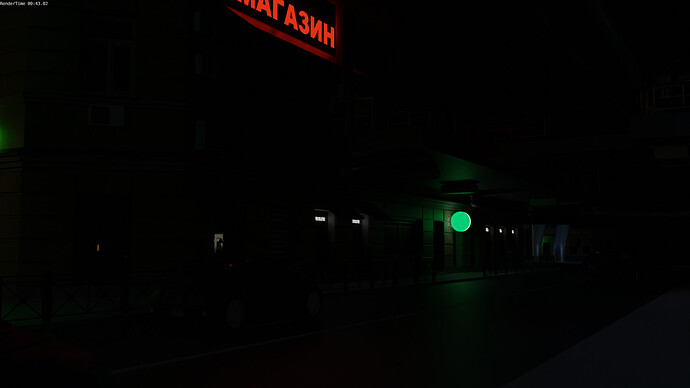
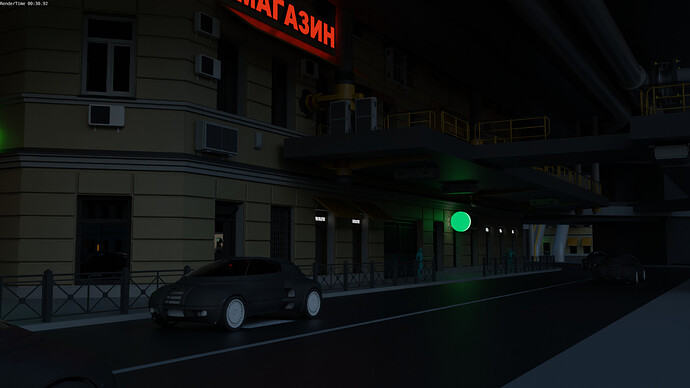
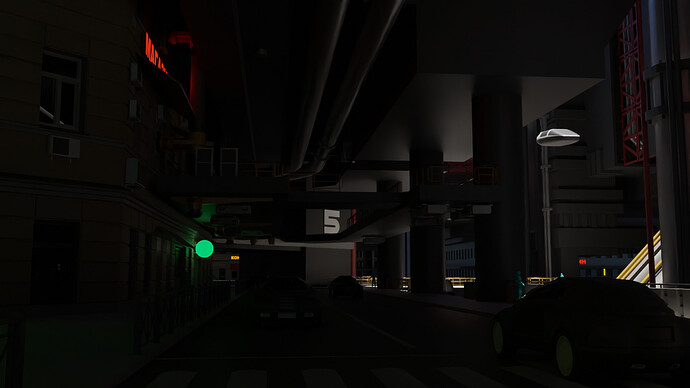
Another example: This is what another part of the scene looks like with full GI:
Yet again, I could spend hours adjusting the lighting, but I used the same ‘trick’ with Fast GI:
Kind of breakdown / tutotial:
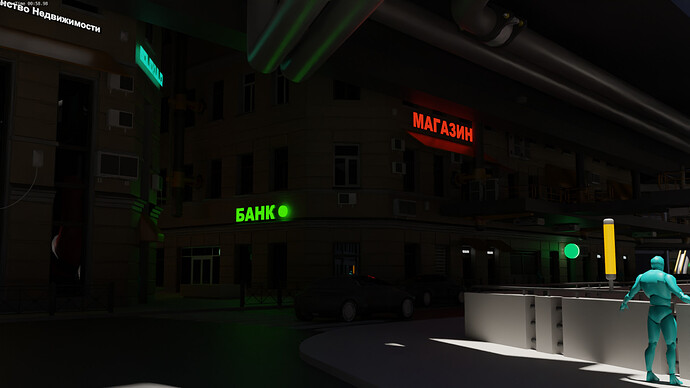
The scene: There is no ‘real’ light sources in the scene except the sun at ‘high-noon’ (Physical Starlight and Atmosphere add-on) and emissive materials. This is what is looks like with ‘Full GI’:
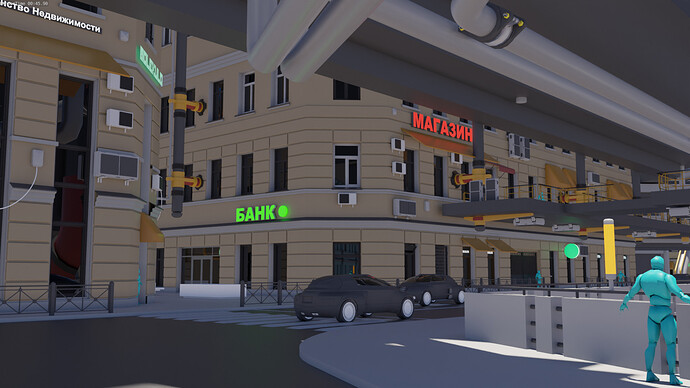
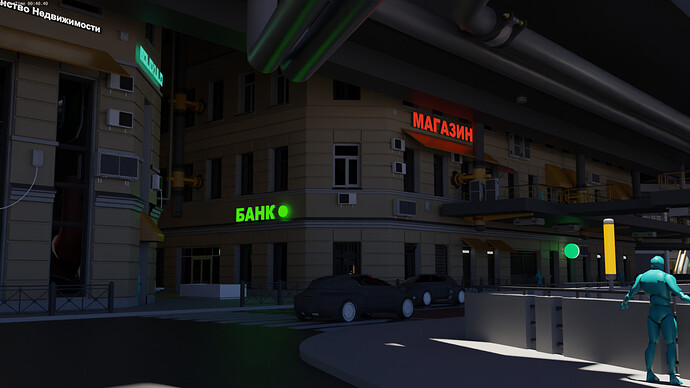
I want nice bounce light as if the sunlight bounced from the ground and lit up everything around, but there is not enough ‘energy’ for that. Increasing the number of bounces won’t make too much of a difference. Increasing the ‘energy’ of the sun, won’t help either. So, let’s enable ‘Fast GI’. This is what we have with default settings:
It’s way too bright and dull. Not what I want. Let’s increase the ‘AO Distance’ to 60.
Nice!  Now I can either adjust per-object AO or I can blend those renders in PS to get the look and feel that I want. And all of this took me only about 2 minutes.
I hope by now you understand that Fast GI is an amazing ‘tool’ for any artist and you should learn how to use it 
Sorry, I don’t know where to start.
- you have your emission amounts way too dark. Therefore you don’t get the look you want.
- getting a realistic sunshine scene with Nishita Sky background is so embarrassingly easy I don’t comprehend what you have done over there.
- the brightness differences between your lights and the sun are very, very off.
- in contrast to many other renderers Cycles(X) is very easy to set up.
- ever heard of exposure?
send me your scene I will try to make it hurt less
The look that I wanted had nothing to do with having realistic/correct values. ‘Fixing’ those non-issues that you mentioned above wouldn’t do anything.
FYI: The sun and the skylight had proper values, but they were obstructed from hitting the ground and bouncing back enough times to illuminate the buildings the way I wanted.
That’s where the Fast GI came to rescue.
Is this ‘physically correct’? No. Do I care about that? Not in the slightest!
While I certainly believe everyone is entitled to use Blender in any way they want to, there are a number of benefits in making things physically based (not necessarily physically correct). The approach you are taking now - choosing values, rendering and seeing how it looks, then tweaking the values - has been the standard approach for a very long time. One way in which it falls apart is when trying to get things to look good while maintaining flexibility. Maybe the AO ‘look’ works in a certain lighting scenario, but would require tweaking in another lighting scenario.
The approach @vangel is describing is to base your scene roughly off values you might see in the real world, and then to use tools from the real world (like the exposure slider, and Filmic) to make it look how you want. Tooling is becoming more and more geared towards this approach as it is more scalable - changing one aspect of a render won’t unexpectedly result in changes to another aspect. As one example, the Nishita sky model has realistic light values based on what you’d see in the real world looking at the sky. If the resulting image is too dark, it can most likely be fixed by boosting the exposure. Filmic will stop the areas in direct sunlight from blowing out, and the relative intensity of your artificial lighting will just look ‘right’. If you decide to render it at night time, you can change the sky, boost the exposure, and things will just work™.
You may not think you care about physically plausible lighting and materials, but it could make your job a lot easier in the long run. I doubt I’m going to convince you with a simple message but I urge you to look into it and see whether it could help you improve your workflow and results.
I subscribe to every word you wrote up here.
@JohnDow has also one point thou, because he’s working like this
and in this case - the use of Fast GI thing - the result is still consistent and scalable.
So the artistic approach he took is still a safe one IMO.
Anyway, John, taking a look into exposure doesn’t hurt 
While the subject of illumination control is being brought up, what Cycles X should also have is the ability to boost the intensity of the bounced light by a user determined value. I believe Arnold and Renderman has this, and I know there’s been cases where studios boost the GI intensity to make single bounce lighting more practical for animation (because of the faster render times).
As for me, I am confident that the coming sampling improvements will practically eliminate the need for shortcuts (outside of ‘filter glossy’), but the nice thing about Cycles is that it does not force you to work within physically accurate bounds.
Do you know what actual people living in this dark hell would use? Street lights. A lot of. And lit interiors.
Still having strange bands in rotational motion blur with 6 Jul build. Windows 10, rtx 3070, 471 driver, Cycles X with Optix.:
with Cuda (as it should be):
Motion Blur profile is standard square but the problem persist with every mb profile curve
That scene is just a level blockout. It’s not a finished ‘product’. My goal was to show an example of what you can use the Fast GI feature for. That’s it  But nonetheless thanks everyone for your input
@smilebags ‘Fixing’ any of the non-issues that @vangel mentioned above wouldn’t make any difference because those things had nothing to do with the kind of look I wanted. I know how the light works, I know a lot of PBR tricks and many other similar things but I prefer ‘artistic approach’ rather than going after ‘proper values’ and ‘physically correct’ lighting. In that particular case Fast GI gave me that kind of creative freedom.
@lsscpp Exposure was the first thing that I tried and I didn’t like the result.
@smilebags one more thing: here is an example of the ‘physically plausible lighting’. I used full GI and just put a giant reflector on the right side so it would reflect the sunlight and light up the buildings. Physically plausible? Yes. Do I like it? Not really.
But at least I can blend those three together (without reflector, with reflector and Fast GI) and get the bluish ambient light from the sky and the sunlight bouncing around lighting up the buildings and surrounding area.
The latest Cycles X seems to flicker when Adaptive Sampling is on.
I get CUDA failures quite often with Cycles-X when rendering relatively large scenes.
The scene in the video renders fine with the release 2.93 (with an RX 2070) but fails with Cycles-X on RTX 3080. I also enabled Simplify and limit the textures to 2048 without luck with Cycles-X. Single GPU OPTIX device vs GPU+CPU does not make any difference in these cases.
Illegal address in cuMemFree_v2(mem.device_pointer) (C:\Users\blender\git\blender-vexp\blender.git\intern\cycles\device\cuda\device_impl.cpp:798)

Error: Illegal address in cuMemcpyDtoHAsync( mem.host_pointer, (CUdeviceptr)mem.device_pointer, mem.memory_size(), cuda_stream_) (C:\Users\blender\git\blender-vexp\blender.git\intern\cycles\device\cuda\queue.cpp:200)
Does Cycles-X support out-of-core rendering (CUDA or Optix)? And if it does, what is the performance impact for running out of vram? There are a ton of benchmarks and tests out there that compare different gpus, but I’ve never seen one that would push the gpu past its onboard memory limit and measure the slowdown. There is a mention in the documentation about a “performance impact”, but it’s just too vague, so maybe someone here experienced it first-hand?
From my understanding the performance impact will vary depending on how much stuff is outside of VRAM, what RAM you’re using, what GPU you’re using, the PCIe bus configuration, and will depend a bit on the scene. There are also probably a bunch of other factors involved.
Also as far as I can tell, out of core rendering is supported in Cycles-X.
For some weird unknown reasons, latest builds of cycles x runs out of VRAM quickly as compared to the early builds; which appears to be more stable. Two tested scenes, similar outcome. Something broken?? 
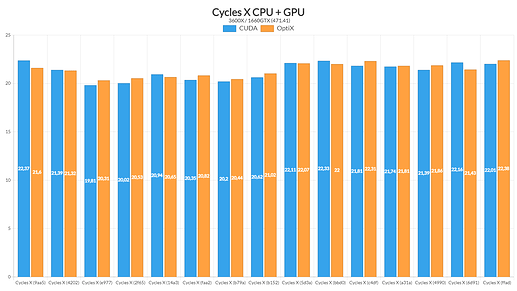
Tested new batch of Cycles X builds (CPU + GPU). Here are the results:
3660X / GTX1660 (471.41) / 1920x1080 / 100 samples / OIDN
Additional notes: Adaptive sampling hasn’t been working in the viewport (at least for me) since c4dfe8f9d875, but worked in bbd0dcec4c64.
It’s been a few builds that the Adaptive Sampling is broken.
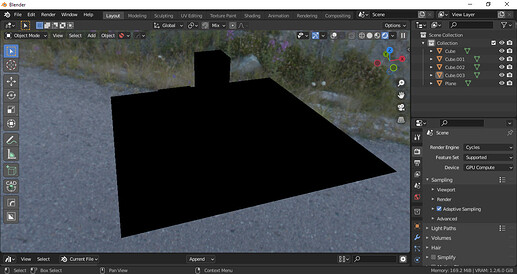
After doing some experiments, I’ve found a possible workaround: If ‘Adaptive Sampling’ produces black screen in the viewport, then try hiding and then unhiding any asset in your scene and this will make ‘Adaptive Sampling’ work:
Adaptive Sampling enabled:
Adaptive Sampling after hiding / unhiding one of the assets:


