Nvidia Geforce Experience is telling I have the latest drivers, yet I still do not see Optix.
OptiX is back. Download the latest build (5d3a6bb30825).
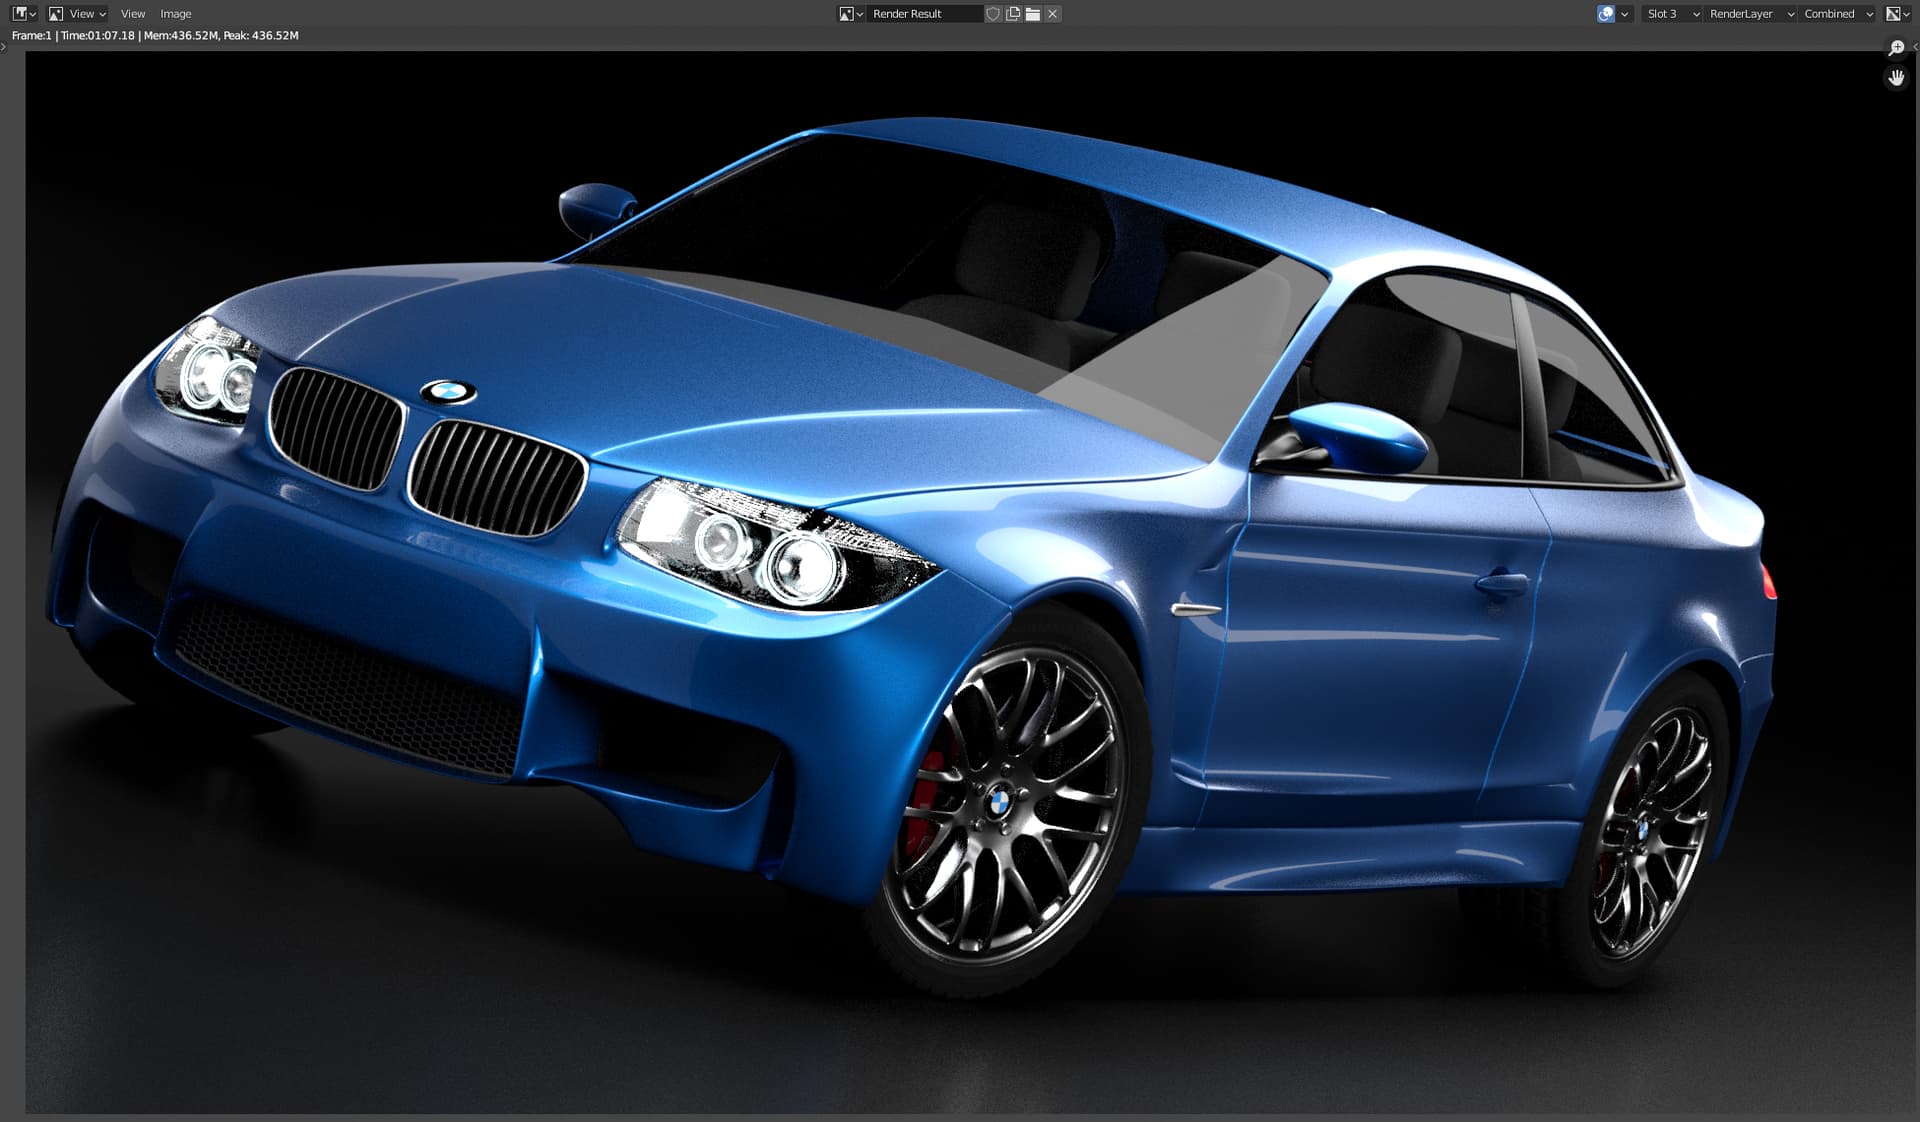
Seems CPU and Optix use adaptive sampling when PMJ is enabled even though AS is disabled. it even takes in to account the noise threshold.
PMJ
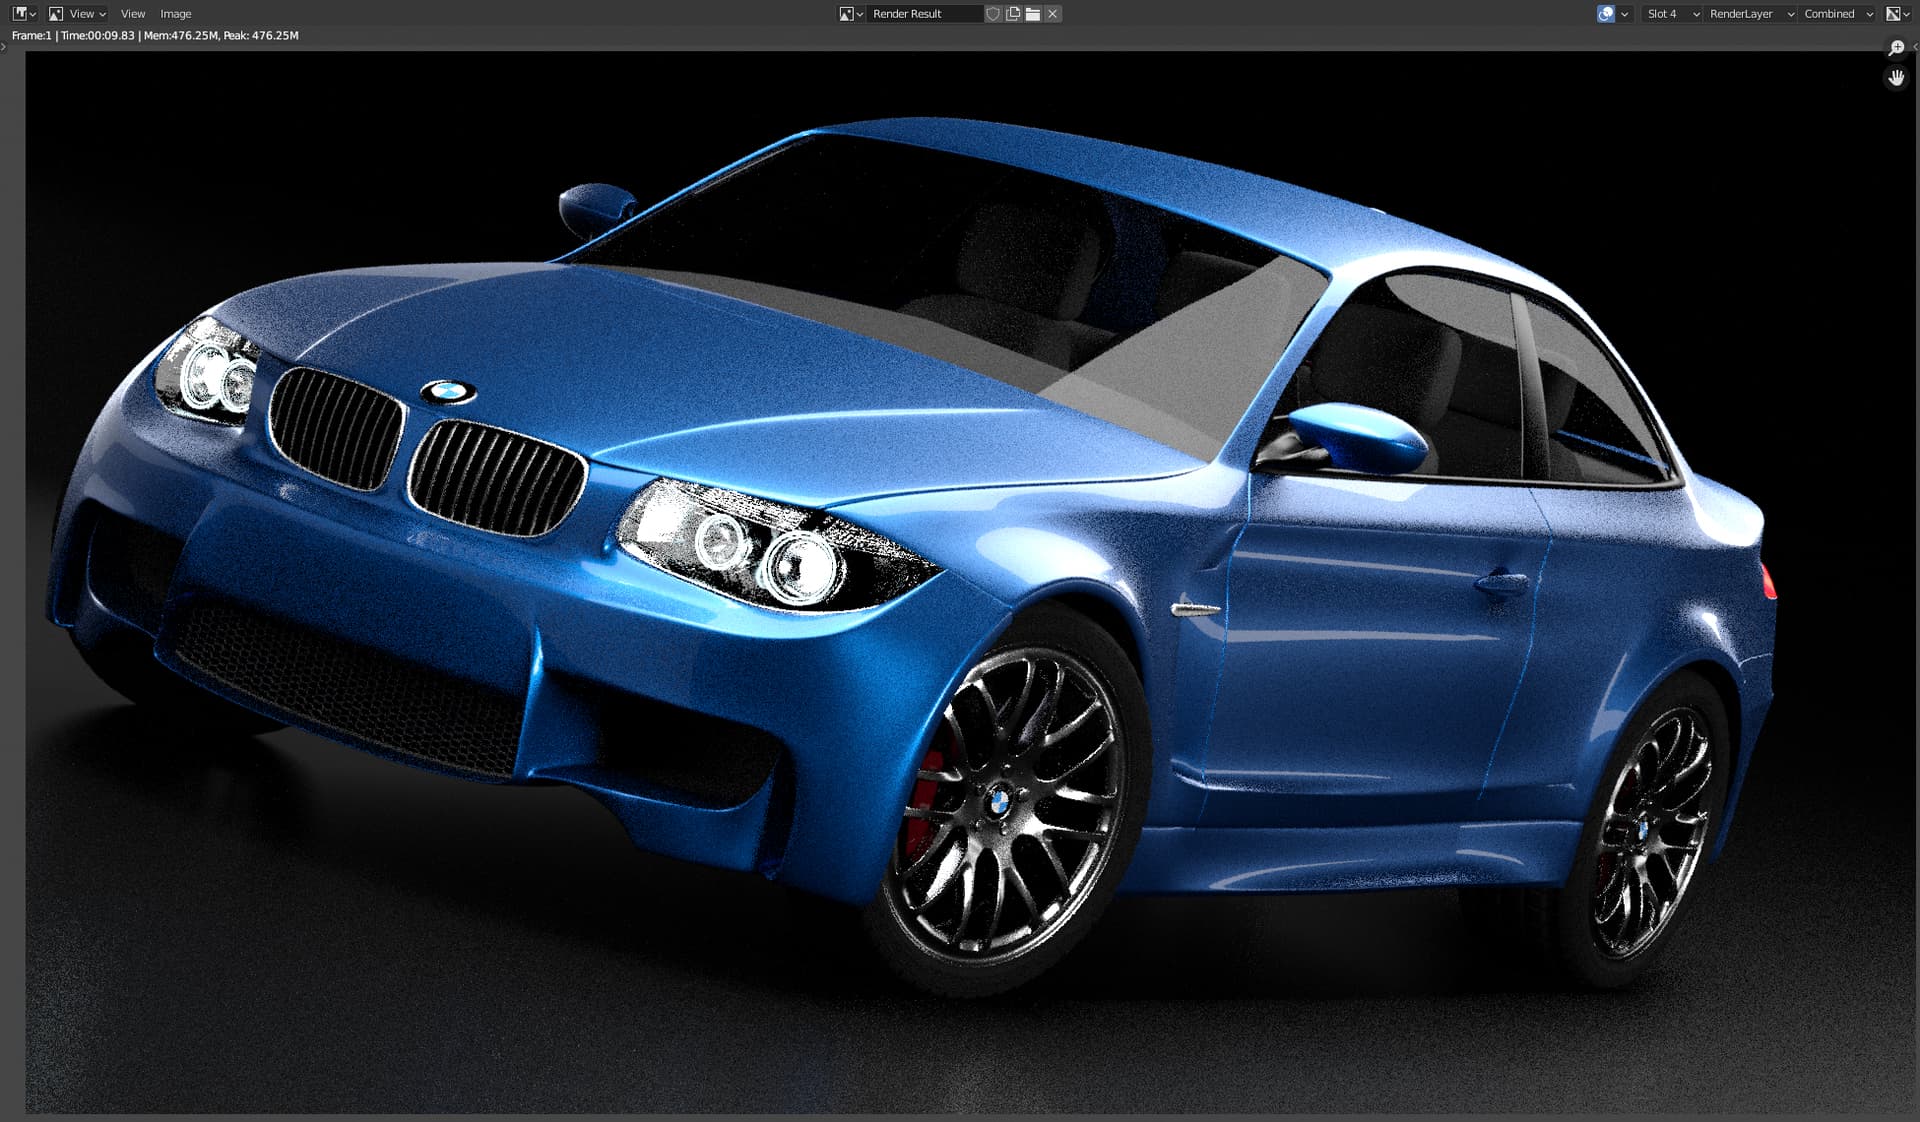
SOBOL
Another problem I’m having with Cycles X is I cant set render border in a CLI render with my python scripts anymore. Very not nice!
1 Like
Hello
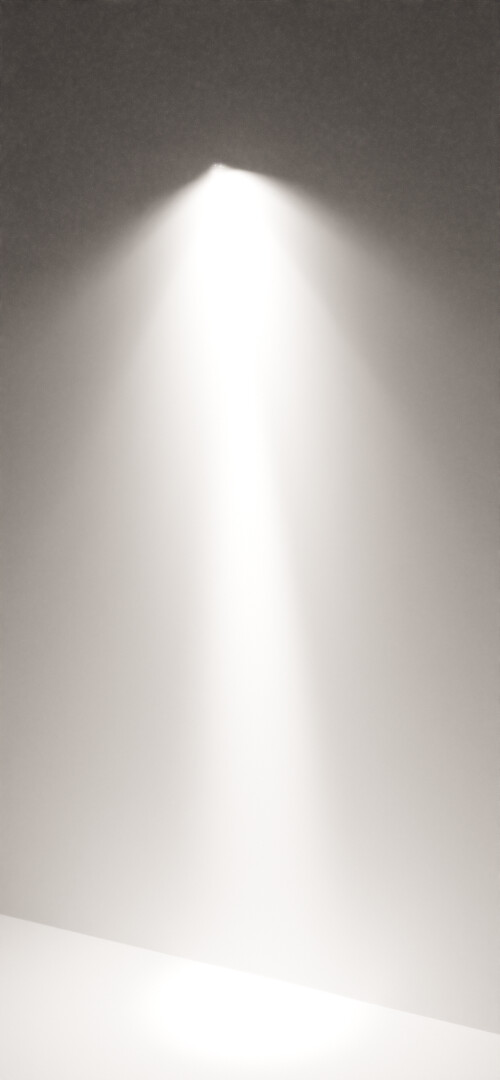
It seems to be a difference with IES Lights in with blender 2.93.1 and with blender-3.0.0-alpha+cycles-x.5d3a6bb30825-windows.amd64-release
Blender 2.93.1
How does this work? More flexible GI Approximation AO distance control
I enabled ‘Fast GI’ in ‘Light Paths’ → ‘Fast GI Approximation’ and set the ‘AO Distance’ to (e.g.) 60 meters. Then I selected a big object in my scene and set its ‘AO Distance’ in ‘Object Properties’ → ‘Fast GI Approximation’ to (e.g.) 500 meters. Nothing changed. I tried changing ‘AO Distance’ values for different objects in the scene, but to no effect. The only way to affect Fast GI AO in any way was to change the ‘AO Distance’ in ‘Light Paths’ → ‘Fast GI Approximation’.
Did I do something wrong or…?
1 Like
What I’d like to see is an override for Fast GI to choose a different world than the one used to light the scene. So the user could light with any world settings, and then set manually the Fast GI contribution, to look good even for just 1 or 2 bounces
4 Likes
From running my own tests, it seems this feature works in Blender Master but not the Cycles-X branch. There might of been a issue that occurred when bringing this patch up from Cycles to Cycles-X that caused it to stop working?
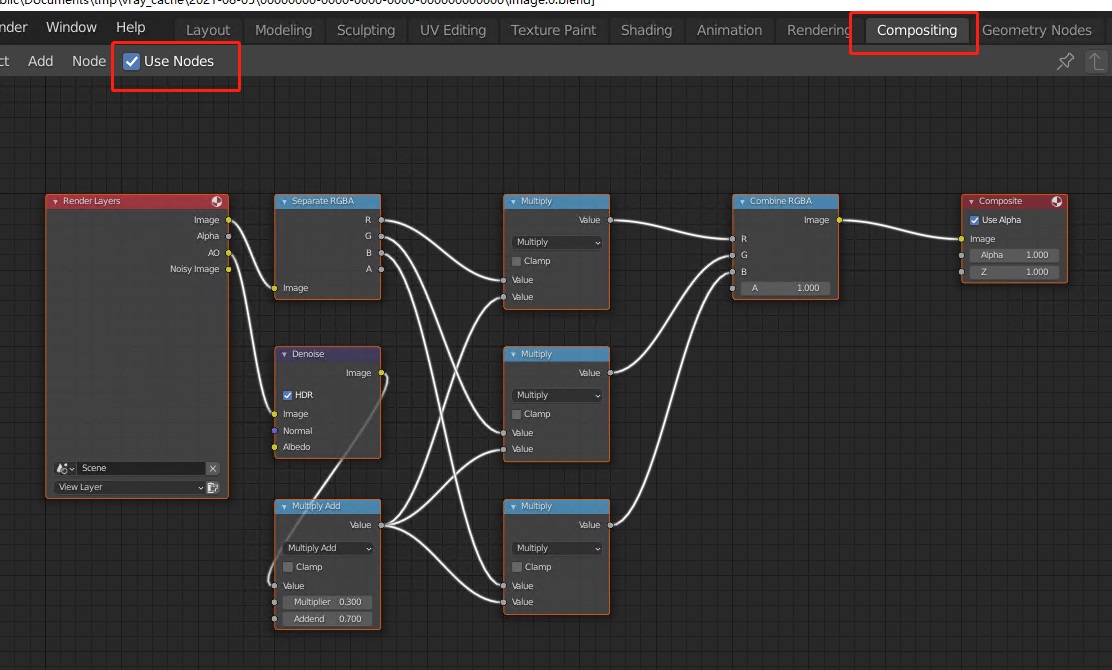
This process can be done quicker by using this node setup:

Note: The node with the title “Multiply” is the “MixRGB” node set to “Multiply” mode.
You can change the “Fac” value on the “MixRGB” node to change how much of an impact the AO has on the final render.
Also, you can move the “Denoise” node to before or after the “MixRGB” node depending on how you’re doing your compositor. You can also remove it if you don’t need it because your AO is clean.
1 Like
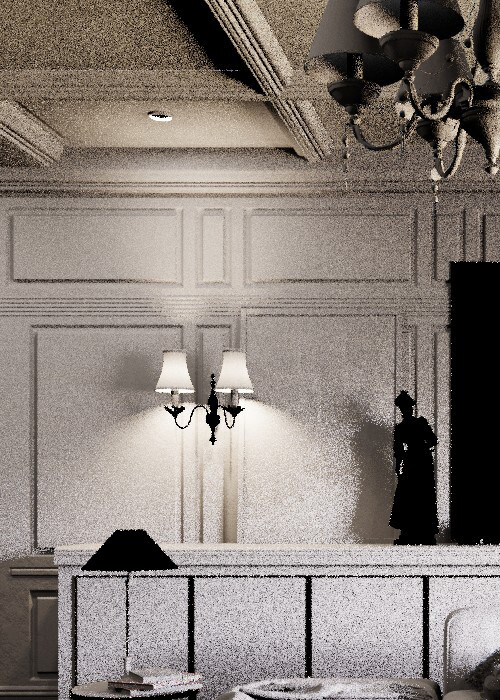
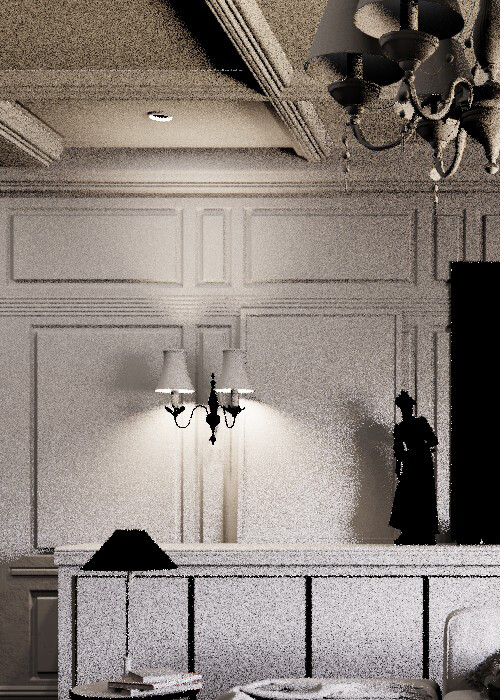
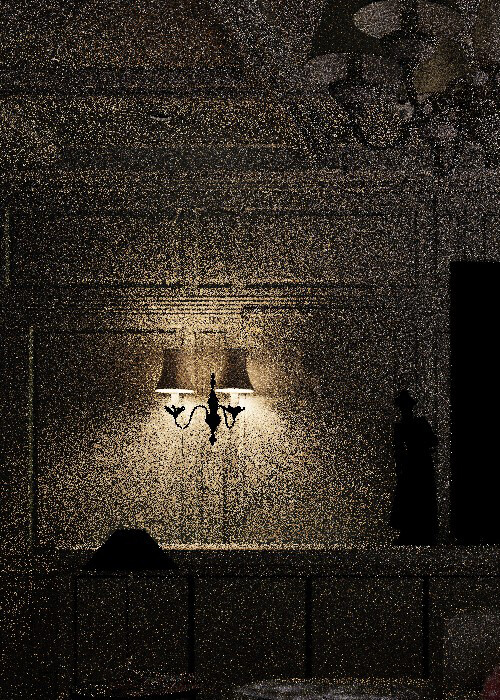
I working with separate pass in the compositor and their is a problem with translucent object not adding light to the diffuse direct and diffuse indirect passes. Here is an example of translucent lamp shade. Notice no light is going through the lamp shade.
Diffuse Direct Pass Cycles:
Diffuse Direct Pass Cycles-X:
Diffuse Indirect Pass Cycles:
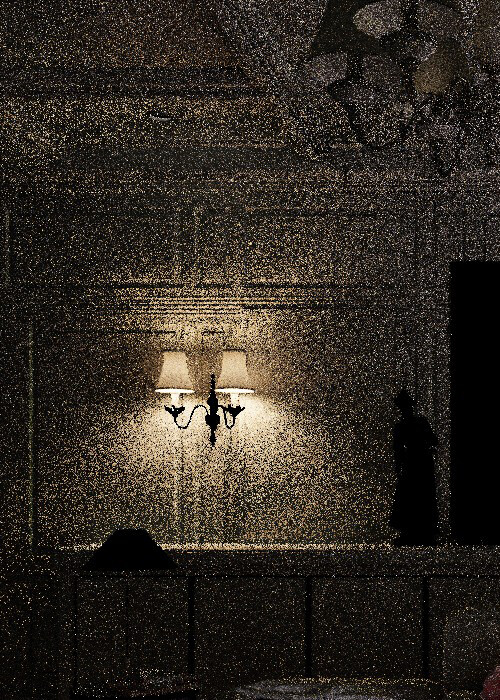
Diffuse Indirect Pass Cycles-X
1 Like
This is really useful for increasing the brightness in strong shadow areas with AO bounces=1
I hope we can somehow achieve something similar in Cycles X in the future.
3 Likes
For me, the problem is partly solved in Cycles by activating the “Ambient Occlusion” render pass and then using it in the compositing.
Only partially solved, because there you have to denoise the AO pass which is again extra work and the processing time of the compositing costs again extra time during rendering.
Therefore I also hope that the old setting as shown in your video will be restored.
I think I know why it didn’t work then. I opened history for the Cycles-X branch but that patch was for Cycles (without X) and I didn’t notice that tiny detail. Now it works in the latest Cycles X build.
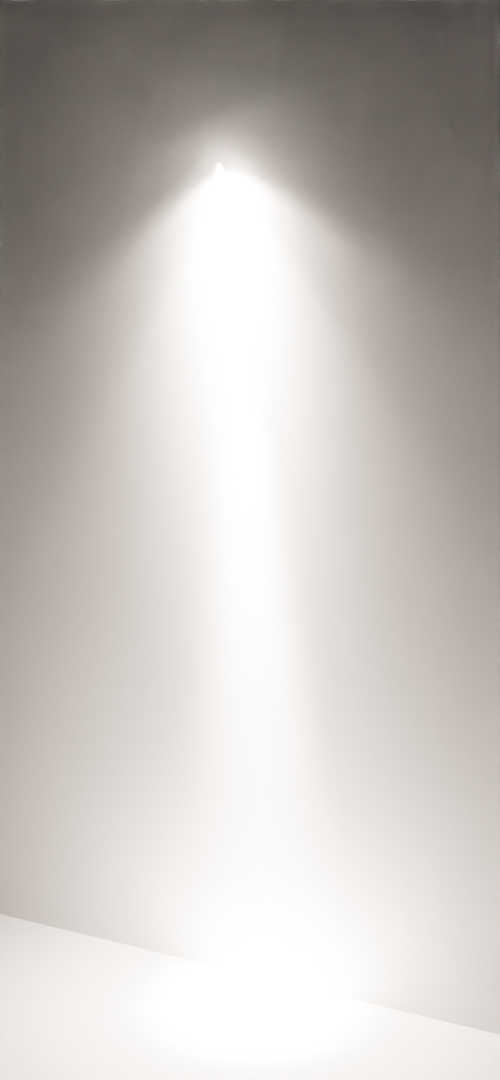
Yup. Used part of one of my scenes to test it. Rendered using only 16 samples + OIDN at 960x540.
I think it looks good (and fast) for such ‘low’ settings.
2 Likes
Yes but, where did good old regular Ambient Occlusion go??
2 quick cyclesX UI concern:
1st_ we have this in the sampling panel
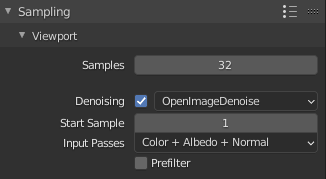
so we can choose a lot of things for denoising the preview, but then we have this:
Why can’t we choose Input Passes and Prefilter here?
We have to go in the view layer panel
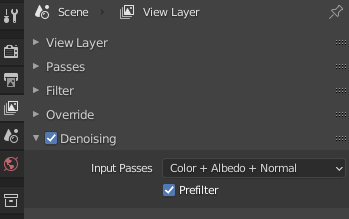
to set just the same two parameters, which is tedious IMO
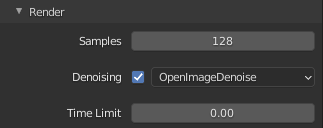
2nd concern:
This thing here is quite a nice novelty for cycles
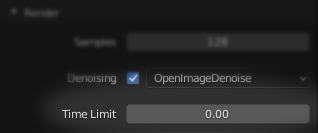
but the way it is presented is sort of ambiguous: if I set this
![]()
the UI will show me this:
![]()
and Blender will render an noisy instant-image, giving no clue why it happens.
In my opinion a checkmark here would work better, like this:
![]()
![]()
This is a per Render Layer/View layer option, different settings can be used for each Layer.
I’m not sure what the best solution might be, mainly to tell new users that the options are in the View Layer tab.
Perhaps just a few lines of message advising users that additional options are in the View Layer tab? Or maybe additional options for Render appearing in the Render tab in the same way that the Viewport options appear, and in the View Layer tab place Denoising options inside the “Override” item to be able to use different settings for each Render Layer? In this latter case I suppose there should be an extra checkbox to enable Denoising Override or use Render scene settings if the box is unchecked.
1 Like
Right now you have to use it as a Render-Pass in the Composite-Area