it is not useless. and please let this version of crease still be there. dam_standard clone can be a separate preset
1 Like
What is it useful for?
what do you mean? for creasing of course. and it is good at it.
what you guys are looking for is a knife/slash brush, and it has nothing to do with the crease brush.
a proper knife/slash like dam_standard brush should be a preset of the draw sharp brush, but for that we need pablo dobarro’s patch implemented of course. thats the priority here.
the crease algorithm will never be good enough for this
2 Likes
I’d like to see how good we can get without dev involvement for now. But I’m making a lot of notes for what could be improved.
If you notice any weird bugs or difficulties customizing brushes, feel free to mention them too.
I think the showcased Crease brushes are very close to the desired results.
That can be a our starting point in the short term ![]()
I definitely agree that there needs to be one or multiple brushes to polish existing creases. A low strength crease brush with slow pinching can do that, but the current configuration requires quite a lot of strokes going back and forth to work. Would be great to tweak that one and call it something appropriate like “Crease Polish”.
The Multiplane Scrape brush apparently also works wonders for stylized and hard surface creases and edges if configured correctly.
7 Likes
Little update that I pushed. I added a “Knife brush” for testing.
Performance is bad on it atm because it’s using texture nodes instead of an image.
It’s also not a perfect Orb brush with flat angles or super clean on stroke direction changes.
For that there need to be some bug fixes and a roll texture mapping implementation.
21 Likes
Idk if these 2 variations of the scrape brush have been named but they are quite popular:
HPolish > PLane trim enabled in 0.2, normal radius in 0.2-0.3.
Planar > Original Normal and Plane enabled, uncheck acumulate, plane offset 0.25, hardness 0.9, spacing 4%.
1 Like
That’s great! Thanks ![]()
I added a Planar brush but getting a good Polish brush might be difficult. I’ll test some settings but I’m convinced that brush needs some extra dev involvement.
Also, anyone knows any good uses for the ‘Flatten’ brush?
I’m tempted to make it inverted by default and name it “Contrast”.
2 Likes
Also, anyone knows any good uses for the ‘Flatten’ brush?
I do.
It is very useful brush with Normal or Normal+Plane checkboxes enabled for building exact slopes which allow to quickly build mass for planar models (it allow to keep leveling and extend given slopes which is quite popular in mechanical/high-tec sculpting style) but current default where both checboxes are turned off is pretty useless since produces nudge behaviour instead of actual flattening.
Typically, smoothing, flattening and polishing actions has much higher relevancy than increasing detail contrast, so inverting this brush and turning it into Contrast brush seems to be doubtable.
This is why I proposed to enable Normal checkbox for this brush by default, because it fixes a flattening proprety of this brush (Flatten brush is usually used with Normal checkbox enabled)
3 Likes
Can you make a small video clip of how you use the brush?
That would be very helpful.
So far I found separated scrape or fill brushes to lead to better results both with enabled and disabled Normal/Plane.
The Flatten brush does both, which never leads to very flat results because it buldges the rim of the radius.
Flatten is commonly used with Normal+Plane to make quick geometrical planar sketches - it allow to build a mass of a planar geometry and also extend given plane better than Fill brush (which creates strong contrasted platoes with topological stretches during multires sculpting) or scrape (which initial goal is to actually scrape geometry out rather than build it up)
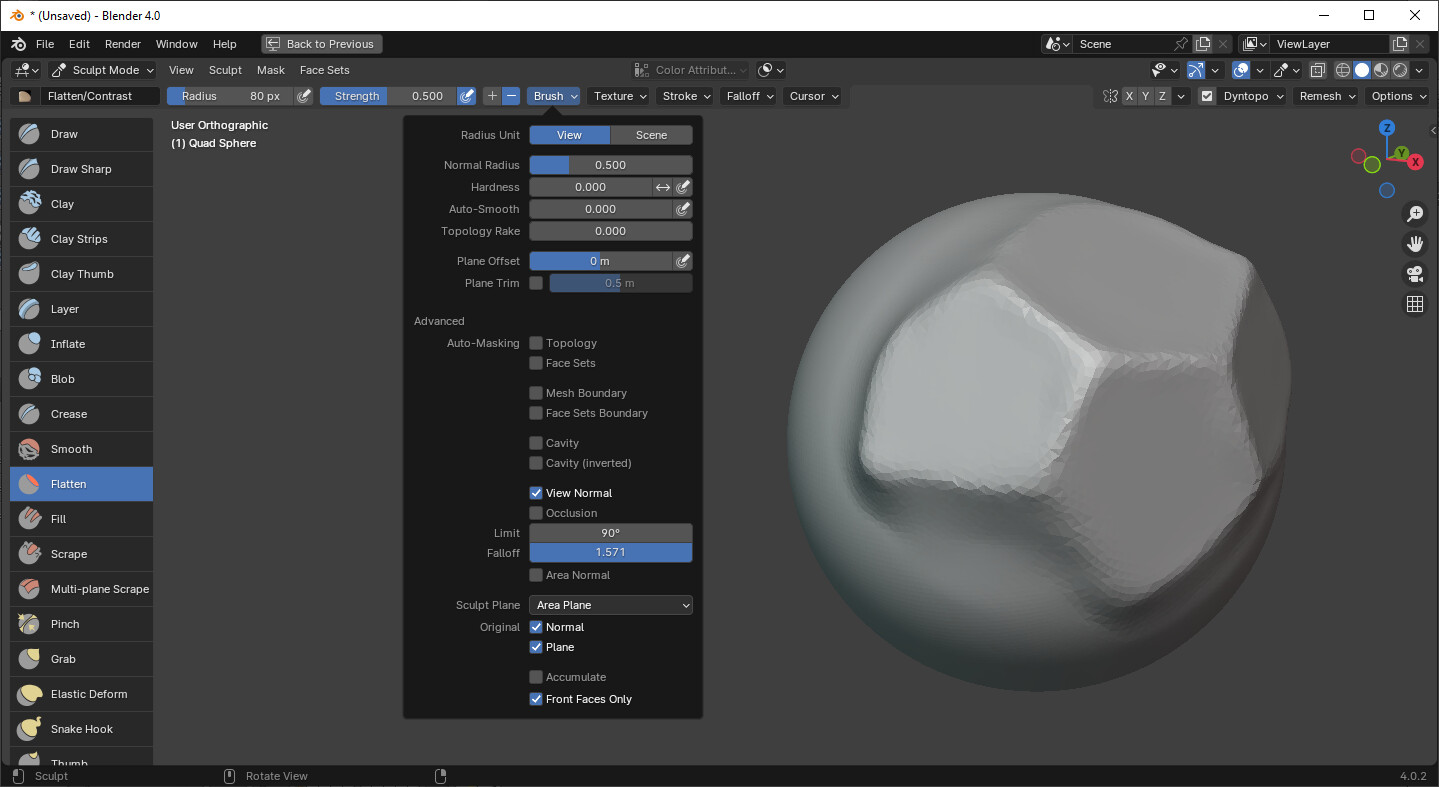
For the other purposes Flatten brush is rather weak, and, for sure, it doesnot fit purposes it was originally designed for, because its current realization does not allow the surfaces to be polished well enough.
Functionally, Flatten brush is supposed to be in-between Scarpe brush (which provides rude mechanical flattening with no contours/topology relaxation) and Smooth brush (which provides gentle flattening with excessive overall relaxation).

Crease and Flatten brushes problems are the most critical brush design/engine/logical problems we faced during redesign.
3 Likes
Some video examples of the problems you mentioned would be good.
But I agree that the best use case for the Flatten brush is if the Normal and Plane are locked. I’d like to make that the default so it can be used for what it’s best at: Building plateau shapes with a single stroke.
When not using it with a locked Plane and Normal there would need to be some averaging of the normal and plane during the stroke to make it useful. I’m experimenting if there’s a good preset for now.
1 Like
I pushed another update.
Changes
- Increased Normal Radius on Scrape brush to prevent accumulative “digging” side effect
- Removed subtle Stabilized Stroke from all brushes again and reverted the values. Making brushes feel smoother should be done via Input Samples or future feature if needed
- Adjusted various Boundary and Elastic brushes for better default results
- Removed Smooth Boundary for now. Needs more dev involvement to be useful.
- Added a Pose IK brush for testing (Useful for IK posing and for pulling/posing and curving long objects)
- Increased Spacing and Magnify on Blob brush for stronger effect and bulging
- Renamed Rotate to Twist
- Renamed Relax brushes to “Relax Slide” and “Relax Pinch”
- Added quick temporary thumbnails for easier browsing
New Brushes
- Added a “Plane Polish” brush for testing. Alternative to Scrape that is less aggressive and preserves exact plane direction better. Might not work before dev involvement
- Added a “Smooth Strong” brush for creating hard flat areas (Needs to be tested)
- Added various Flatten brushes for testing
- “Plateau” (Locked Normal and Plane)
- “Plaster” (Strong effect with clay like feeling. Smoothes affected surfaces a lot)
- “Soft” (Subtle brush for iterative flattening to achieve smoother and more averaged flat areas)
Naming on some of these isn’t set in stone. So far I’m just keeping them direct.
There are also various bugs that I’ve discovered and reported. Hopefully this will make creating some brushes easier soon.
22 Likes
Noticed that Transform tool doesn’t have scale controls for scaling in all axis. Or am I not seeing it ![]() ?
?
If it’s not there maybe it should be added since it’s a tool that supposed to have all transform options?
They are there. (EDIT: Yes the one for all axes is missing)
And unfortunately this is off topic. Those are not brushes.
the transform tool never had it afaik
According to your text description it looks like you has got the issue pretty close, so I guess video is not needed anymore)
In short, yes, a brush for gentle flattening and planarization with normals averaging is missing.
Such kind of a brush/preset is usually used for planar stylization, sketching and blockouts:
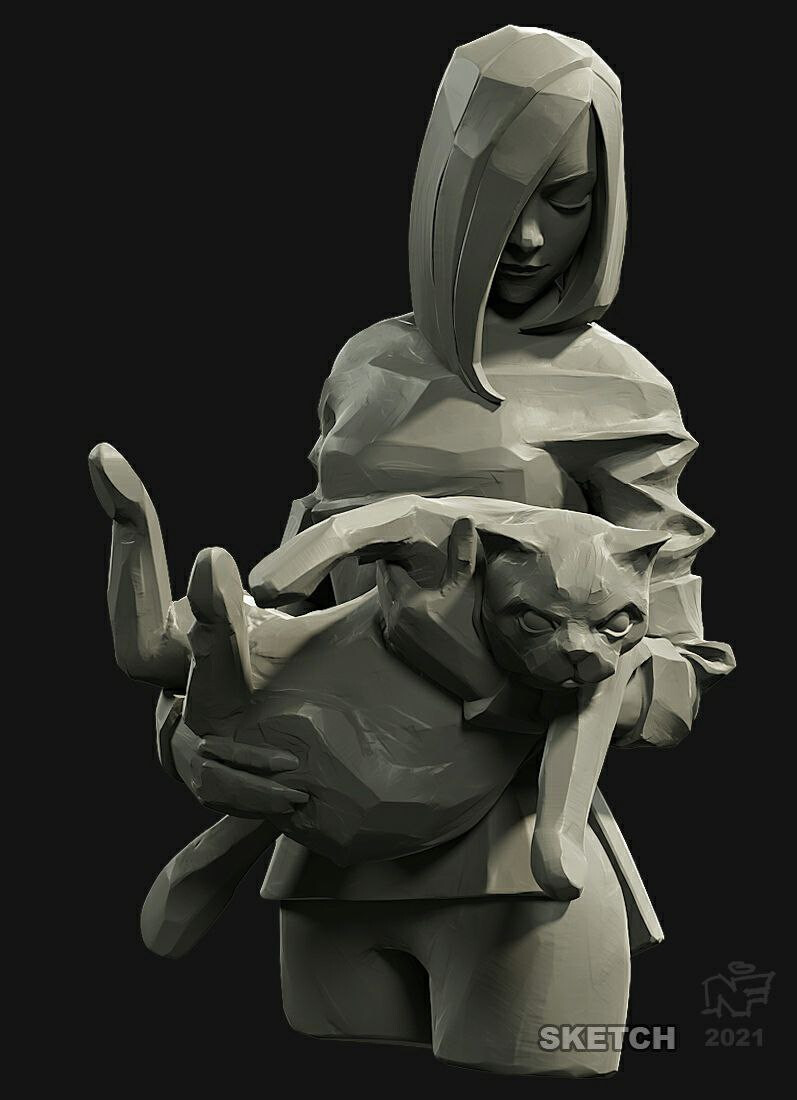
Thank you for attention.
4 Likes
the default color of the paint brush shouldnt be black. it looks like something mask related
1 Like
I removed various brushes for now
- Elastic Scale
- Elastic Twist
- Surface Smooth
- Smooth Boundary
They are too broken in their current state to be useful.
Other brushes still depend on some bug fixes.
Various other experiments also didn’t end very fruitful. Many brushes are not performant or high quality enough to ship with Blender imo.
But as a result I did make a long list of bugs and issues in the brush engine that if tackled, should make customization much easier.
The main thing missing atm is a full set of Cloth brushes. Hopefully I’ll get to that soon.
Textured painting brushes would also be a welcome addition.
6 Likes
@nickberckley @Vollpo
I’m still not so sure about the Chisel, Clay-Scrape and Smear-Expand brushes.
Chisel seems too close to the default Layer brush.
The mix of Clay & Scrape brushes is great in theory but it doesn’t behave enough like a clay brush. Ideally needs some dev involvement.
The Smear Expand is also not so clear to me. For painting I think it’s more common to color pick and paint, Expanding a small color splotch seems strange but maybe an example video clip could make things clearer?
Main thing for Chisel that differenciates from layer is control for me. With auto smooth and stabilized stroke. But I dont have strong opinion about it.
Smear Expand I think is more useful. In fact its so similar to Average tool in Vertex Paint mode that I think maybe it was implemented to be exactly that, but as smear tool mode rather than tool. And while you can pick color from intersections and use draw brush, this one saves you that step and lotta clicks. Its pretty good for stylized painting, when I want to create brush stroke effects, imperfections. I was switching to Vertex Paint mode to use average before I discovered this.
1 Like