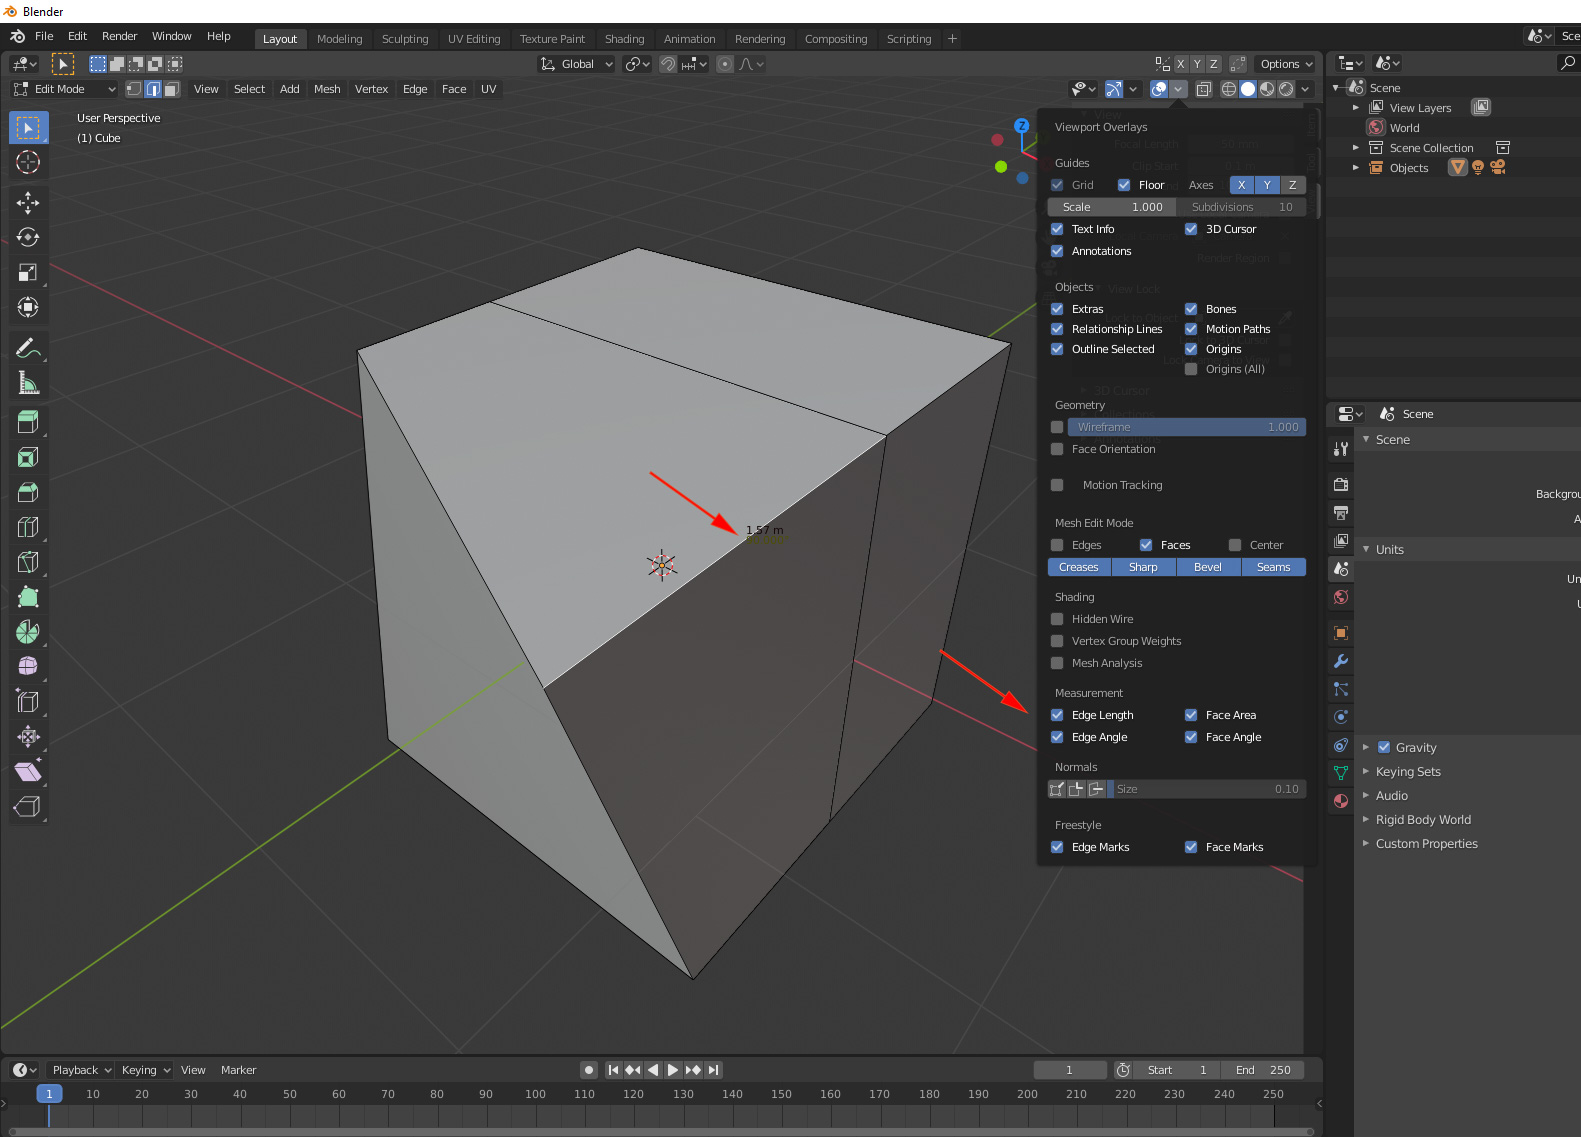
Hallo, i use a lot the measurement tool, now in blender 2.81 is somehow better, because it shows the real measure of the selected edge for example. First of all, the standard color is not ok, as you can see, you can barely see the color of the angle (army green - ok, i can change it in preferences), second, the type is too small and can you please make the size and type of that text editable - or is it already? And third, this is most important, there is still no possibility to change the size of that in a transform panel, like the size of the edge, i cannot work precisely, i have to move it by hand, than measure, or some other method…that is so incredible that in 2.81 you cannot simply change the size of that selected edge. After the origin problem(that was somehow solved but hidden under options), that is the second biggest problem in blender: you cannot change directly the size of an edge, face/area…WHY? Or is it possible?
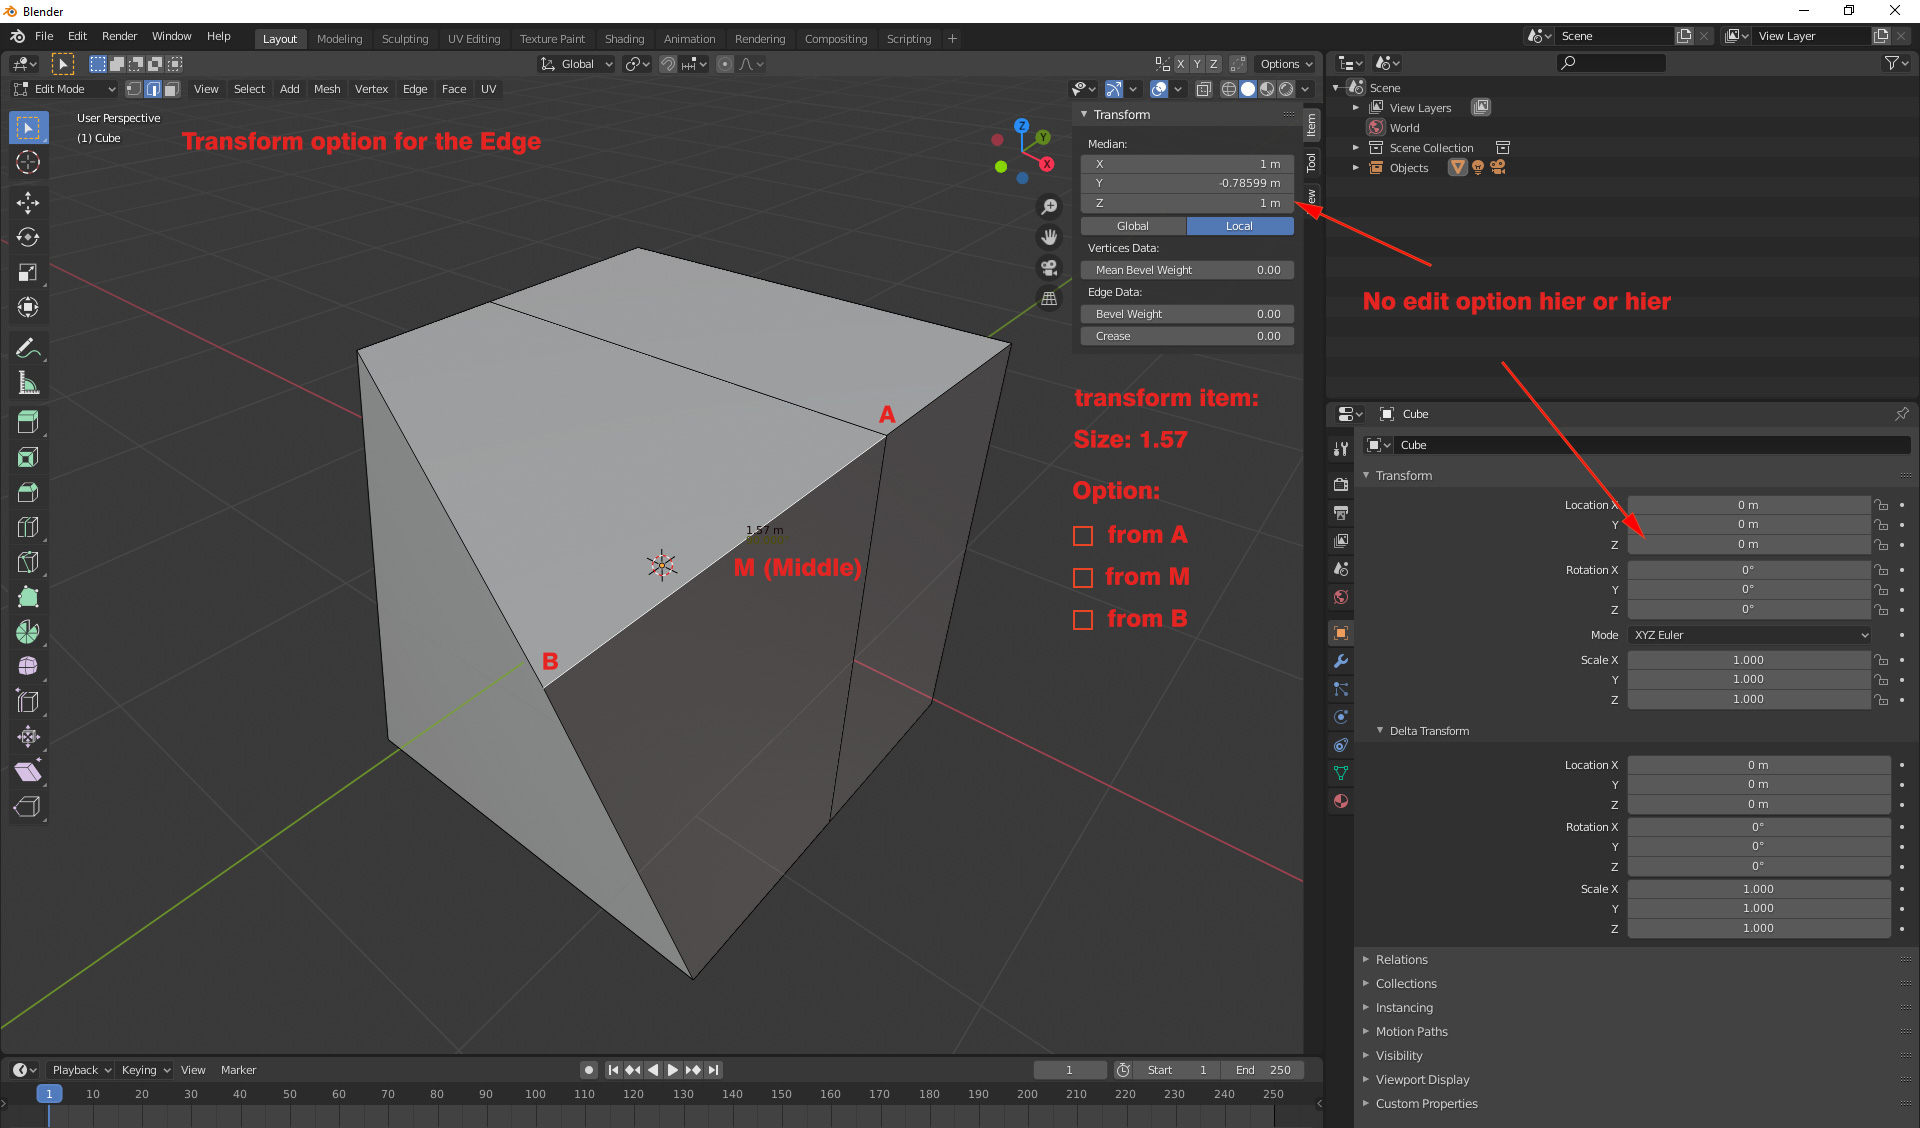
The measurement-Options should look like this…
1 Like
That issue seems not to have the deserved attention, but there is a fundamental problem with blender, when you make precise modelling, so it will be nice to implement that in a future release. I do not think this should be so complex. Does anyone know an add-on that does this? I mean, select an edge and change the size of that by typing the number by selecting the point a or b?
1 Like
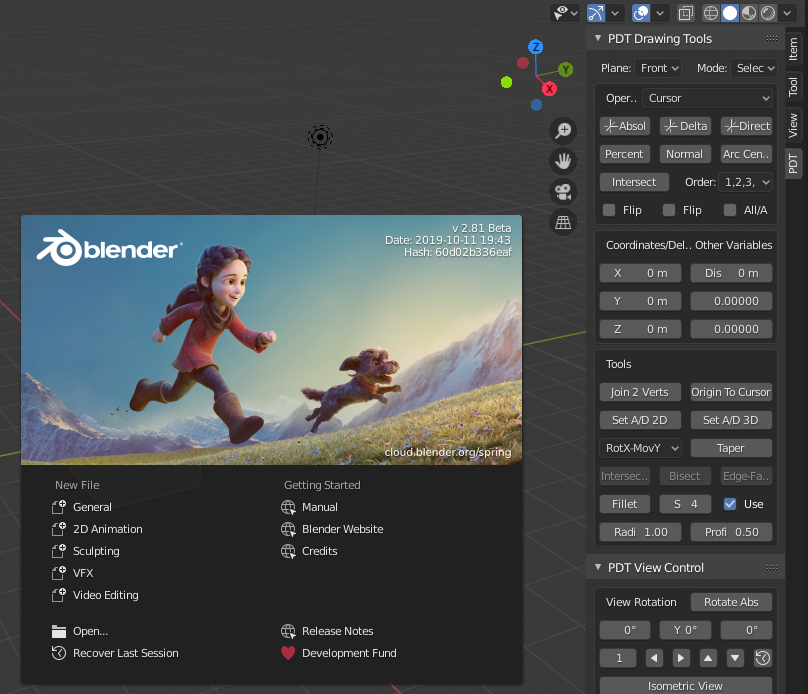
We are almost there with our new Precision Drawing Tools add-on where you can now extend an edge by a given amount, changing this to be an overall length will not be difficult, see the post in Python section for PDT.
Cheers, Clock.
Edit:
You can already put the cursor exactly where you want it with PDT, then move selected vertex to cursor location.
i saw the tool, it looks impressive, i wish something like that in blender( even native)…but i have a beginner question…sorry, i did not test the plugin yet…how do you install it? by copying all the *.py in the add-on folder? because you have many py’s in the zip from github…
- Download Zip file.
- Open User Preferences (F4 key => “Preferences”).
- Select Add-ons Tab.
- Click Install Button and navigate to where you downloaded the zip file.
- Enable Add-on by clicking checkbox.
Cheers, Clock.
EDIT:
Info here about the add-on.
Hello [clockmender] , in 2.81 it is not working, it does not show up. Is this just for 2.8? Because i’m working with 2.81 beta now…
I tried also with 2.80…somehow it does not install…although i can install other plugins…it just not show up…in the info i get: Modules Installed () from ‘F:\Downloads\Precision-Drawing-Tools-1.1.4.zip’ into ‘C:\Users\C1\AppData\Roaming\Blender Foundation\Blender\2.81\scripts\addons’ but nothing shows up…
Weird, it works on my Mac with today’s beta…
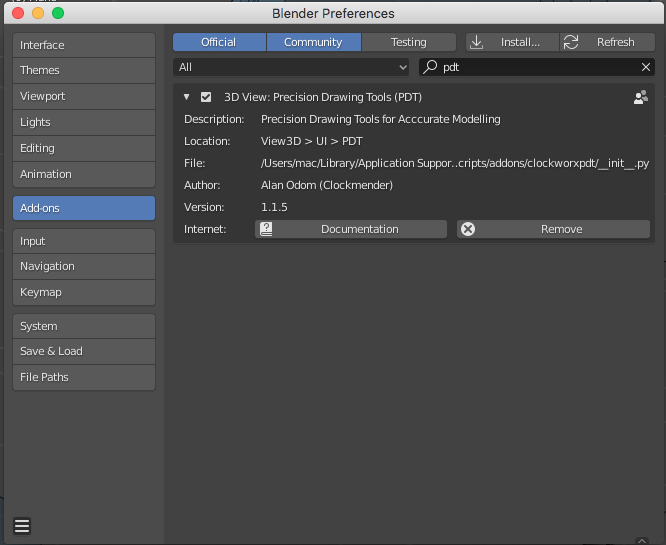
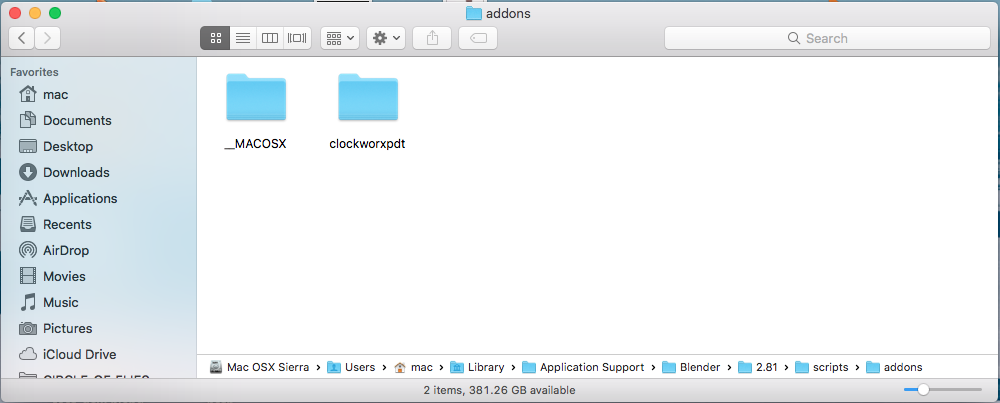
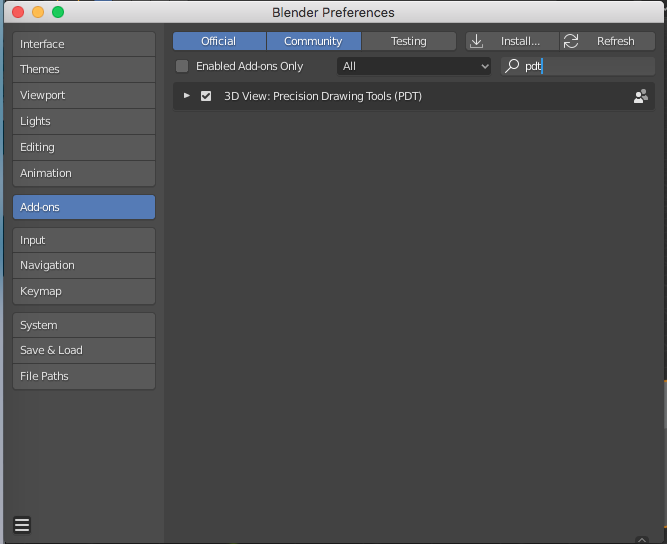
Show me a screen shot of your addons directory and a screen shot of Blender Preferences with pdt typed into the Search box:
i have a PC with windows10 on it. as you can see, i installed it in 2 places, and nothing shows up, that’s why i asked you how you install it…it looks like the installation works ok, but it does not show up.
i could get it installed, after i renamed your folder into “Precision_Drawing_Tools” and i moved the files from clockworxpdt into it . I think, the folder name does not follow the blender name-rules. Second, the *.py files have to be directly under the add-on folder, so i can’t say if this is general, but in my case that was the problem…and you have to make a visual tutorial to show how the tool works…