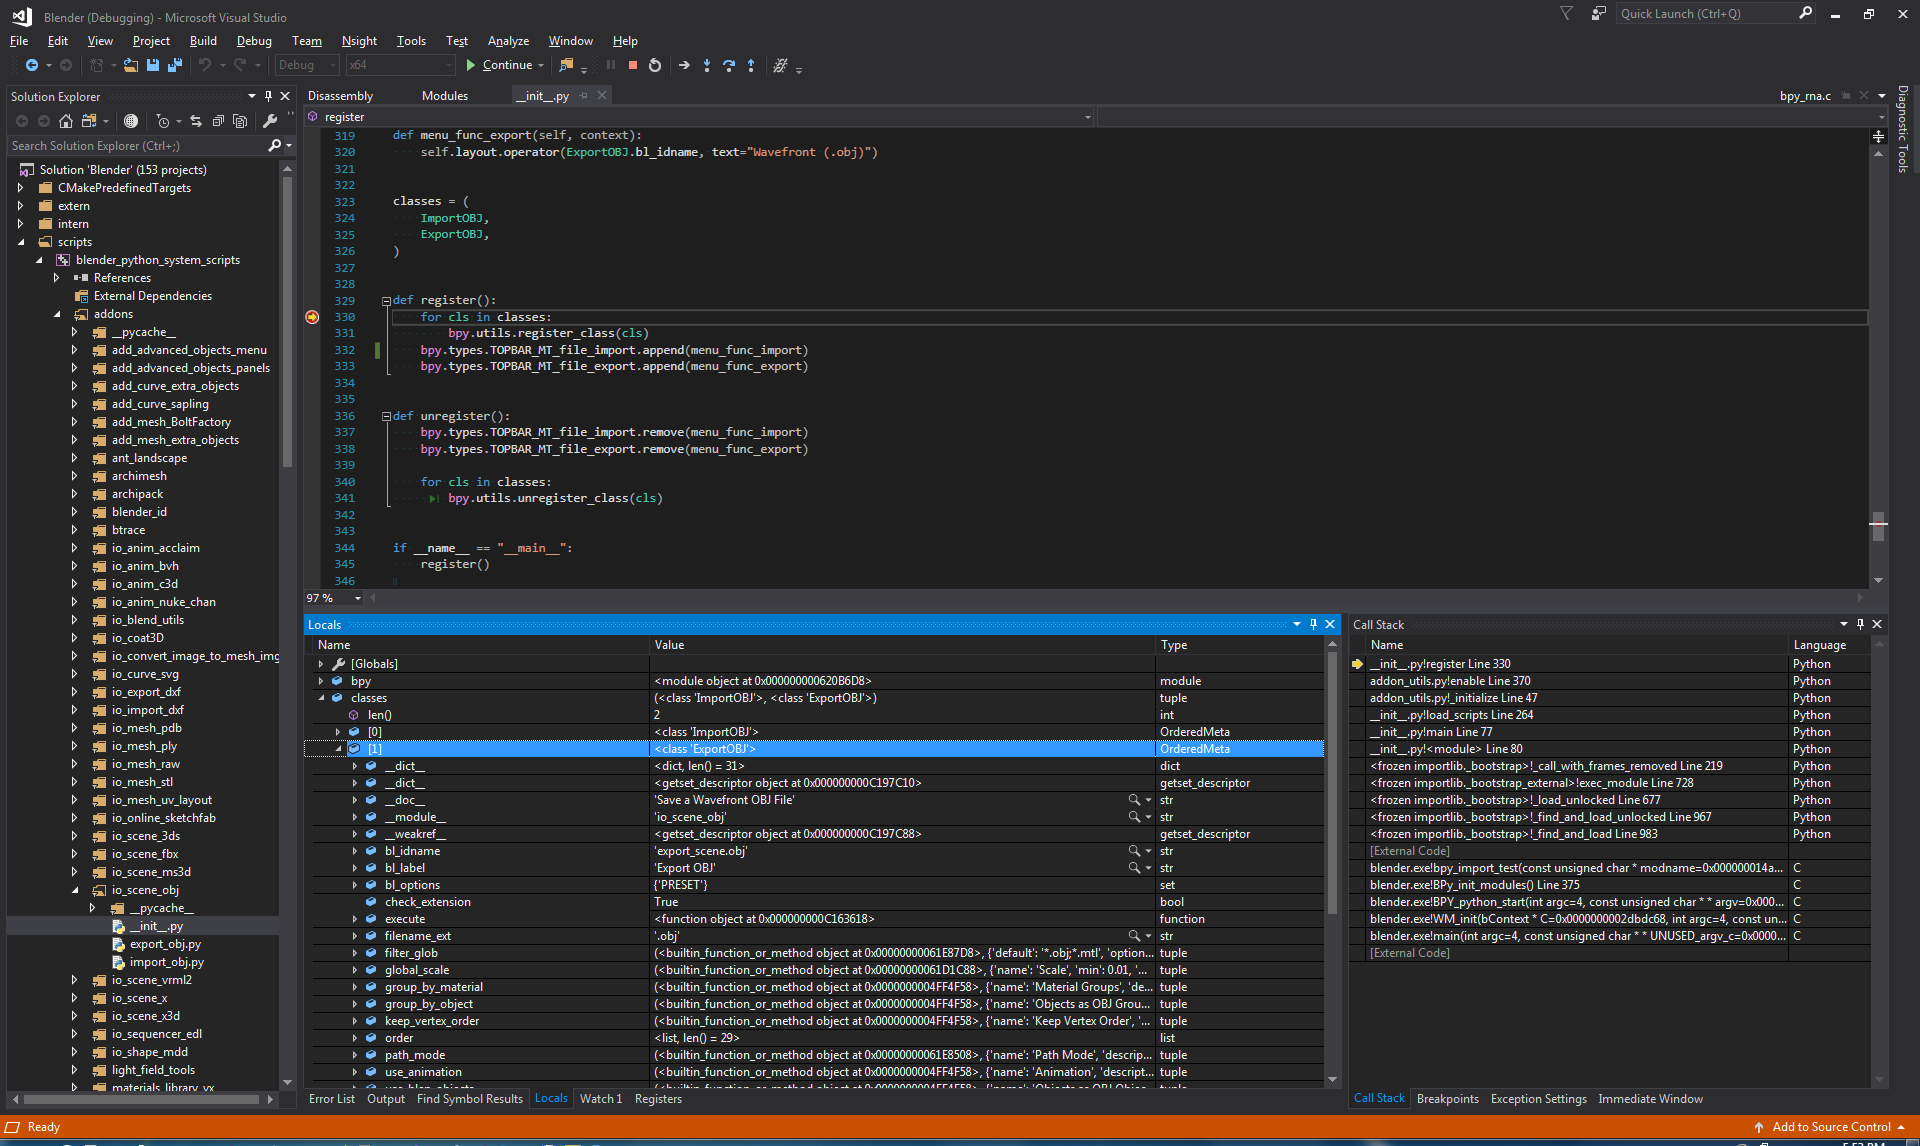
Hi there! I want to share with you my progress on building and debugging Blender with VSCode on Windows, which is officially unsupported.
Hopefully, more experienced developers could drop some hints here and there on how to further streamline the approach.
I went with VSCode, because I didn’t want to install yet another IDE (Visual Studio Community) and I like the Visual Studio Code Editor and its available extensions, as well as the cross-platform availability.
I assume you know how to install software, how to use the command line, and you know the VSCode interface.
First off, here are some guides which I more or less followed:
- Configure Visual Studio Code for Microsoft C++
- https://wiki.blender.org/wiki/Building_Blender/Windows
- https://wiki.blender.org/wiki/Developer_Intro/Environment/Portable_CMake_VSCode
Let’s go:
-
Install build tools (includes CMake I believe, otherwise install CMake as well).
- Follow this guide: Configure Visual Studio Code for Microsoft C++
- Takes up ~10 GB of disk space.
- You’ll get the Developer Command Prompt for VS 2019 and Developer Powershell for VS 2019. I added these as configurations to the Windows Terminal.
-
Install Git for Windows.
- In the installer, choose to add Git to your PATH to ensure
.\make updatecan correctly function later on.
- In the installer, choose to add Git to your PATH to ensure
-
Install Subversion for Windows (SlikSVN)
-
Install VSCode if you haven’t already.
- Install extensions (those in square brackets are optional):
- [C/C++ Extension Pack] or C/C++, CMake, CMake tools
- Python
- GitLens, [GitHub Pull Requests and Issues]
- [Todo tree], [Explicit Folding]
- Install extensions (those in square brackets are optional):
-
Install Python. (I personally use Anaconda/Mamba most of the time for its environment management.)
- [optional] As a best practice, create an environment with the same Python version as Blender’s.
- If you want to use it as a later stand-in for Blender’s Python interpreter, install numpy, requests, urllib3, and other packages that usually come pre-installed in Blender’s Python.
- If you’re planning to use the environment, install the ptvsd package as well for debugging.
Since I wanted to sync my changes to an online repository of Blender, I decided to fork Blender from its GitHub mirror.
-
Fork the blender git repo on GitHub: GitHub - blender/blender: Official mirror of Blender.
-
Clone your fork locally, e.g. for me this is:
git clone https://github.com/OlafHaag/blender.git blender.git --single-branch- Naming the folder blender.git may be useful further down the line if you want to use the build bot locally.
- I only wanted the master branch locally, that’s why I used
--single-branch. - Needs about 500 MB initially but grows to 3.5 GB.
- I recommend cloning into an empty folder, because the
makescript will add a lib folder later on in the same directory.
-
Add the official Blender mirror repo as a remote.
git remote add blender https://github.com/blender/blender.git- This allows you to stay up-to-date with the official Blender development by rebasing your changes onto the official master branch.
- I believe this also allowed me to run the
makescript without forking Blender’s submodules. If you later run into trouble with initializing the submodules, you may need to switch the remotes or edit .gitmodules’ URLs to point to the official Blender remote.
-
Branch off, so you can keep a clean and up-to-date master branch in sync with the official Blender.
-
Now before you move on, you may need to create an exception for your virus scanner. I wasted hours to find out that my virus scanner was silently blocking something.
-
in the Developer Command Prompt for VS 2019 (or Powershell), navigate to your local repo, check out your branch and run
.\make.bat verbose update 2019b, type “y” when asked.-
In case you get an error
Visual Studio is detected but no suitable installation was found.
try with
.\make.bat verbose update 2019, thanks to this answer. -
Needs about 8 GB of disk space.
-
-
Open VSCode, if it asks you to configure CMake, don’t just yet.
-
Load the Blender folder that you cloned, e.g. blender.git.
-
Change any settings in Workspace, so you’re not interfering with your other projects.
- Set the CMake tools extension settings for Build directory to ${workspaceFolder}/…/build
- This is important, otherwise git will complain when building that there are too many changes to track.
- Needs about 8 GB of disk space for the RelWithDebug config, or around 20 GB for Debug.
- Collides with previous build if you did build Blender with CMake on the command line earlier (see below).
[cmake] CMake Error: Error: generator platform: x64
[cmake] Does not match the platform used previously:
[cmake] Either remove the CMakeCache.txt file and CMakeFiles directory or choose a different binary directory.- I disabled Build before Run and Configure On Open in CMake tools settings.
- CMake tools extension settings Copy Compile Commands: ${workspaceFolder}/…/build.
- Does not seem to do anything. Is that even supported on Windows with the compiler?
- If you have a compile_commands.json after building, add its path to .vscode\c_cpp_properties.json, e.g.
"compileCommands": "${workspaceFolder}/../build/compile_commands.json",.
- Select File > Preferences > Settings, and select the Workspace tab. Search for format and look for Editor: Default Formatter. Select ms-vscode.cpptools as the code formatter.
- Check the box for Editor: Format On Save, and Editor: Format On Paste.
- Enter C/C++: Edit configurations (JSON) in the command pallette (Ctrl+Shift+P)
- Add
"CCL_NAMESPACE_BEGIN=", "CCL_NAMESPACE_END=", to defines, leave everything else, it’s already setup.
- Add
- Add to your Workspace settings.json:
"folding": {
        "c": {
            "begin": "\\{",
            "end": "\\}"
        }
    }
- Press Ctrl+Shift+P for the command pallete and select CMake: Configure.
- Select variant, e.g. RelWithDebugInfo. You can do this in the status bar or via command pallette.
- Select target install. Default is [All build] (which won’t work: Side-by-Side-Configuration invalid, because everything except blender.exe is missing).
- You won’t have to run this target every build, but do it after updating SVN libraries, otherwise you risk not having the correct libraries to run blender.
- This needs to be done at least once for every target (aka variant in VSCode CMake tools). If, for example, you switch from Debug to Release configuration, you need to redo this step.
- Now build (e.g. from status bar).
- Make sure you have enough free working memory (10+ GB). VSCode crashed on me multiple times when it reached maximum capacity of available RAM. This didn’t happen when I built via command line.
- Create a launch.json, e.g. from the main menu, choose Run > Add Configuration… and then choose something like C/C++ (Windows). and modify:
- “program”: “${command:cmake.launchTargetPath}”,
- give the configuration a descriptive name.
- see VSCode developer environment setup for windows? - #7 by smilebags
- Add another configuration for Python.
- when asked which configuration to add, choose Python > Remote Attach and keep localhost and the predefined port.
- Modify the localRoot to point to the /release/scripts path of the repo.
- You could point the remoteRoot to the scripts directory in the build-folder (e.g. “${command:cmake.launchTargetDirectory}/2.92/scripts”) to create a mapping between the repo and the build scripts, but the better way is to instruct Blender to use the scripts in the repo directly, for example, via the
--env-system-scriptslaunch argument.
My launch.json file:
{
    "version": "0.2.0",
    "configurations": [
        {
            "name": "Python: Attach to Blender",
            "type": "python",
            "request": "attach",
            "connect": {"host":"localhost","port":5678},
            "pathMappings": [
                {
                    "localRoot": "${workspaceFolder}/release/scripts",
                    "remoteRoot": "${workspaceFolder}/release/scripts"
                }
            ]
        },
        {
            "name": "(gdb) Launch Blender",
            "type": "cppvsdbg",
            "request": "launch",
            "program": "${command:cmake.launchTargetPath}",
            "args": [
                "--debug", "--debug-python",
                //"--env-system-python", "${env:USERPROFILE}/Anaconda3/envs/blender",
                //"--env-system-scripts", "${workspaceFolder}/release/scripts"
            ],
            "stopAtEntry": false,
            "cwd": "${workspaceFolder}",
            "environment": [
                {"name": "BLENDER_SYSTEM_SCRIPTS", "value": "${workspaceFolder}/release/scripts"}
            ],
            "externalConsole": false
            //"preLaunchTask": "Build Blender" // Optional; you can use if you want it to build before launching
        }
    ]
}
If you want to use the CMake tools extension debug button in the status bar for convenience, you also have to change the extension setting to include the arguments for the script folder. Add to your workspace settings.json:
...
    "cmake.debugConfig": {
        "args": ["--env-system-scripts", "${workspaceFolder}/release/scripts", "--debug", "--debug-python"]
    }
...
Now we need to make Blender ready for debugging Python.
-
If you did not create a Python environment and install ptvsd, you can also install it to Blender’s Python distribution, but you’d have to repeat these steps each time you build a new target (Release/Debug etc.). Therefore, I recommend using the extra enviroment approach. In case you decide otherwise:
- In a terminal navigate to the Build’s Python and make sure pip is there:
build\bin\RelWithDebInfo\2.92\python\bin>python.exe -m ensurepip.
Looking in links: c:\Users\user1\AppData\Local\Temp\tmpuvq7gyvl
Requirement already satisfied: setuptools in c:\users\user1\appdata\roaming\python\python37\site-packages (40.7.1)
Requirement already satisfied: pip in d:\blender\build\bin\relwithdebinfo\2.92\python\lib\site-packages (19.2.3)- install ptvsd directly into Blender:
python.exe -m pip install ptvsd --upgrade
Without--upgradeyou may get:
Requirement already satisfied: ptvsd in c:\users\user1\appdata\roaming\python\python37\site-packages (4.2.4)
- In a terminal navigate to the Build’s Python and make sure pip is there:
-
Start the debugger for Blender from VSCode, which will launch Blender.
-
In any case, install this add-on GitHub - AlansCodeLog/blender-debugger-for-vscode: Blender addon for remote debugging Blender with VS Code (and Visual Studio) by @alannorth to your freshly built Blender.
-
If you installed ptvsd directly to Blender, the add-on finds it automatically, otherwise you have to set the path to ptvsd in the add-ons settings. Choose the site-packages folder of your environment.
-
In Blender search for “debug” and select debug.connect_debugger_vscode
 Debug: Start Debug Server for VS Code.
 -
In VSCode now also start the debugger for the Python configuration.
You should now be able to debug the C/C++ and Python portions of the Blender source from within VSCode.
Please let me know if this guide worked for you.
I did not get a rebuild.cmd, nor a compile_commands.json after building. Any suggestions?
[Optional bonus] Building on command line:
- Start the CMake GUI and set “Where is the source code” to the cloned blender git repo and set “Where to build the binaries” output to a folder outside the git repo, e.g. …/build
- Press “Configure”, popup will open. Select “Visual Studio 16 2019”, confirm.
- (?) Press “Generate” after configuration was finished.
- Not sure if this step is needed as it created project files for Visual Studio.
- Build, e.g. with
cmake --build . --target INSTALL --config RelWithDebInfo
What I haven’t tested:
- Test build bot: https://wiki.blender.org/wiki/Infrastructure/BuildBot#Setup
- Once you want to check that your modified Blender does not just build on your machine, check out these GitHub actions by @grische: blender/.github/workflows at automatic_sync · grische/blender · GitHub
Now what I would really need to get working is to debug the Python source code of Blender in VSCode.
I tried installing GitHub - AlansCodeLog/blender-debugger-for-vscode: Blender addon for remote debugging Blender with VS Code (and Visual Studio) to Blender and added a configuration to the VSCode launch.json, but it didn’t work.
I’d also need a task to copy the modified Python scripts in the cloned repo to the build folder for live editing.
Any other ideas on how to debug the Python source parallel to the C/C++ code base?