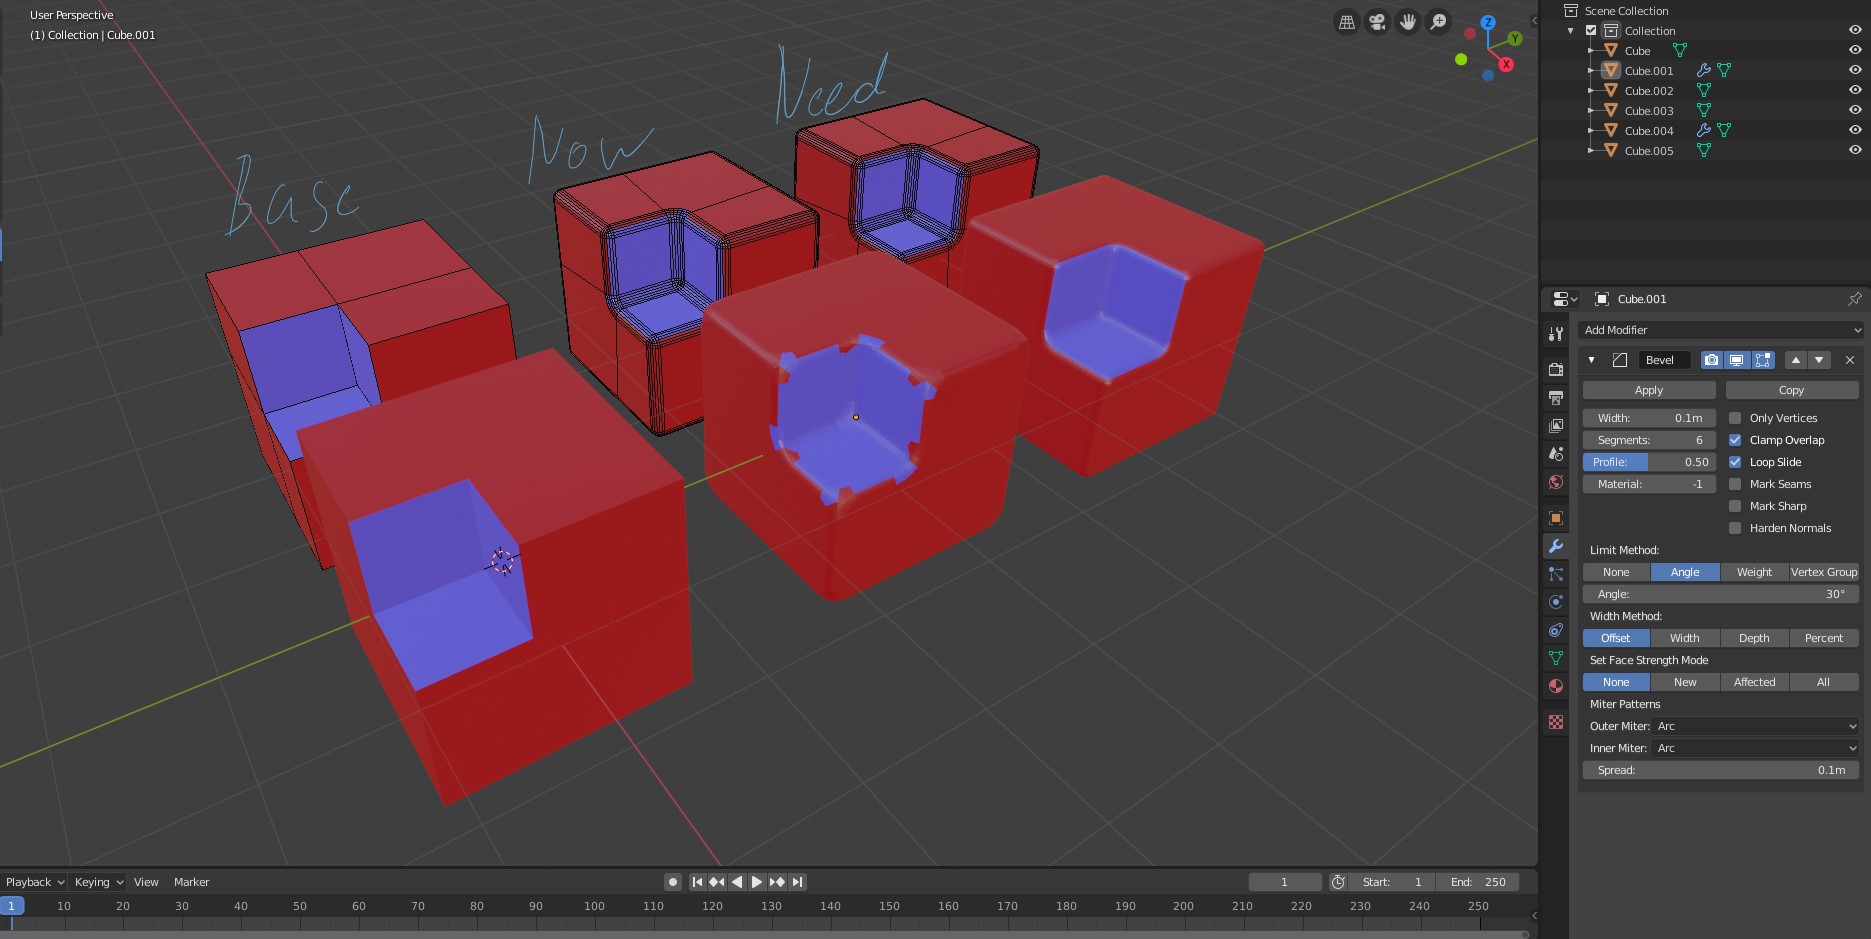
Thanks for the reply. I’m gonna have to read it multiple times to fully understand, but I think I vaguely follow and see there’s a complication. What if there could be just an automatic adjustment of the Profile value that we already have? The automatic adjustment would work based on the angle of each corner and would try to simulate the perfect circle-based fillet. For example, with a 90 degree corner the Bevel profile would be 0.5, but if a corner is 45 degrees, a 0.4 profile is applied to that corner, and a 0.35 profile is applied to a 25 degree corner etc. Something like that.
Granted, I am not thinking through all possible cases. I’m actually only thinking through the 2d situation I showed in the diagram.
I wonder if a combination of the super-ellipse function combined with the transformation to the original angle can actually form a perfect circle. After playing with it for a minute it looks close, but I couldn’t get it to match perfectly. There’s also the problem of the profile’s edges being smaller in the middle of the profile.
It would be cool if that worked though! Definitely simpler to implement that way.
Yes, please. That “inscribing a circle” method should be able to produce nice looking result.
If I understand correctly, in such method bevel should be limited by tangent points of inscribed circle with specific radius, and maintain a curvature of such circle for any angle.
very important.
Absolutely all products in the real world use exactly this chamfer method. Because technical drafting and engineering design use this to create these products that surround us.
I would expect default bevels at 0.5 to always match a circle arc as close as possible at all times, as other users mentioned that is what most real world bevels would look like.
However I understand the technical limitations, and that it may not always be possible.
When I use bevel on edge between two materials Have some problems with material assign. If we can add perfect assign material on bevel arc / patch mode its be so good.
Yeah, there’s an open bug about material assignment. The problem is, the code has to “break the tie” as to which material should win when there is an odd number of segments. The current method for breaking the tie is not good. A suggestion has been made to break the tie by using material slot #. That seems like a better idea, and I should do that.
I’d honestly might prefer if these weren’t implemented to ‘bevel’
First one is bevel+extrude or inset+transform. Second one is is the same with added profiled loop cut.
If you start adding stuff like this to bevel I think it is easy for tool to become very convoluted.
I guess philosophically speaking it wouldn’t be different from before since all the basic operators already are basically multiple operations in a macro but… somehow I feel like this goes beyond ‘bevel’
Certainly as features these would be nice to have but maybe as compound tools instead. Albeit with Everything Nodes™ it might become redundant sooner than expected if it becomes easy to take operation, procedural select its result and apply more operators.
It’s really hard to draw the line, but I’d tend to agree with you - in the example shown, there’s what we might consider creation of volume, whereas bevel - in its real-world variant at least, which after all is what Blender’s tool is based on, is pretty much only substractive and operates on an already existing ‘protrusion’ or ‘extrusion’ so to speak. Now this is not to enter a philosophical debate but to decide where to draw the line between different operations.
You can already do that, select a face, and press ctrl + b, the only different is instead doing an extrude, it is actually beveling the surrounding edge
I asked for it in the bevel profiles thread, idk about coding but from a conceptual viewpoint is much easier for doing any profile shape https://www.youtube.com/watch?v=1jnr-vWzSDo
I can see that having a “Bevel Face” to go along with “Bevel Edge” and “Bevel Vertex” function for the tool and modifier would be useful, and looks less like duplicating the inset+transform when we have custom profiles. I will consider it for the future.
You can add depth after the inset ofc, but it’s not the same thing. This is about true beveling/chamfer… be able to add segments, adjust the profile shape etc.
?
In 3DS Max Bevel tool does what the first gif does, however, it is limited to face mode only and has no control over edge insertion. What Blenders ‘bevel’ does is done in edge mode by ‘chamfer’, albeit there seems to be no option for concave profile.
In Maya the bevel tool seems to act almost identical to Blender but instead of having the profile (depth in Maya) control between 90deg concave and convex corners the slider goes from 90deg concave to what looks like .5 profile in Blender. (If you want to have 90deg corner just to insert supporting loops you would uncheck the ‘chamfer’ toggle) Maya’s extrude tool has slider for scaling the extrusion, though, essentially allowing the same stuff as ‘bevel’ tool in Max.
I haven’t really played around with Houdini enough to say for sure how it is there but even there it would seem to require the combination polyextrude+polybevel nodes?
I can’t say for modo nor cinema havent tried either.
(Tested on 2018 versions for Autodesk and 17.0 for Houdini)