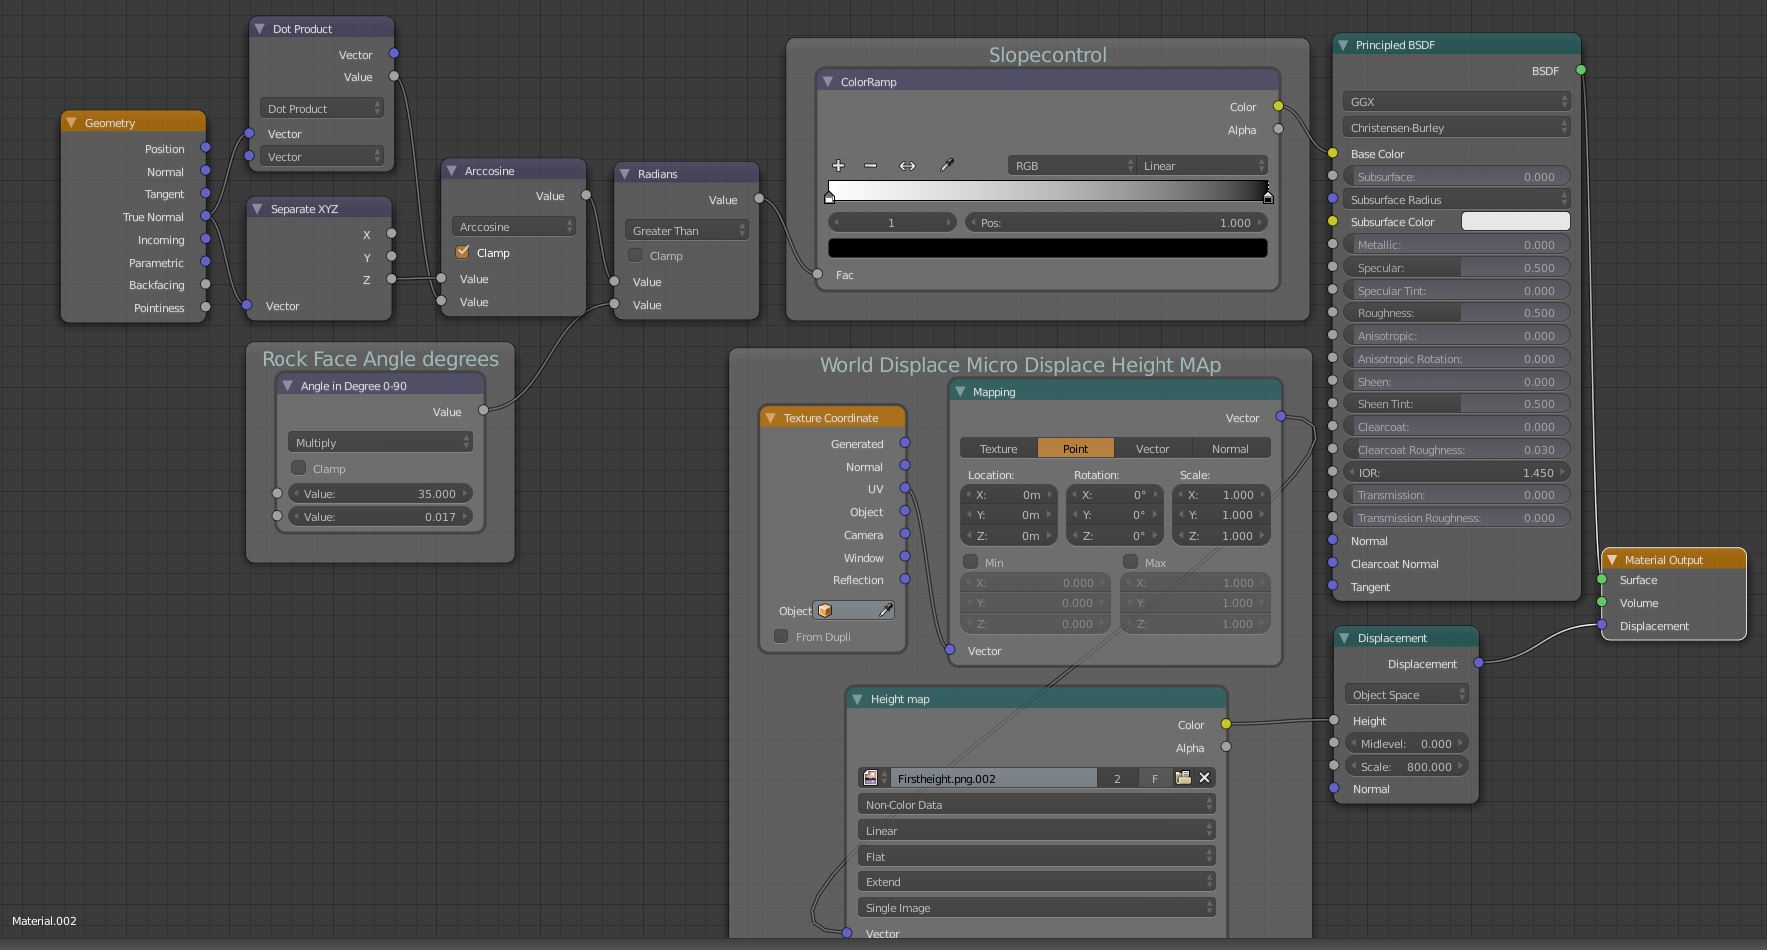
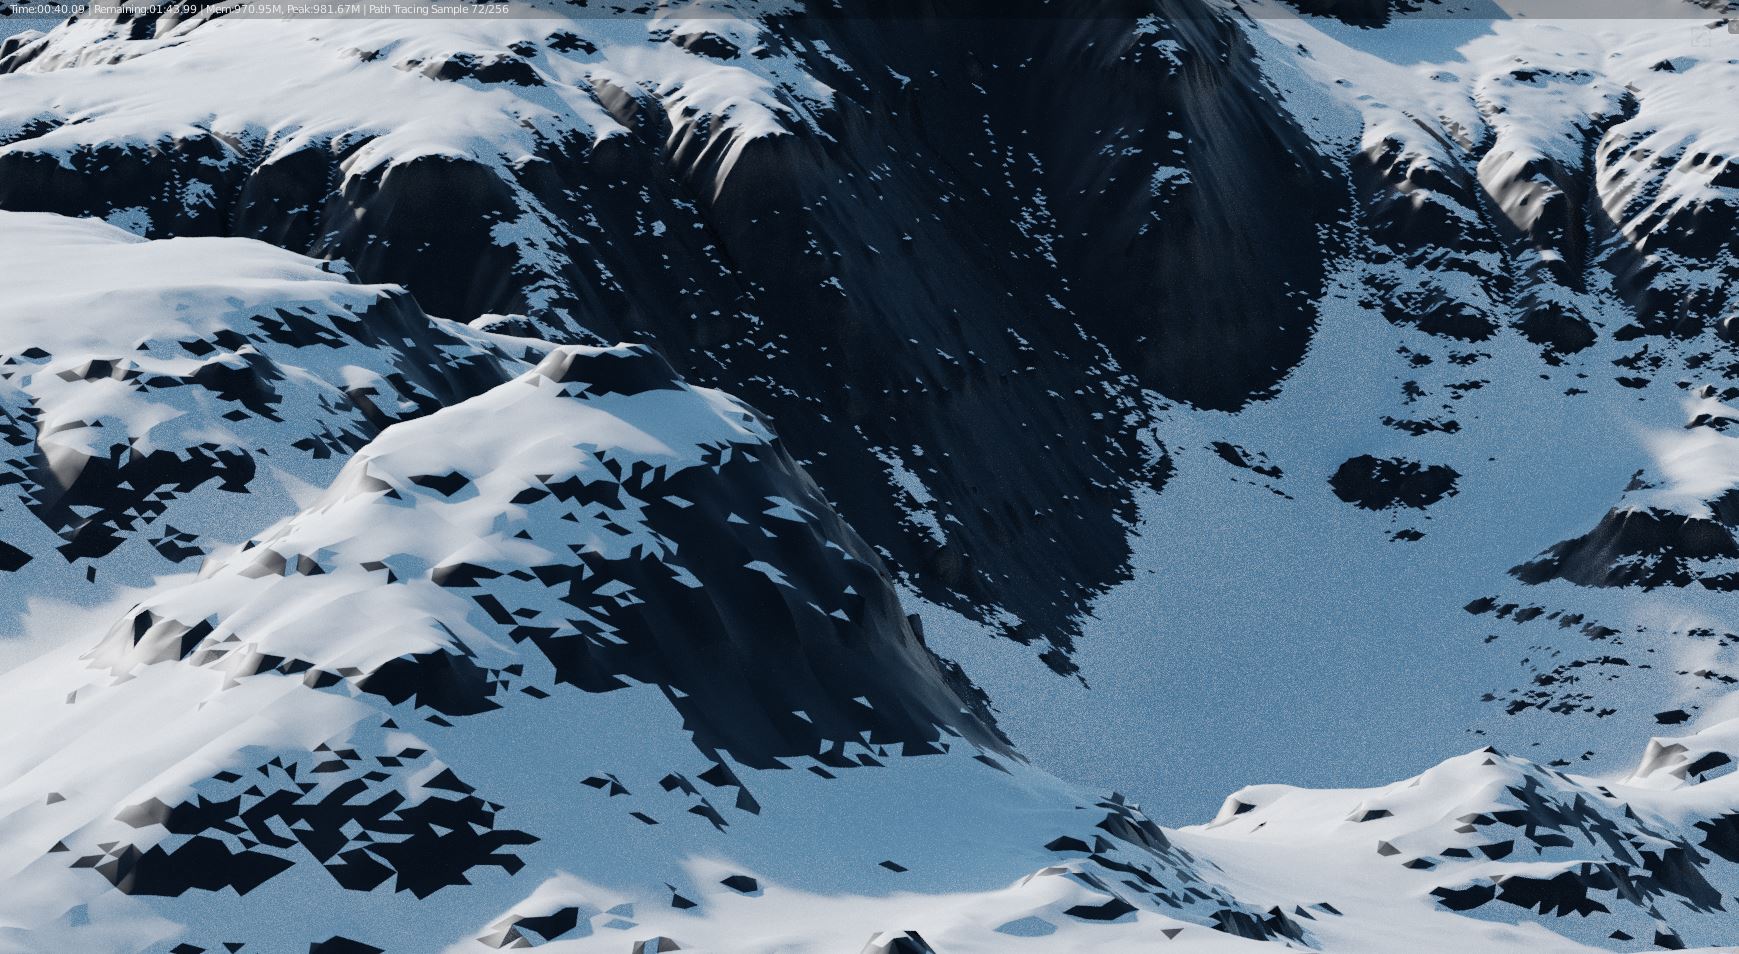
Hey guys, Ive got an object that’s UV mapped and has a subdivision surface mod applied to use the virtual displacement feature, im taking the face angle to generate a mask map (e.g face angle more than 30 degree = black, all other angles are white). problem is even if I make the object millions of poly in the shader the mask generated is very harsh squares where the mask is applied as the face is either black fully over the face at 30 degree or white fully for all other angles, which ends up generating a mask map the is very pixelated
Then im baking the generated mask from face angle to a map, but the mask map is very pixelated because there’s no blending between the black and white masked faces, because there either at 30 degree’s or there not, so each poly is a hard black shape or a hard white shape.
How can I fake extra vertex detail or smooth nicely between the face in the shader to get softer transition on the mask? Cheers J
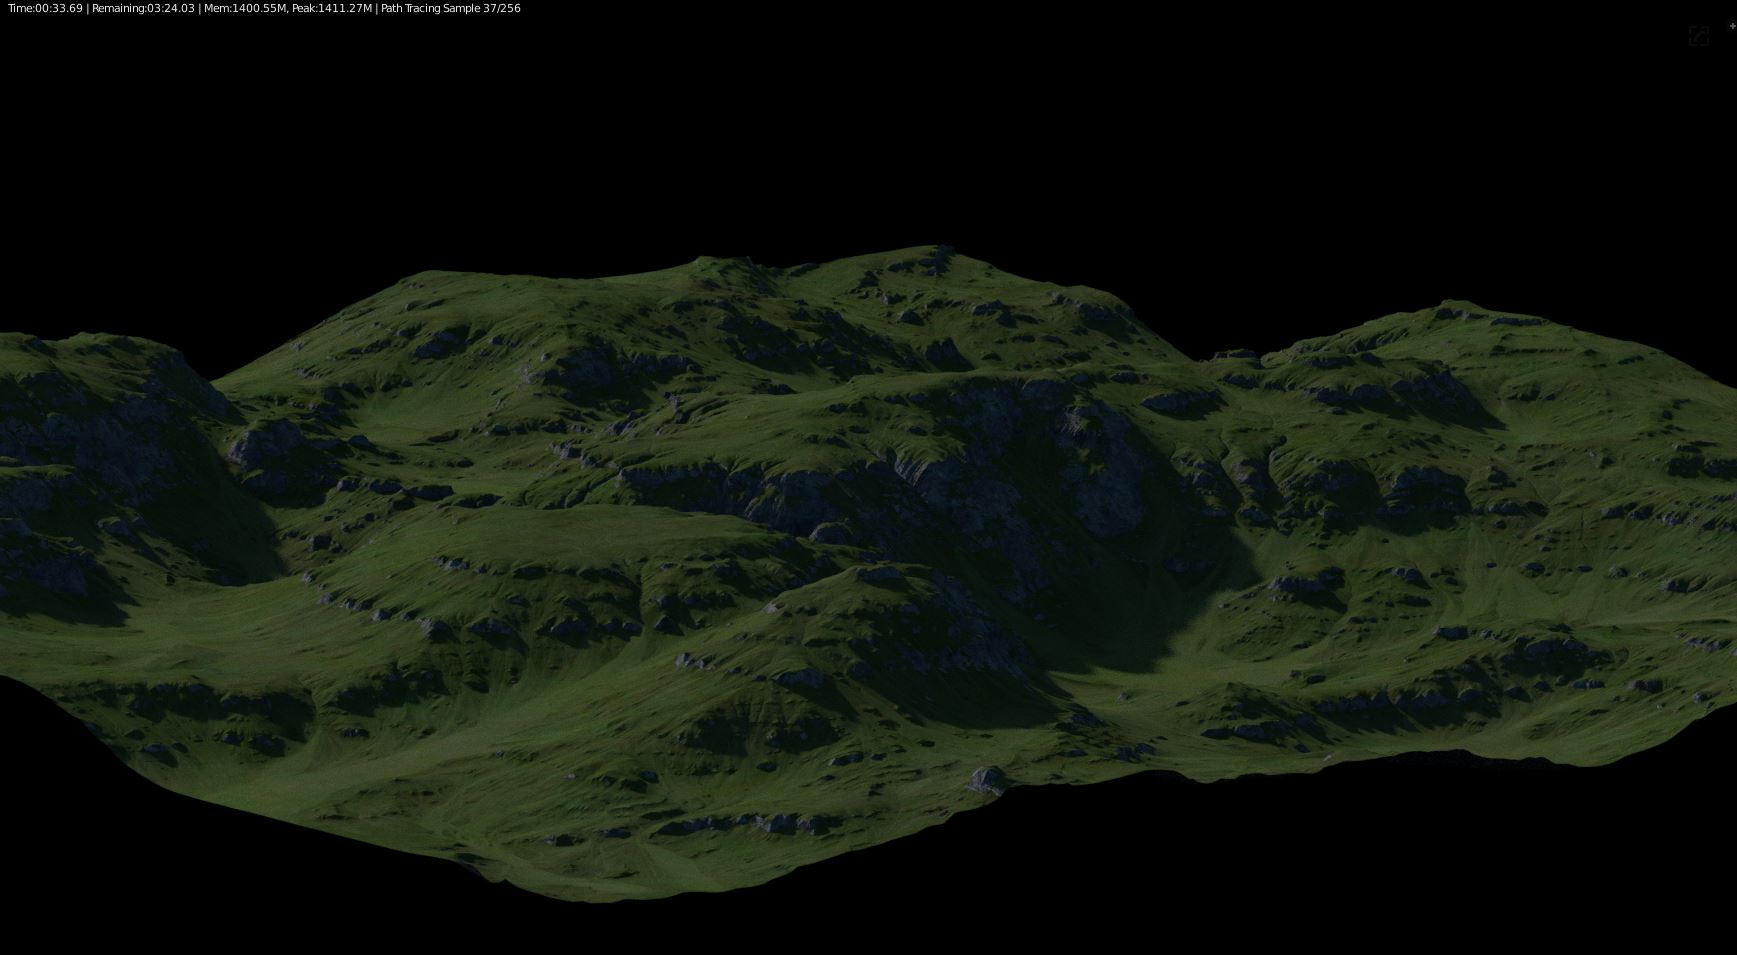
If you or anyone have a better idea how to generate a mask texture from face angle please tell me, The shader auto masks like this so to add rock faces to the terrain automaticly based on the user enter face dergree number. Can this be done with vertex data rather than face true normal in the geometry node, or any magic way to blur the generated output without having to save to a map
to be honest im not overly sure of the difference, I assumed the true normal was more accurate, Do you have any idea’s of how to use vertex data instead, or just a better way to do this. Also a blur/distort node would be invaluable for using proceduraly generated textures even if it was just converting the procedural to image that you can set the resolution of like C4D
The True Normal is what the actual geometry says. It’s the normal that’s used when you set shading to “flat”. The “normal” Normal is the interpolated normal you get from shading “smooth”. Usually it’s the one you’ll want to use.