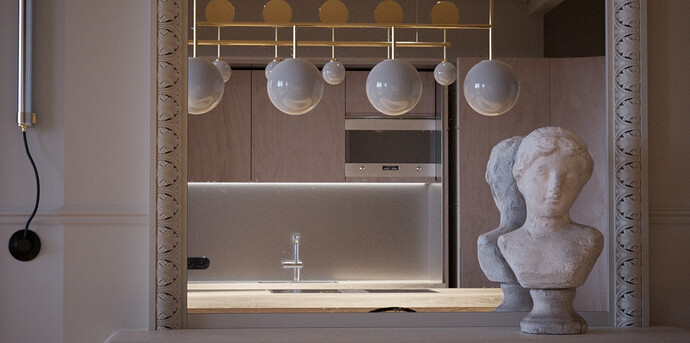
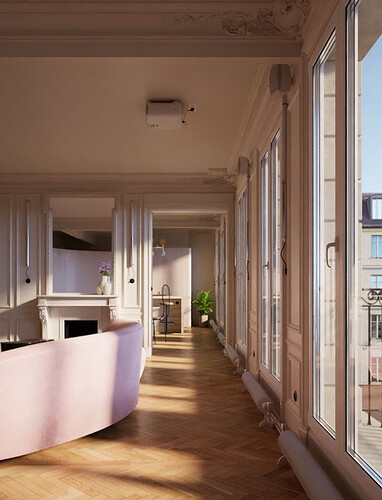
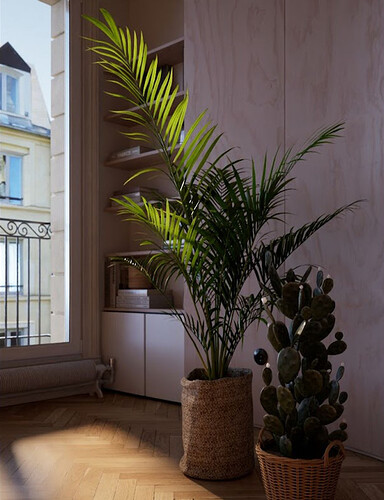
OFF: You should try path tracing in Unreal Engine 4.27. I think it might surprise you  Just keep in mind that by default it is set to 32 bounces and 16384 samples per pixel, so you should change those to something more ‘sensible’ because by default their denoiser kicks in only after the number of samples reached.
I’ve played around with ray tracing in Unreal Enigne 4.X and 5.X. Although I believe I played around with the ray tracing option designed for games, not the “offline render/ground truth” option.
It’s nice (and I have considered using it for some projects), but prior knowledge working Cycles and the integration of Cycles with Blender has lead me to stick to Cycles.
Ray tracing is kind of different feature. I was talking about the “ground truth” (like Cycles). In UE 4.27 path tracer works the way you wanted: Viewport progressively updates in real time, in full resolution, as fast as your GPU can process it. It’s kind of like when Cycles X renders an image, but in ‘pure’ real time.
(c) “Virtual tour in Unreal Engine” by ARCHVYZ. Design by Toledano Architects.
It is a quite interesting experience going back and forth between Cycles X and path tracer in UE4.27.
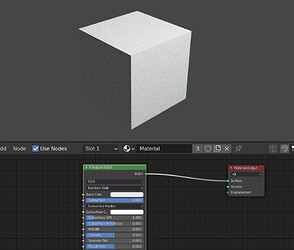
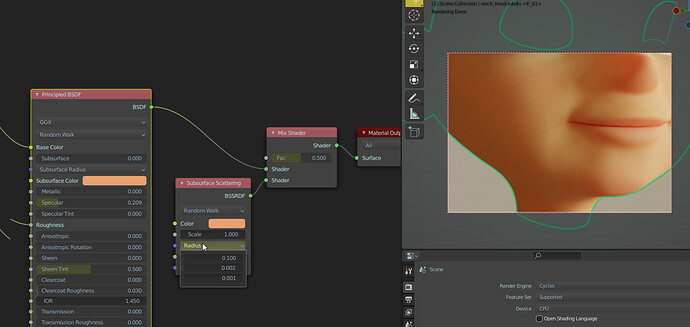
This tutorial can help a lot. In short you don’t need a map to modulate the sss scale or sss radius, you just have to choose a good value for both and the albedo inversion takes care of the rest.
Thanks for the link, but I still don’t really get it.
I am confused about what “good value” means. All I am observing is that the effect that radius has on the translucency seems to be weakened. I need to multiply the radius by about 15 to achieve the previous result, it is almost like the unit of the radius distance is changed to a smaller unit so the numbers need to be larger to maintain the same actual value. I am sure this is not the case, but it just feels like it to me.
Coming from the pervious subsurface system, I have always been treating the subsurface albedo as the overall color, while the radius takes care of the color of the bleeding boarder between light and dark. The two can be completely different colors, like white albedo and yellow radius makes a white candle material. But from what you are saying and what I am reading here, it seems the radius is now somehow automatically calculated from the subsurface albedo? But we still have the radius setting exposed to us, but its impact has been significantly reduced?
I am sure I am understanding this completely wrong, but I just so confused about the new system right now.
EDIT: I just discovered something, it looks like the darker the subsurface albedo is, the stronger the radius gets?
Pure white albedo is almost having no effect, the radius settings needs to be multiplied by around 500 to achieve previous result (I know now I am not supposed to multiply it, just trying to see how far it goes)![]()
With small modifications to the Cycles source code you can get Cycles-X to do this. I might try and do this.
If the scene is heavy enough, viewport updates will be reduced (the same as frame rate drops in the Unreal Engine).
It should also be noted that changing Cycles-X to behave like this will result in reduced ray tracing performance. Hence why it isn’t done already.
The main downside is that Cycles doesn’t have a spatial temporal denoiser, so it can’t match Unreal Engine in that department.
Edit: Here’s a really simple diff that should result in full resolution updates while navigating and responsive viewport updates when not navigating (aiming for 60 updates per seconds (basically fps) if your hardware can handle it).
Few things to note about it: This is just a hack to get it working. This isn’t ideal for performance, it isn’t efficient code style wise, it produces a minor compile error… Basically, don’t use it, it’s not good. And no, I will not submit this patch for code review, nor will I refine the patch and submit it for code review… But if you’re curious, you can try it.
diff --git a/intern/cycles/integrator/render_scheduler.cpp b/intern/cycles/integrator/render_scheduler.cpp
index 7d0012ba705..d1b5fc1f88e 100644
--- a/intern/cycles/integrator/render_scheduler.cpp
+++ b/intern/cycles/integrator/render_scheduler.cpp
@@ -630,20 +630,12 @@ double RenderScheduler::guess_display_update_interval_in_seconds_for_num_samples
     }
     return 2.0;
   }

-  if (num_rendered_samples < 4) {
-    return 0.1;
-  }
-  if (num_rendered_samples < 8) {
-    return 0.25;
-  }
-  if (num_rendered_samples < 16) {
-    return 0.5;
-  }
-  if (num_rendered_samples < 32) {
-    return 1.0;
-  }
-  return 2.0;
+  return 0.016666666;
 }

 int RenderScheduler::calculate_num_samples_per_update() const
@@ -948,7 +941,7 @@ double RenderScheduler::guess_viewport_navigation_update_interval_in_seconds() c
      * low to give usable feedback. */
     /* NOTE: Based on performance of OpenImageDenoiser on CPU. For OptiX denoiser or other denoiser
      * on GPU the value might need to become lower for faster navigation. */
-    return 1.0 / 12.0;
+    return 1.0 / 1.0;
   }

   /* For the best match with the Blender's viewport the refresh ratio should be 60fps. This will
@@ -959,7 +952,7 @@ double RenderScheduler::guess_viewport_navigation_update_interval_in_seconds() c
   /* TODO(sergey): Can look into heuristic which will allow to have 60fps if the resolution divider
    * is not too high. Alternatively, synchronize Blender's overlays updates to Cycles updates. */

-  return 1.0 / 30.0;
+  return 1.0 / 1.0;
 }

 bool RenderScheduler::is_denoise_active_during_update() const
@@ -1053,7 +1046,7 @@ int calculate_resolution_for_divider(int width, int height, int resolution_divid
   const int pixel_area = width * height;
   const int resolution = lround(sqrt(pixel_area));

-  return resolution / resolution_divider;
+  return resolution;
 }

 CCL_NAMESPACE_END
I hope you can understand me.
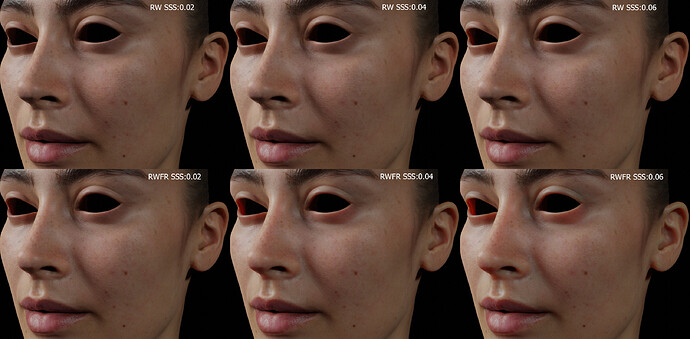
For all your sss materials (randomwal = “RW” or randomwalk fixed radius = “RWFR”) you still need to set sss radius and sss scale. The sss scale should be set based on what your eye feels looks good, for the RGB radius you can look up some values on the internet, control it artistically or use your base color(for some materials). For skin I use (0.37, 0.14, 0.07) in the sss radius (based on Arnold wiki). The main difference(artistically) between the two methods (RW and RWFR) is what happens when you increase the scale value. For example:
As you can see in the image when I increase my sss scale from 0.02 to 0.04 and 0.06 in RW, the sss appearance in general does not increase linearly over the entire surface (this happens because there is something modulating my radius)and it can become a little less intuitive. Clarifying: In the pricipledbsdf node the sss slider control the mix between base color and at the same time it’s use to scale RGB radius,
RGB radius are distance units and sss IOR is only used by RW from my understand
Afaik the Cycles SSS radius is in Blender units.Often it get overseen to import or scale the Model right.
As a example the Arnold basic settings for skin are in cm.If you want to use it in cycles you have to multiply it with 0.01 to get a radius of cm.(If you head model has the right scale and size of about 22-24 cm or 0.22 blender units)
from arnold doc
If the scene is in meters, then SSS Scale can be set to 0.01 to specify the sss_radius in centimeters. For example for skin, the sss_radius could be 0.37cm, 0.14cm, 0.07cm.
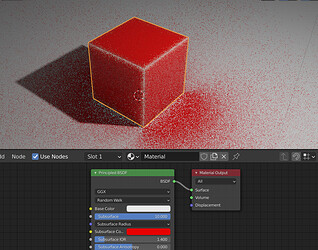
I personally have been avoid using SSS scale in this manner, because it is not only a multiplier for radius, but also a mix factor between base color and sss albedo. Which means if you set you scale to 0.1, dividing the radius by 10 is not the only thing it does, it also leans towards the base color more in the color mix. And if you have a large model and you want to multiply the radius up, if I use the scale and put it above 1 it is going to break energy conservation:
Because the fact that the scale is more of a nested parameter that affect more than one thing, it is, IMO not suitable for being used in this way. If I am multiplying the radius, it will be with the vector math node. If I am setting the scale with what my eyes see, I will primarily focus more on the mix between the base color and the subsurface albedo.
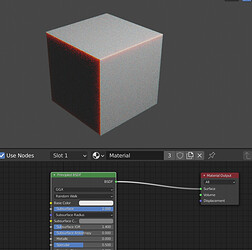
I honestly feel the new system to be complexly nested and hard to work with, I would rather use the fixed radius mode all the time personally. But note that the new system is the default now for newly created material, just not the default cube material. I am sure we will see as Cycles X merges and 3.0 officially releases, the mass users will have a hard time understanding why their old way of using SSS just doesn’t work anymore on the newly created default material.
Assuming all your models have the right “realworld” scale.IE 1 Blender unit is the same as 1 meter.Then the radius has a typical scatter deep for the given material,like the skin scattering is only inside this few millimeter or cm.
Yes we made a test weeks ago at blenderartists,the scatter amout works as blend and multi of the radius at the same time.But as said if your model has the right scale and the scatter the right length.you would set the SSS amount then at 1 for full scatter depth,or use a map for the amount.
Well, nothing will stop the users from having giant SSS objects
That’s not the point, the point is changing the sss scale will also change the ratio of the base color and sss color mix.
No,but this is the point.You can only get plausible result, if you have the right scale size with the model and the units.Otherwise its artistic adjustment.Eg you have a scene with a house a car,trees and what not and a human model,do you want to scale everything bigger because the SSS dont fit?.This makes no sence.
Yes we said this before.But again,it makes no sence to scale a human model for example 20 m tall or something.
Why not? This perspective is too close minded. Just say if the user is making an illustration of Gulliver’s Travels that is going to feature Gulliver himself and one giant. (I actually tried to make something similar a while ago) It makes sense. That’s what I mean by nothing is going to stop them. What if they are making an illustration of a sci fi story of giant meat ball (or Giant meat Suzanne head ![]() ) crashing people’s homes? Anything is possible.
) crashing people’s homes? Anything is possible.
Just thought I would share this here because someone is probably going to report it.
Using a normal map node with smooth shading results in artifacts on the model when rendering with the GPU. This issue has been fixed, but has not been merged into Cycles-X yet. It will be fixed when the developers next merge master into the Cycles-X branch.
Hi all, new here so forgive me if I post in the wrong thread/forum.
I’ve been using the new shadow catcher in cycles-x, but the latest build seems to have removed it?
Looking through the commits it looks like there was a big merge being done on friday.
Is it a merge error or have it moved to another branch or removed completely?
SSS tests
https://developer.blender.org/T90848
Cycles-X with separate SSS and high power. Produces harder surface with strange seams.
2.93 same settings
download this file for tests
The shadow catcher is still there in the latest build of Cycles-X for me. It just appears that the shadow catcher in the viewport has stopped working? Maybe wait until the build bot of Cycles-X is next done and try it again?
I’ve looked into it. If the display was to update 60 times a second (60fps), then you can lose roughly 5% of the ray tracing performance when testing with my hardware (results vary based on hardware, scene configuration, and other factors. This is also an estimate). So, rendering a scene without display updates, you might be able to get 100 samples per second. With a display up every 60th of a second to get 60fps, you may only be able to do 95 samples per second.
The patch I have created is not that bad. It only updates every 10th of a second at the most (10fps) and that’s only for the first second of rendering. In that case, you should only lost about 1% performance at most, and only for the first second, the performance hit is reduced in the following seconds until it reaches a display update every 2 seconds which has very little impact on the ray tracing performance
It should be noted that display updates can change depending on a bunch of factors. I picked some of the bad values I saw in testing just to show off how bad it can get.
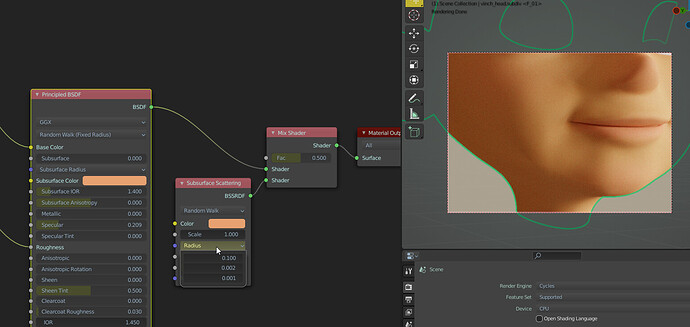
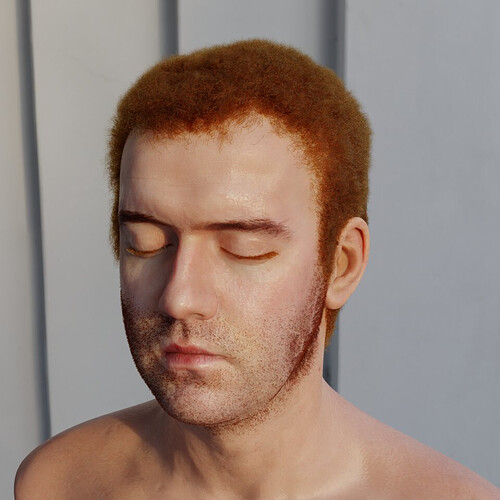
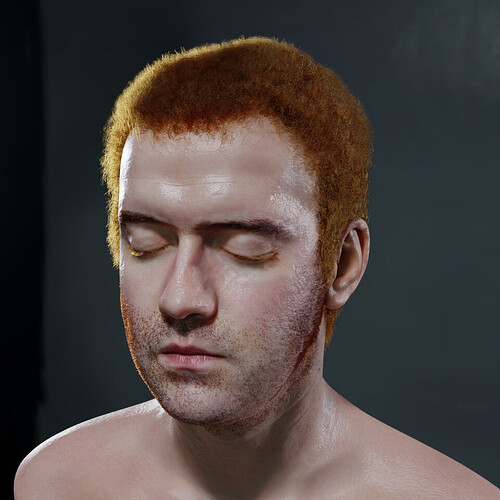
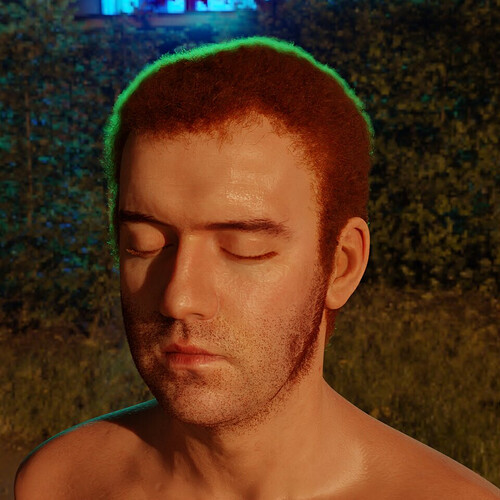
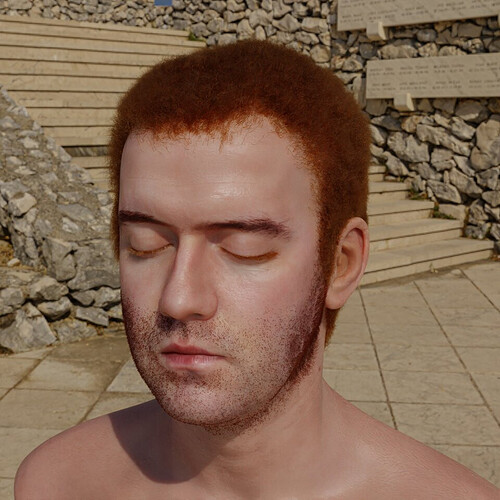
I did some tests, I don’t understand how to use some parameters like IOR and Subsurface anisotropic, but I am satisfied with the result that can be achieved with the Cycles SSS, congratulations.
test with 4 HDRI, white indoor, Studio, Night outdoor, and day outdoor
Hey,
I just watched the stream from sergey today.
And I thought for what do we need tiles?
I mean cycles x is without right? And woldn’t it be slower? And could you turn off tile rendering to render the whole frame like previously?
I was just wondering
