What exactly are you doing for the light source?
This is the sun lamp settings that I mentioned
Right, I have no idea how this addon works. But it looks like, for some reason, your result looks a good bit darker spectrally. This should not be the case.
Here is the UI without the addon:
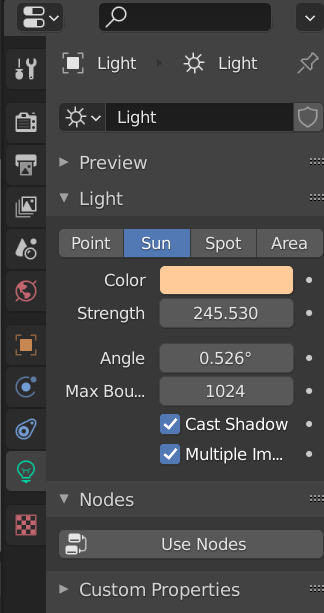
It basically just gives you control over color using Kelvin color temperature, and it adds some luminance units for lights (such as Lux for Sun, Lumen and Candla for other light source type) so the brightness makes more sense. In the previous image I intensionally keep the original Blender unit for sun (Irradiance) so it would not be as confusing
Emm, this is strange
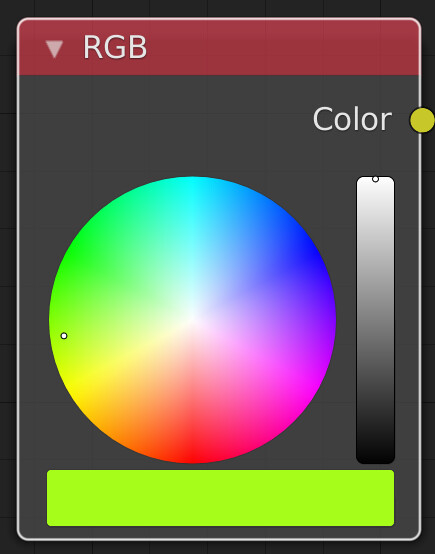
Is this build intentionally keeping the user from using fully saturated green when dragging the dot in the color wheel? Why is that?
That’s a @troy_s question but as far as I know it has to do with the OCIO profile. You can still type in colors to whatever you like.
That said, it does let me do this just fine so I’m not sure what you mean.
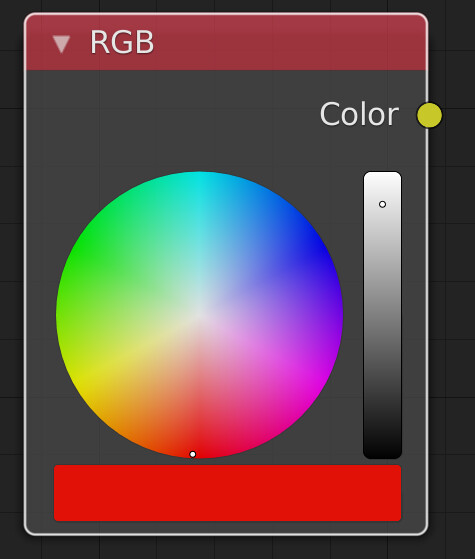
EDIT: wait no I see now. that is very odd. Right around here:
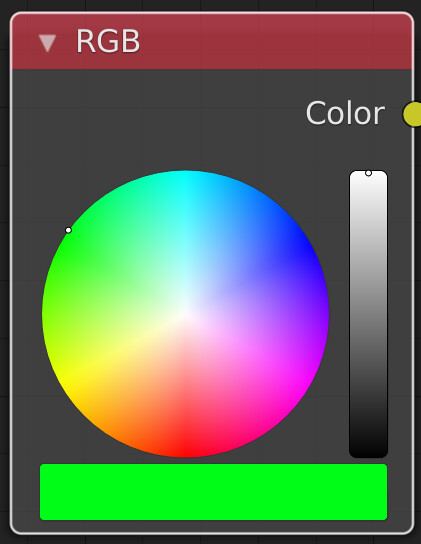
is the closest to the left side you can get. After that, if you drag further down, you only get to here:
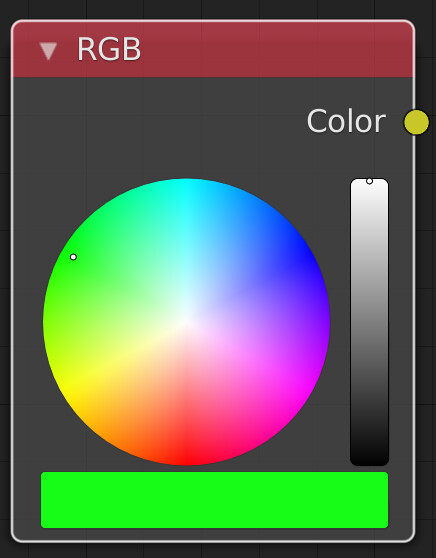
Youc can’t get closer to the edge.
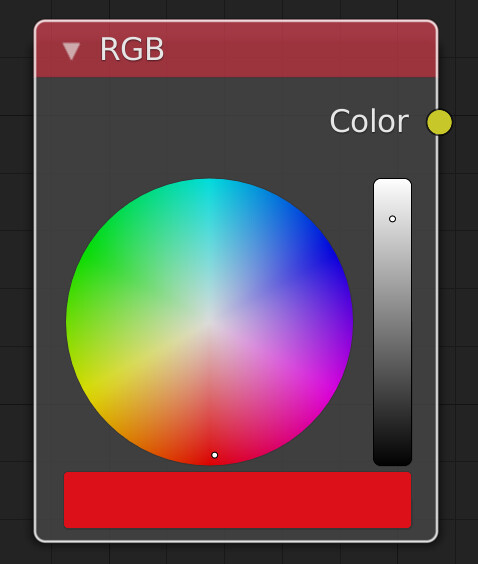
And then,
for a good region, you can’t reach the edge, until
you reach saturated red.
If you then go further to the right from there,
it’ll push you away again until roughly
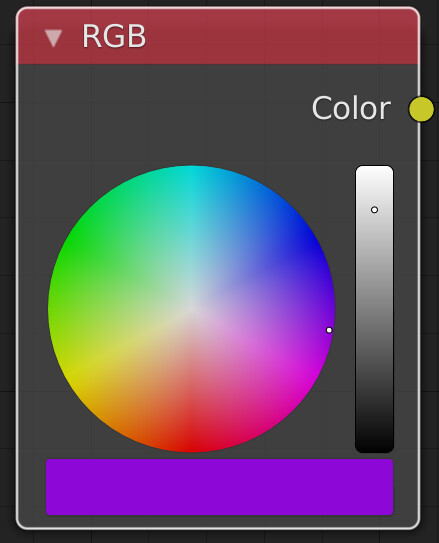
here
The wheels are very problematic due to lacking properly managed controls.
I suspect what is being seen is the simple fact that post transform, the source values cannot be reached. IE the discrepancy between Illuminant E white and sRGB / BT.709’s D65; the chromatic adaptation shifts the underlying primaries.
1 Like
@pembem22 there is some sort of reroute bug right now:
with reroute (incorrect):
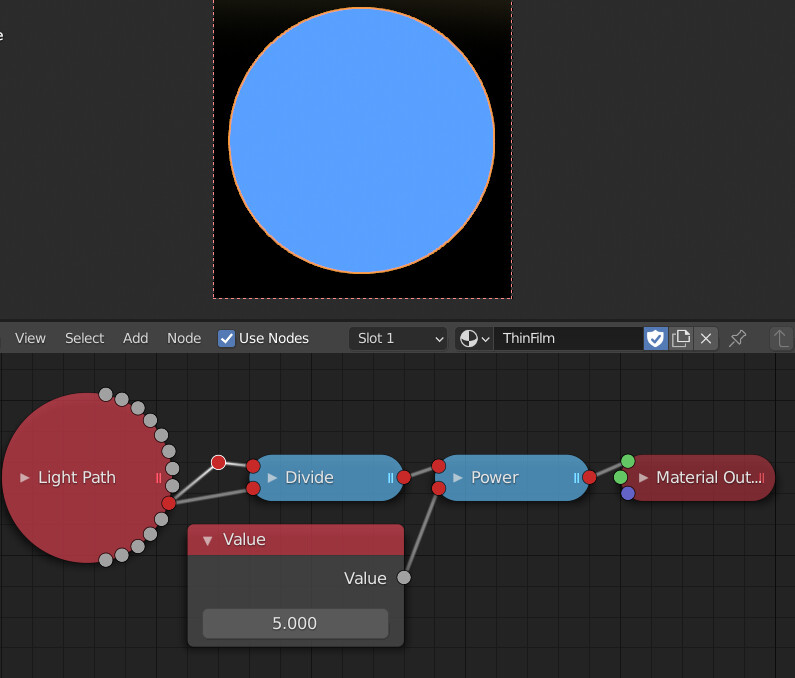
without reroute (correctly white):
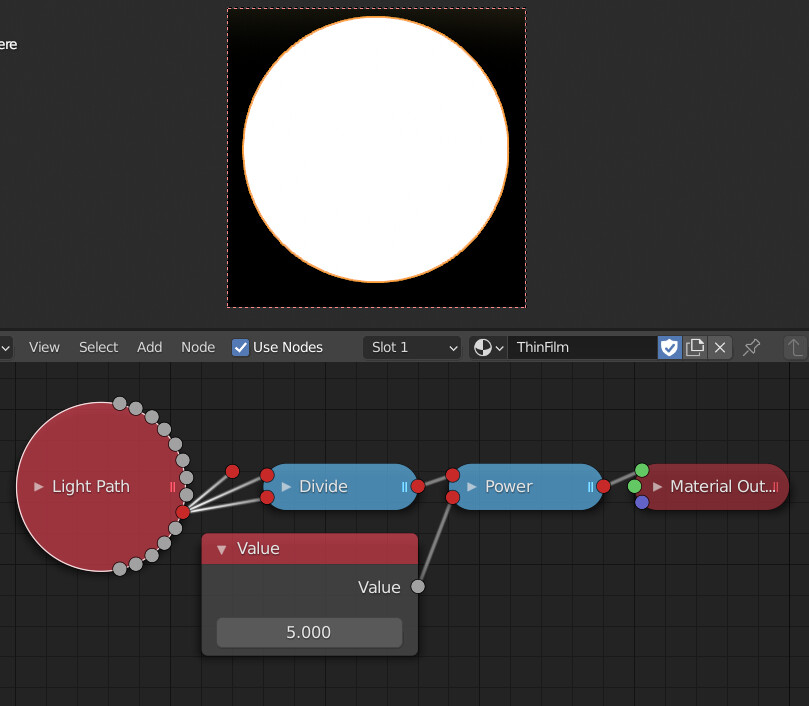
As far as I can tell this seems to be specific to the Light Path wavelength output.
1 Like
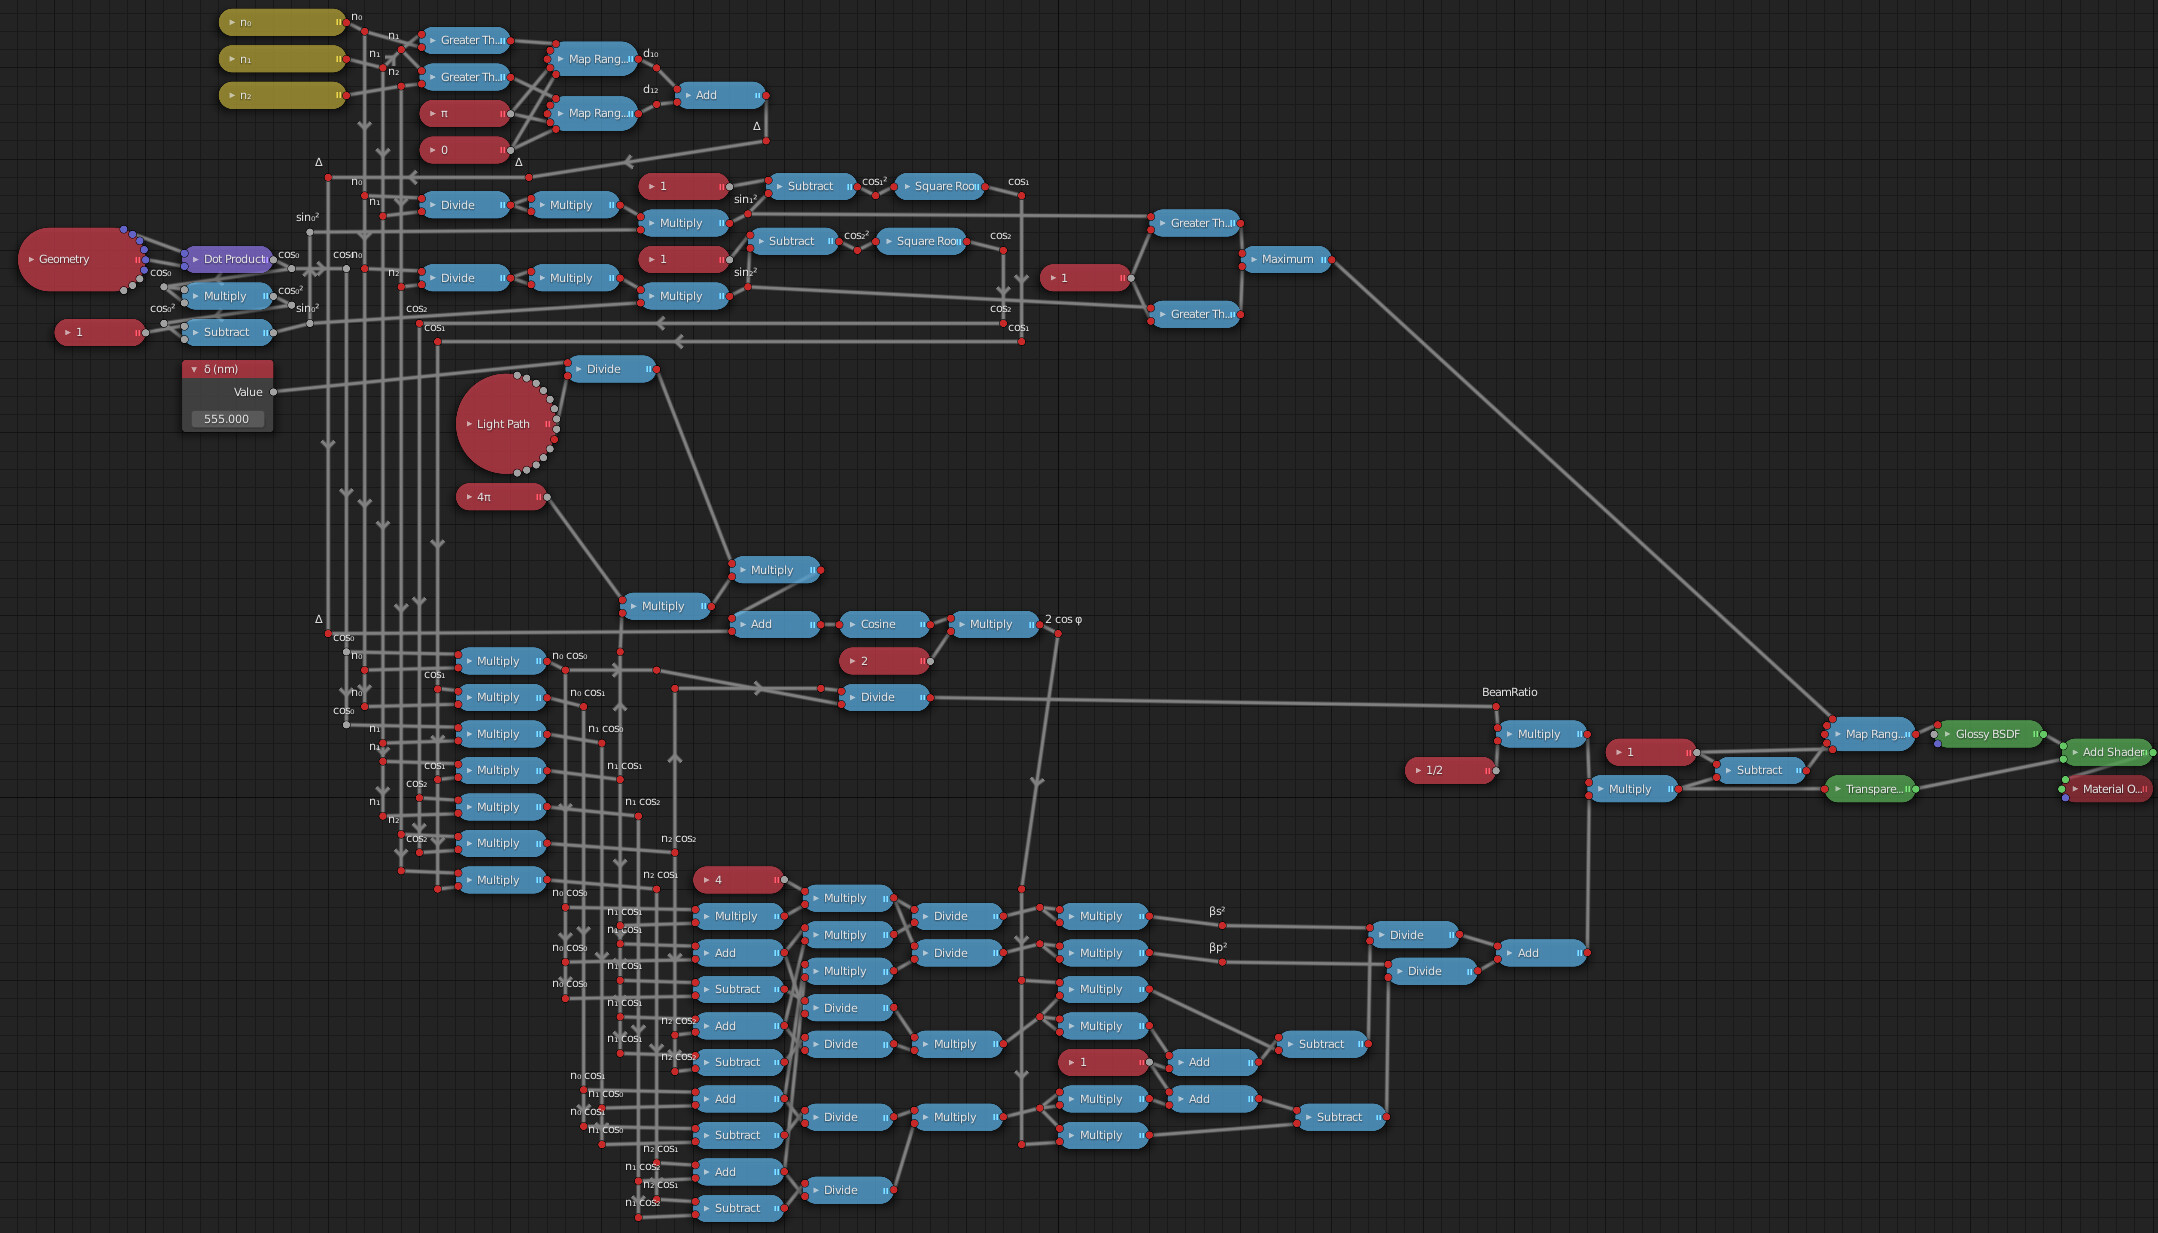
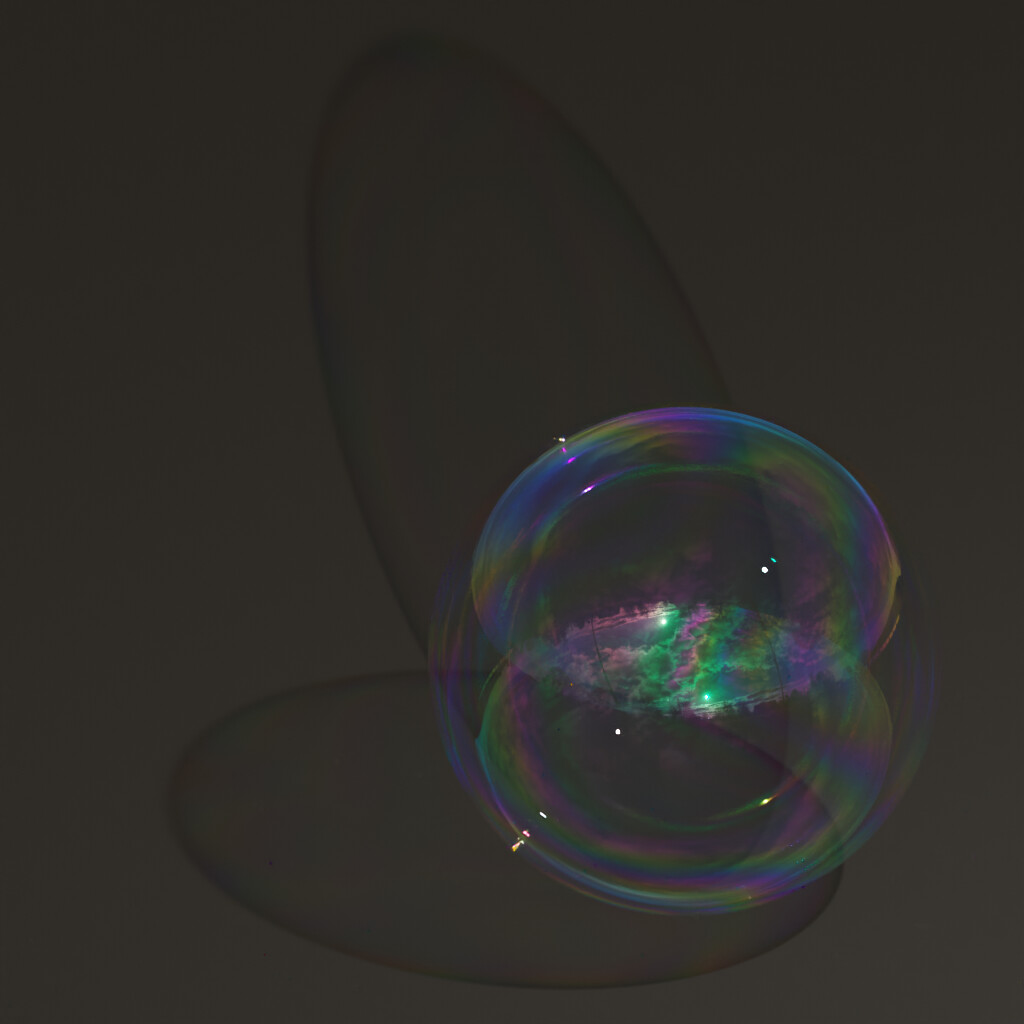
I’m not sure that this is correct. But I think I have a working thin film shader now.
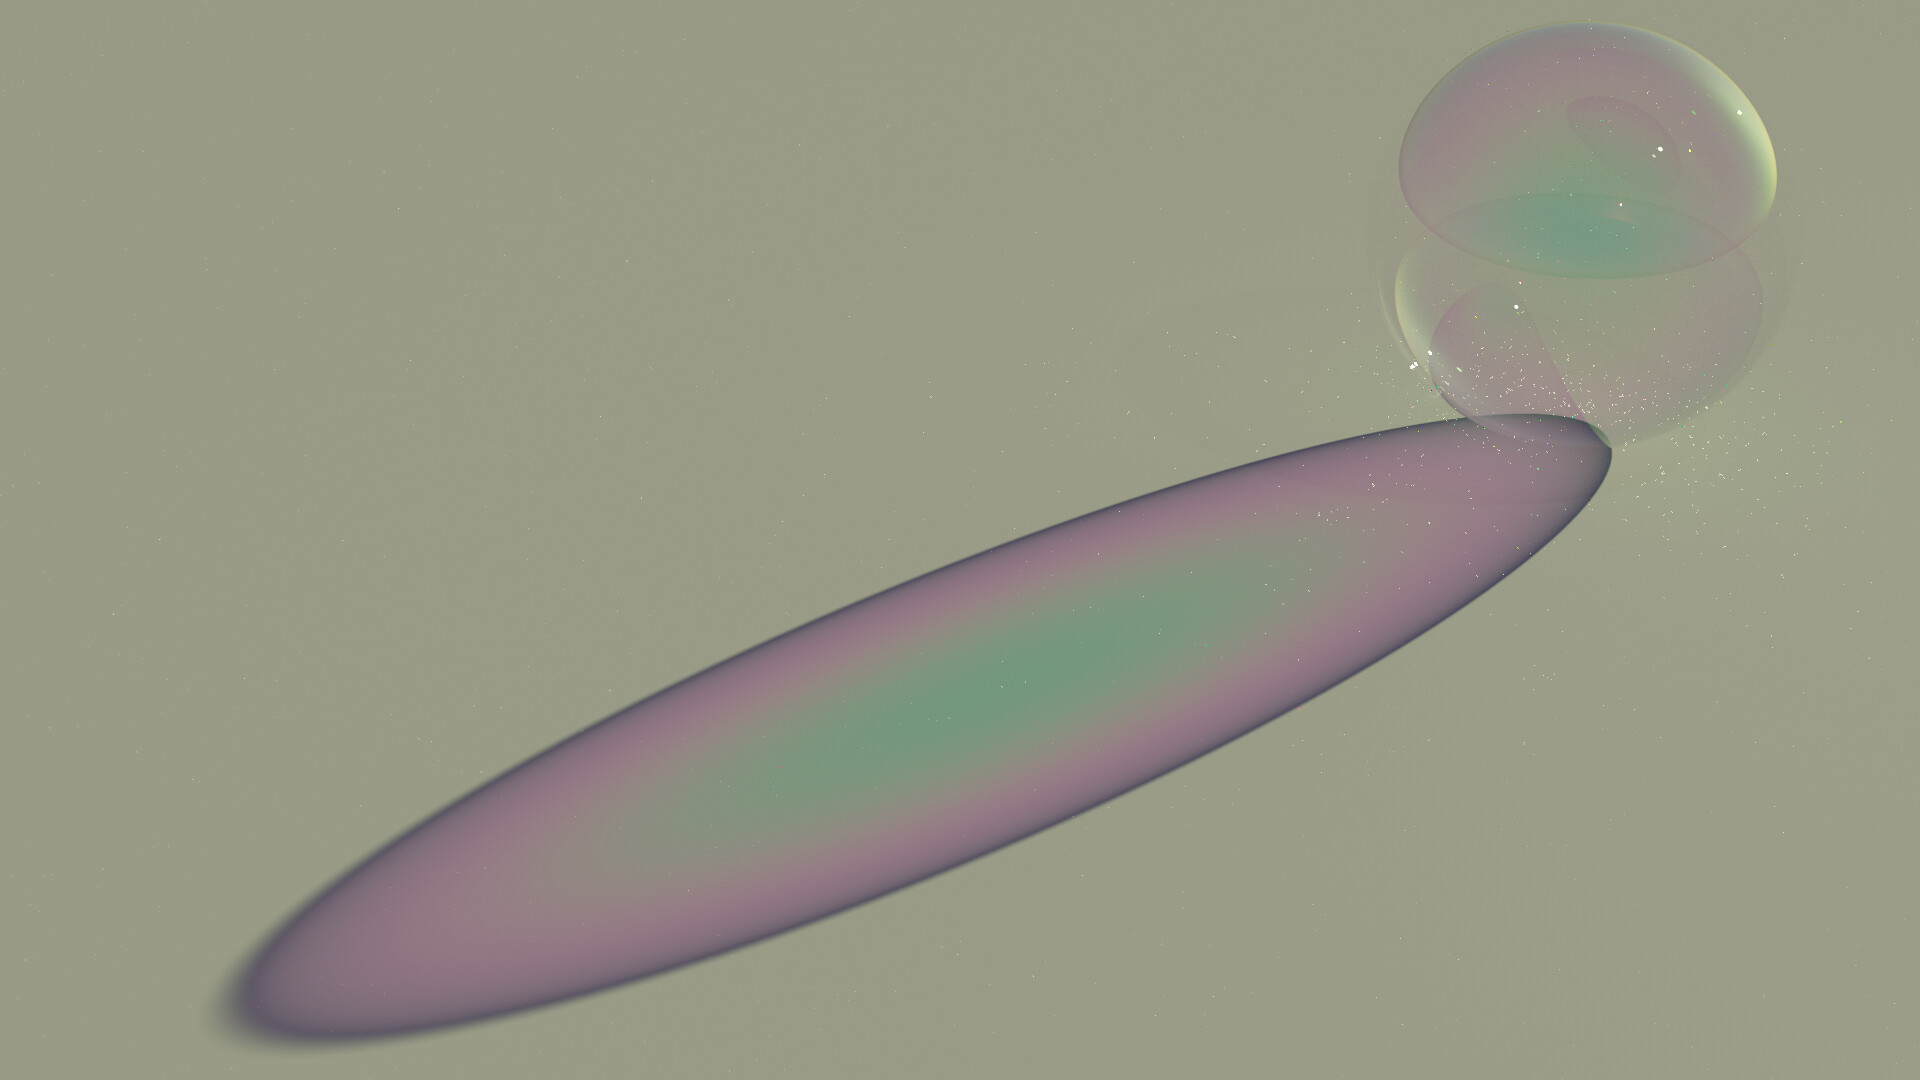
Here’s one with varying thickness:
And the blend file:
https://www.dropbox.com/s/mup8bykdipgllxn/thin%20film%20test.blend?dl=0
17 Likes
Frankly as a user I don’t much care what Brecht wants, I’m willing to trust he has got practical reasons but doesn’t change the fact that this is something I might want.
Though in this particular case I suspect the wavelength lightpath might be more useful for NPR uses than PBR ones(never say never though).
That bubble looks awesome. I’d love to see it against a lighter background, I think it looks perfectly photorealistic.
What’s with that? This twick of the white level is no longer needed, as the latest build has solved the problem from its root. So I disabled the “Use Curves” checkbox at post number 1498
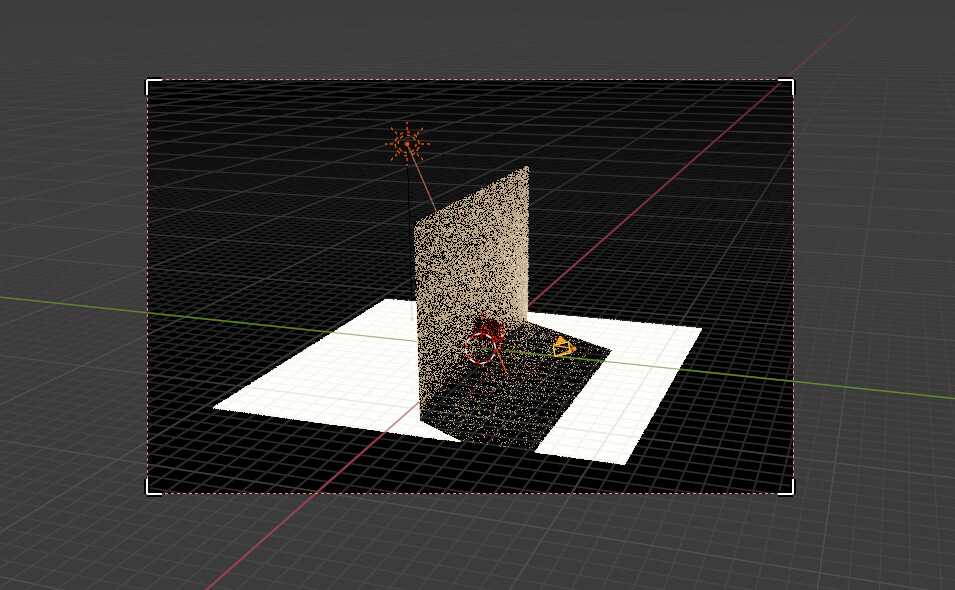
Also that’s not what I’ve done to the light source, this is:
Ah, I missed that you had disabled it. But it could have explained some loss of overall image brightness.
Oh I see what you meant. But because I already disable it so it is definitely not the case. I wonder what the cause of the problem is.
Amazing!!! Can’t wait for it to become one single BSDF shader node!
1 Like
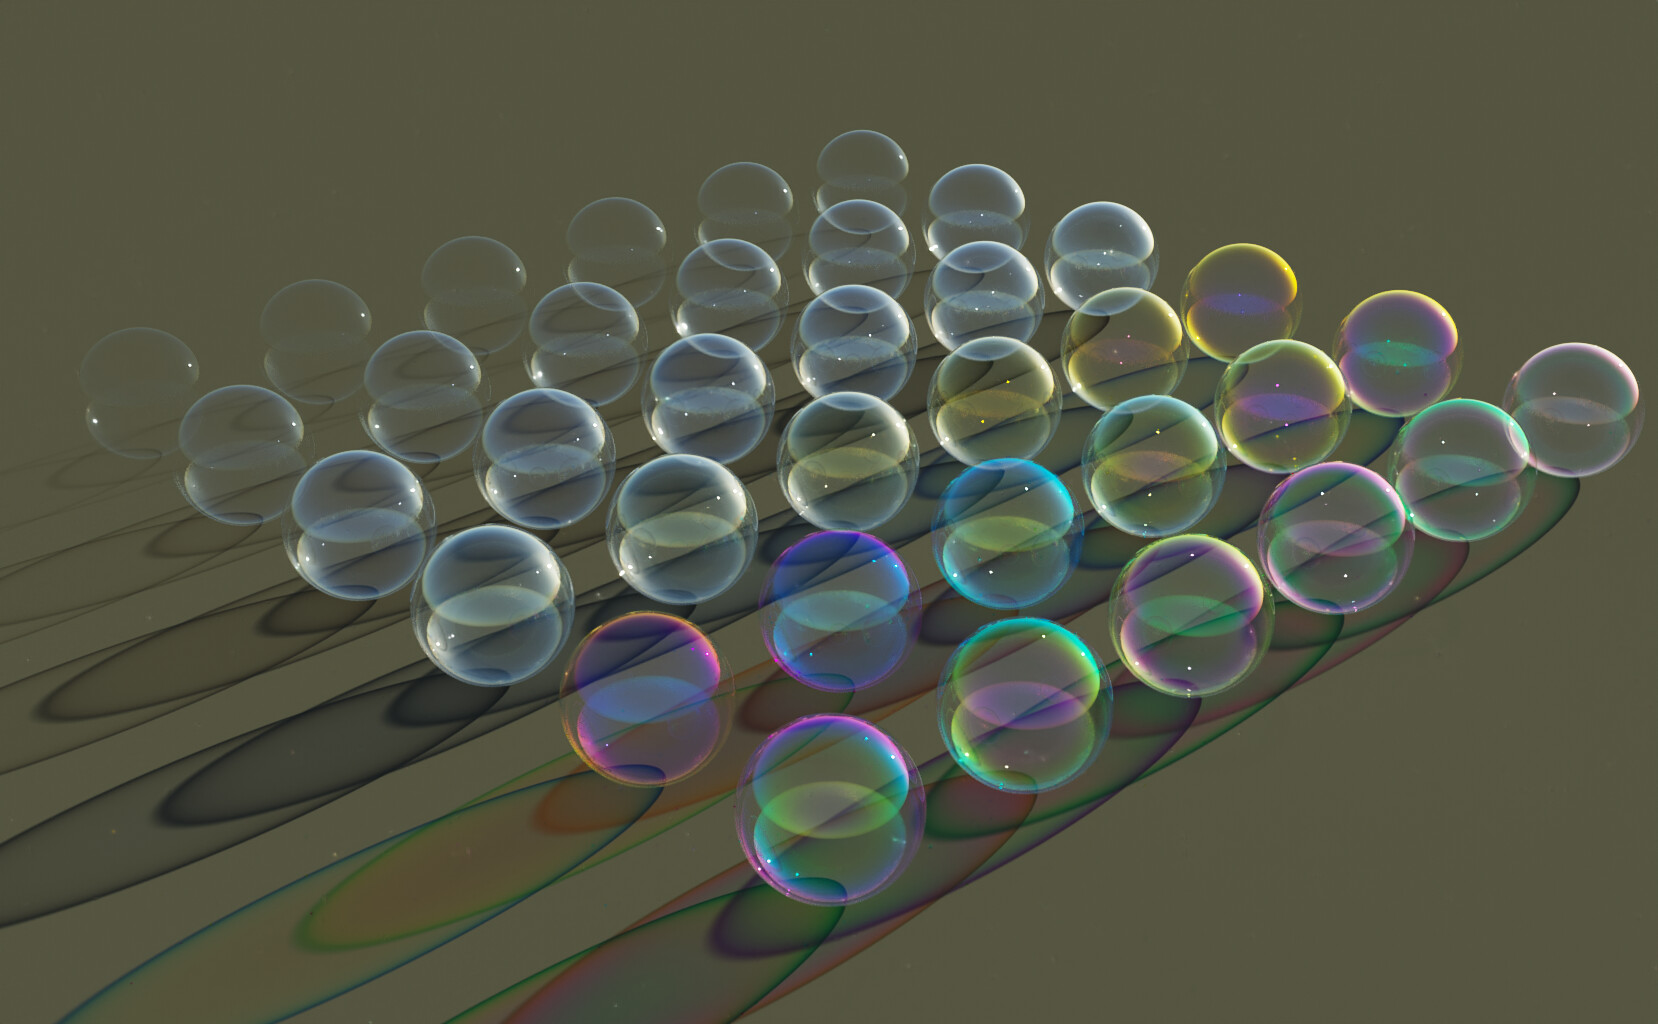
Made a grid of varying thicknesses (these go exponentially from 10 to 1000nm which apparently are roughly the thicknesses you might find actual bubbles in. that said, I didn’t really attempt to match the relevant IOR of actual bubbles)
EDIT: here is a chart of the effect.
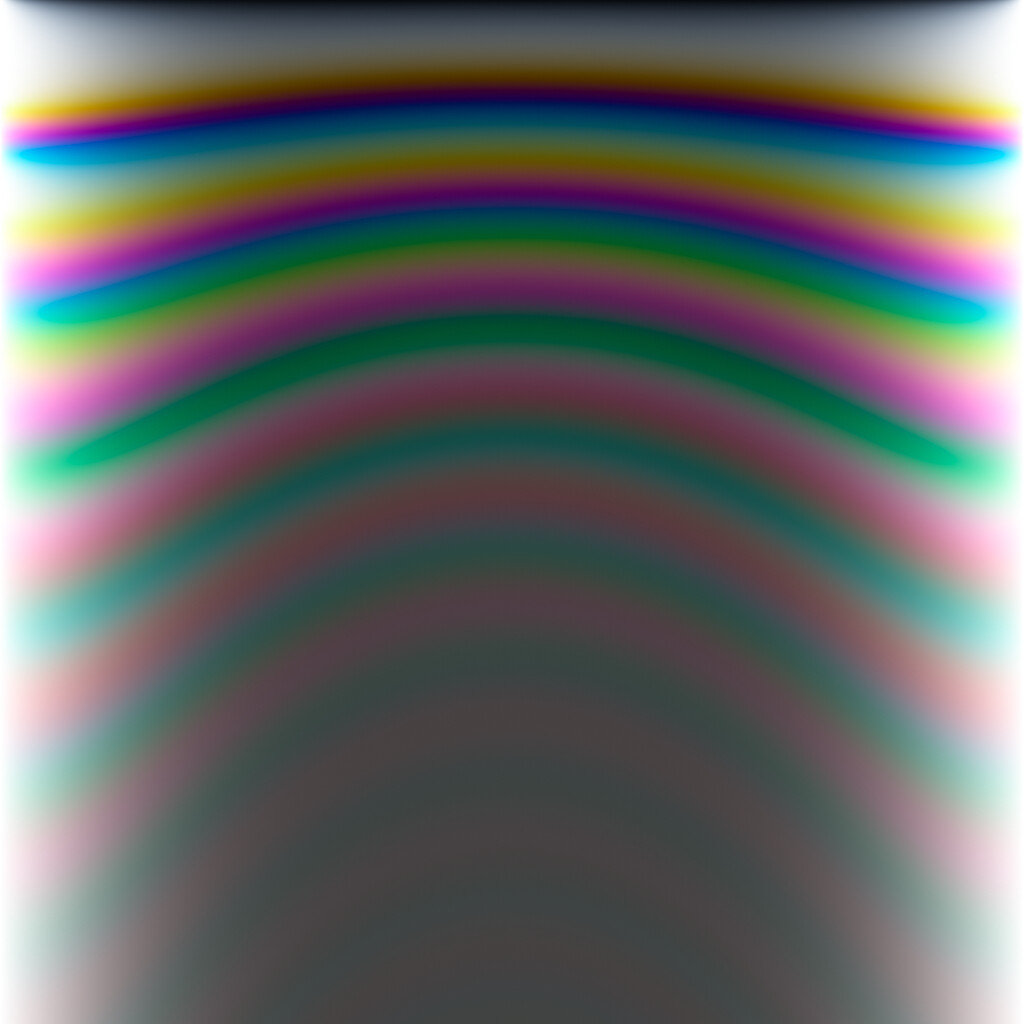
This particular chart was created with thin film IOR of 1.4 and internal and external IOR of 1.
Thickness varies from 0 at the top to 2000nm at the bottom. Left to right is the angle dependence (-90° to 90°) so right in the center is the thing you usually see for these (at 0°) - perhaps you can roughly spot which bubble corresponds to which depth.
16 Likes
…It’s beautiful !
There’s also a new build for macOS 
4 Likes