Also confusing is the difference between Mix and Alpha Over. If you lower the opacity while using Mix, you would expect to see whatever is below - there’s no need for a separate Alpha Over blend mode.
I’m not exactly sure, although the changes in your patch seem perfect for color burn.
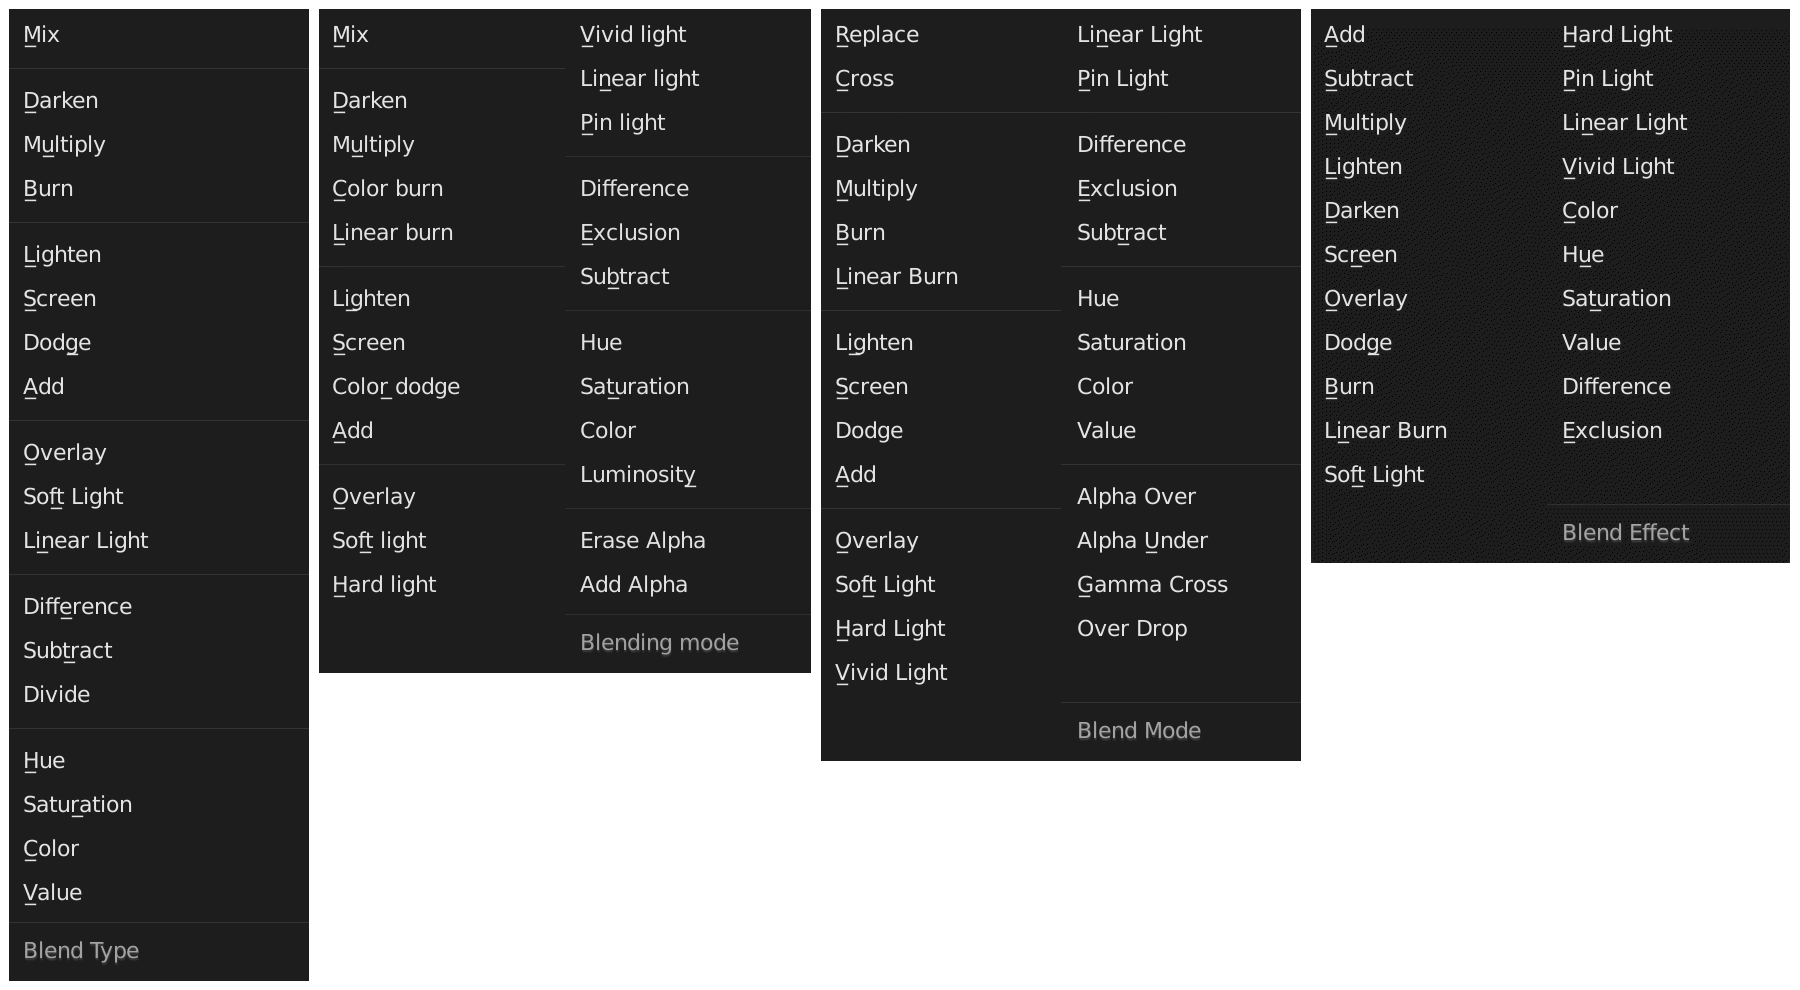
I’d personally lean toward changing everything to match. But where it gets a bit awkward is probably with “Mix” -> “Normal”, which seems great to change for users but mix describes the process better while “normal” is so…generic and implies default. The same with “Add” -> “Linear Dodge (Add)”, which is better for users to see but the process really is just add.
Colour burn doesn’t work on scene referred imagery; it’s an exposure hack for display referred imagery.
Blender would be wise to fix the broken mess in nodes and educate all of the developers sooner rather than later.
A proper dodge and burn are nothing more than exposure adjustments, which is simply a multiply; decreasing exposure with values between 0.0 and 1.0, and increasing with values >1.0.
“Linear Dodge” and the rest of all of that garbage makes my head spin.
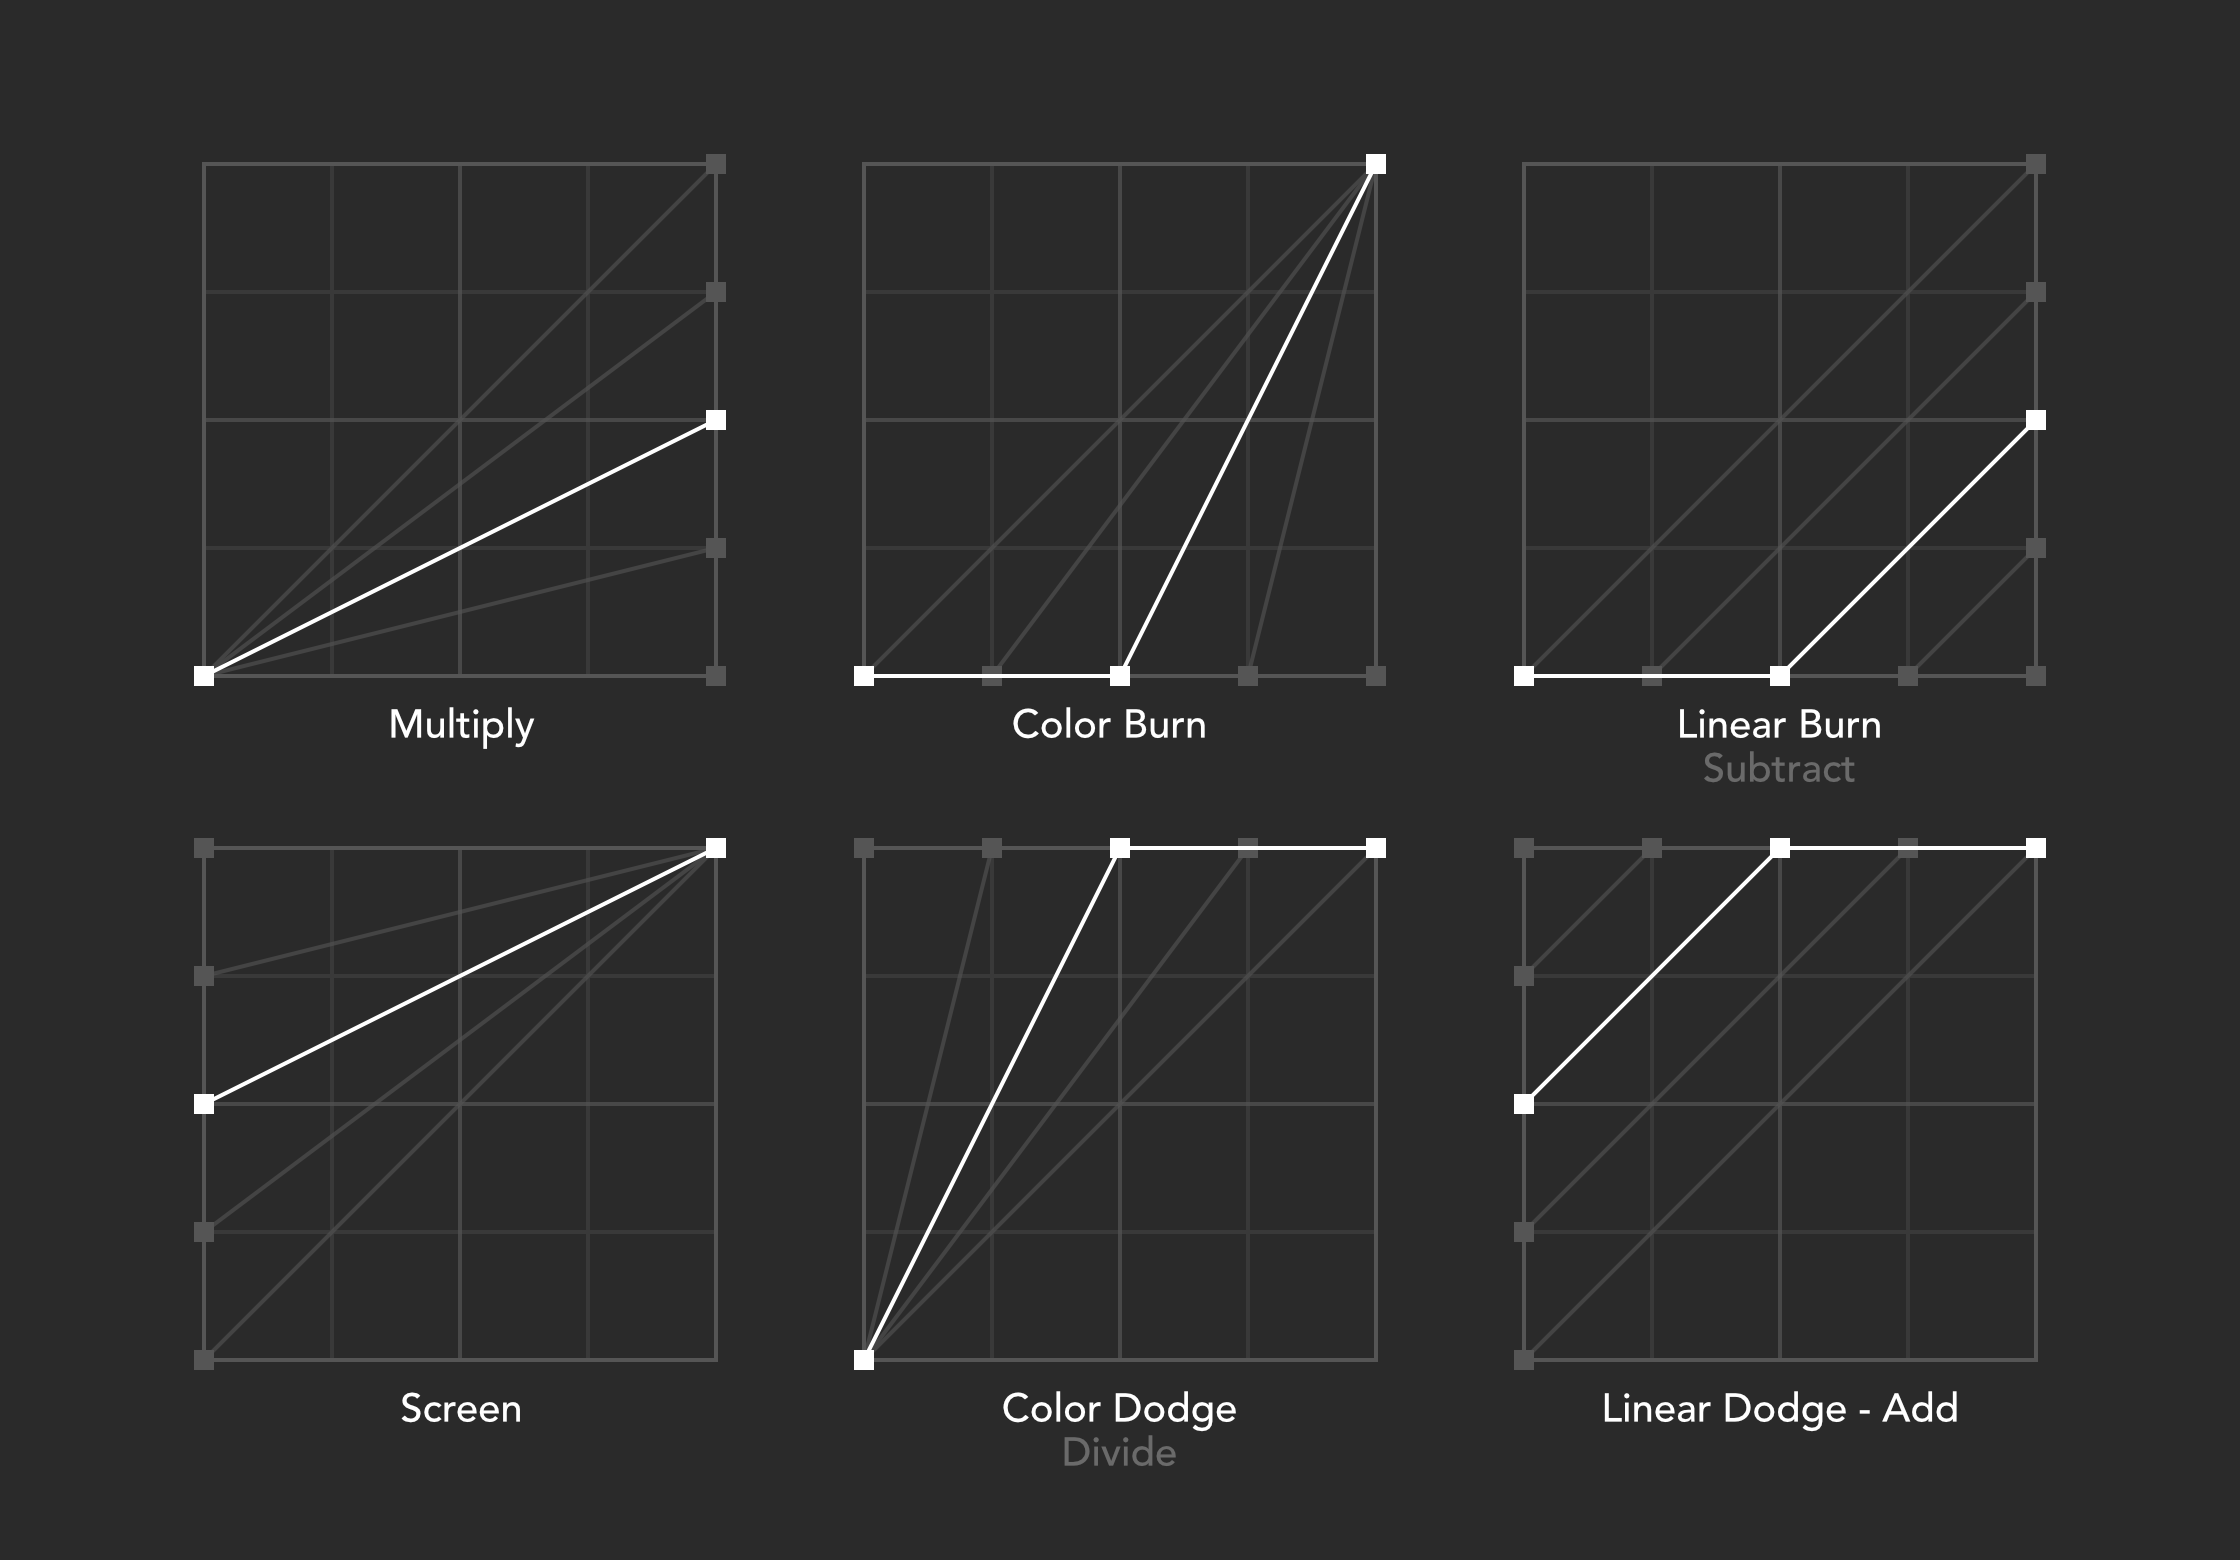
Multiply darkens by decreasing the contrast (darkens the highlights). Color Burn darkens by increasing the contrast (darkens the shadows). Linear Burn darkens equally over the entire tone range.
Screen lightens by decreasing the contrast (lightens the shadows). Color Dodge lightens by increasing the contrast (lightens the highlights). Linear Dodge lightens equally over the entire tone range.
Overlay adjusts the midtones in an image. Soft Light adjusts the midtones by gamma correction.
and so on…
In the Photoshop, for example, most of these blend modes are disabled in 32bit mode. Only basic math operations like Multiply, Divide, Add, Subtract, Difference are available.
As stated, they are display referred only, and hacks that attempt to simulate light transport.
None of that is relevant in a scene referred system. This is precisely why software like Nuke doesn’t use the algorithms set forth by the Adobe PDF specification by default.
Dodge and burn are literally exposure, and are a simple multiply in a scene referred light transport system.
Having had to explain how they are broken to literally hundreds of people, their persistence in Blender is no end of madness and stupidity.