@MC-Blender we don’t intend to significantly deviate from the Standard Surface / OpenPBR layering and parameters. That means we will mainly add some parameters to the transmission panel, and add a thin sheet mode (which doesn’t alter the layering but rather renders them more efficiently for thin geometry).
2 Likes
Subsurface scattering works by specifying the desired color and radius on the surface, and then we figure out the appropriate volume scattering and absorption parameters that will produce the color and radius. That way you can texture it just like any other diffuse surface. We currently only have a numerical fit for the 0…0.9 range.
Possibly it could be extended, but this covers the most common types of materials that subsurface scattering is meant for. With a material that is very highly forward scattering, the light will mostly scatter towards the other side of the object and not come back to the surface. To compensate you have to make the volume parameters more and more extreme and it just stops making sense to think of the material in terms of surface color and radius.
Real world measurements for skin have anisotropy around 0.8, but the difference with 0.0 is quite subtle.
1 Like
It’s a limitation:
https://docs.blender.org/manual/en/latest/render/eevee/limitations.html#subsurface-scattering
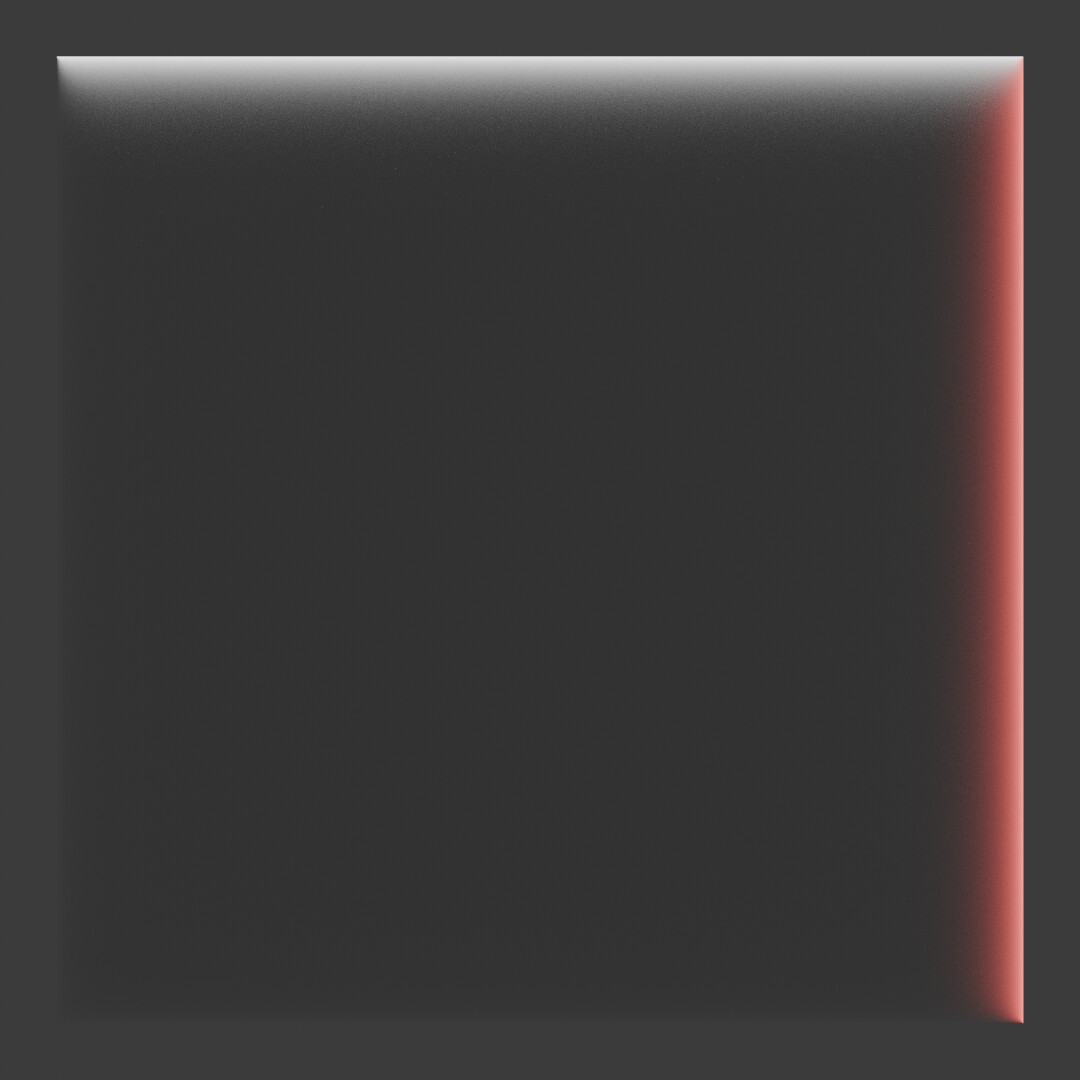
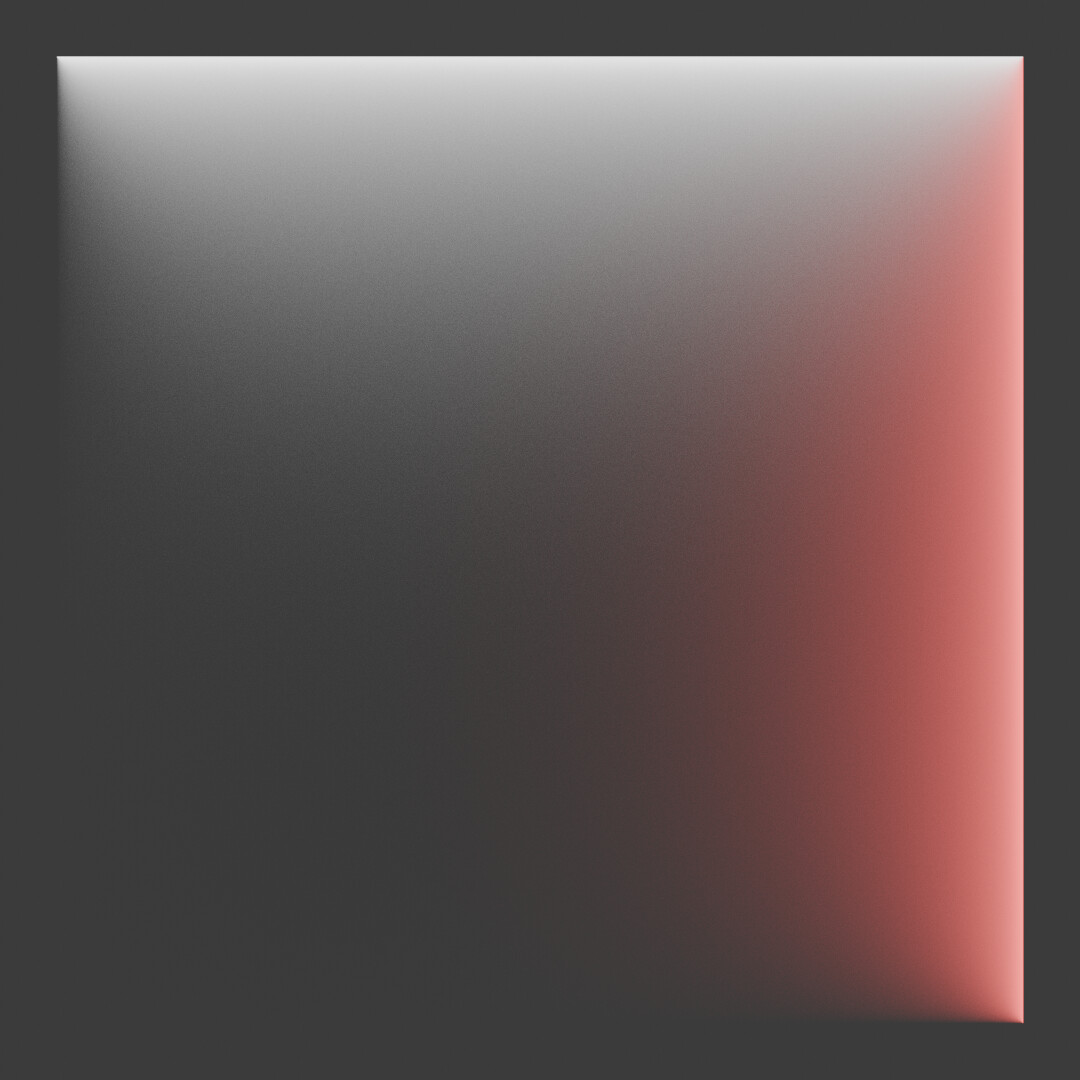
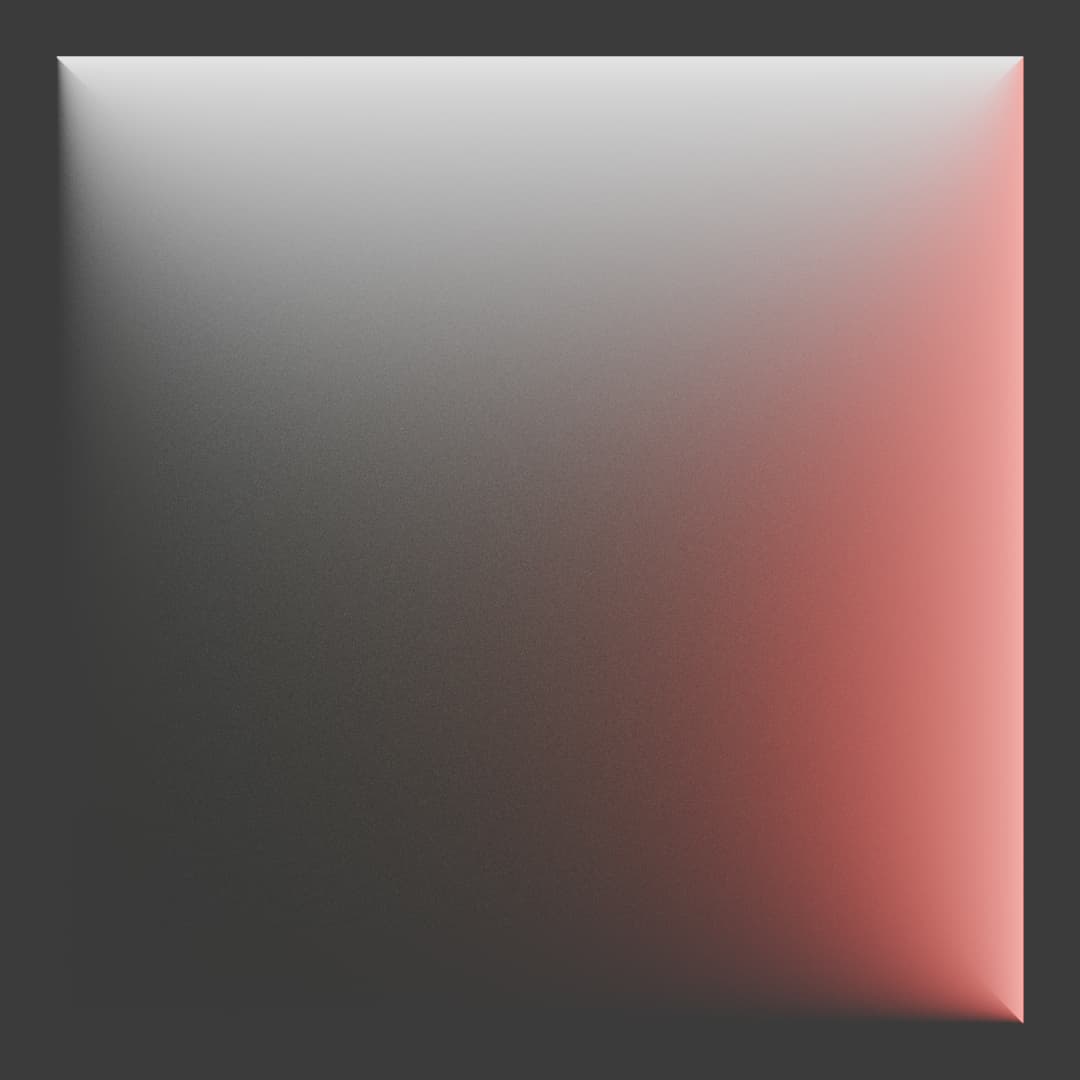
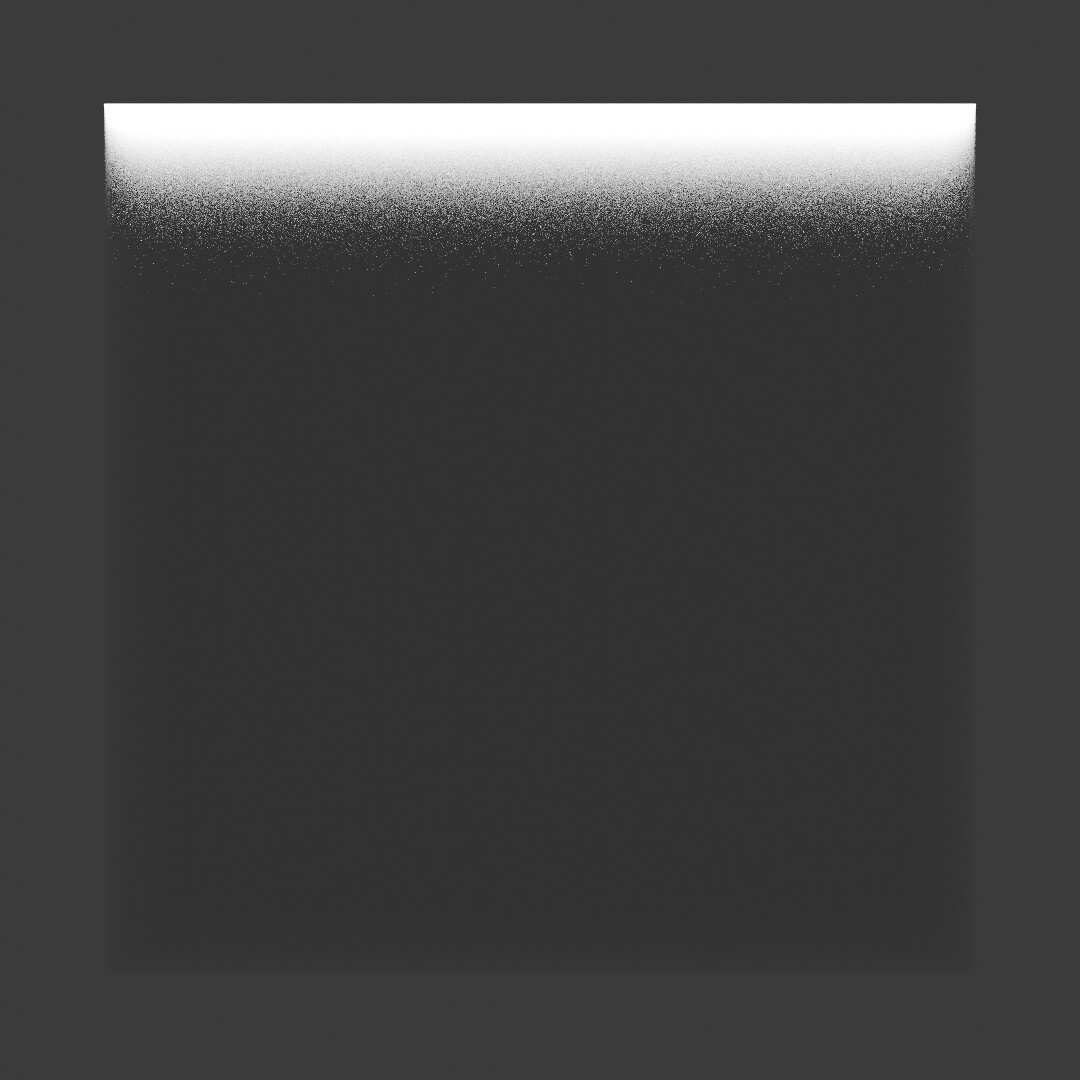
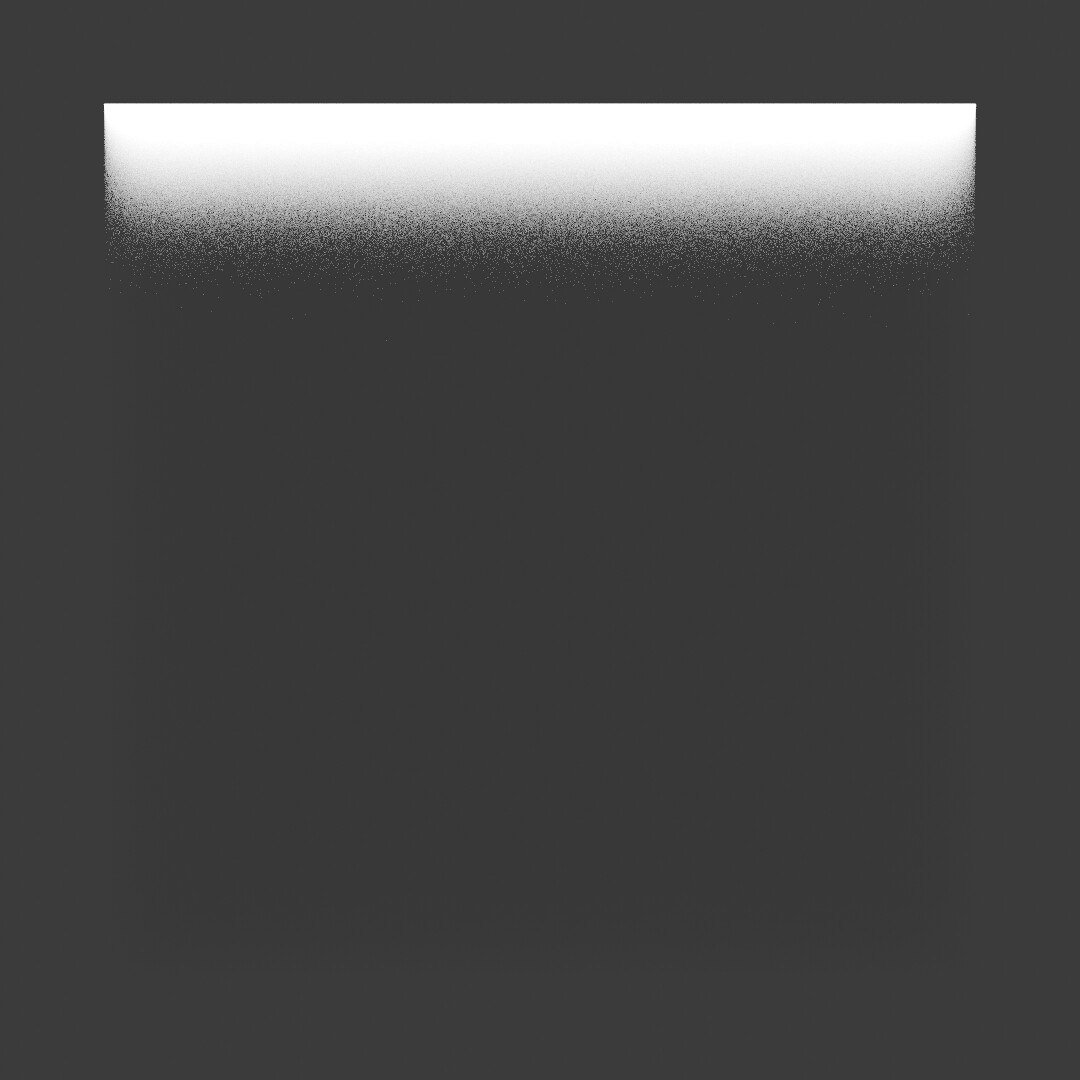
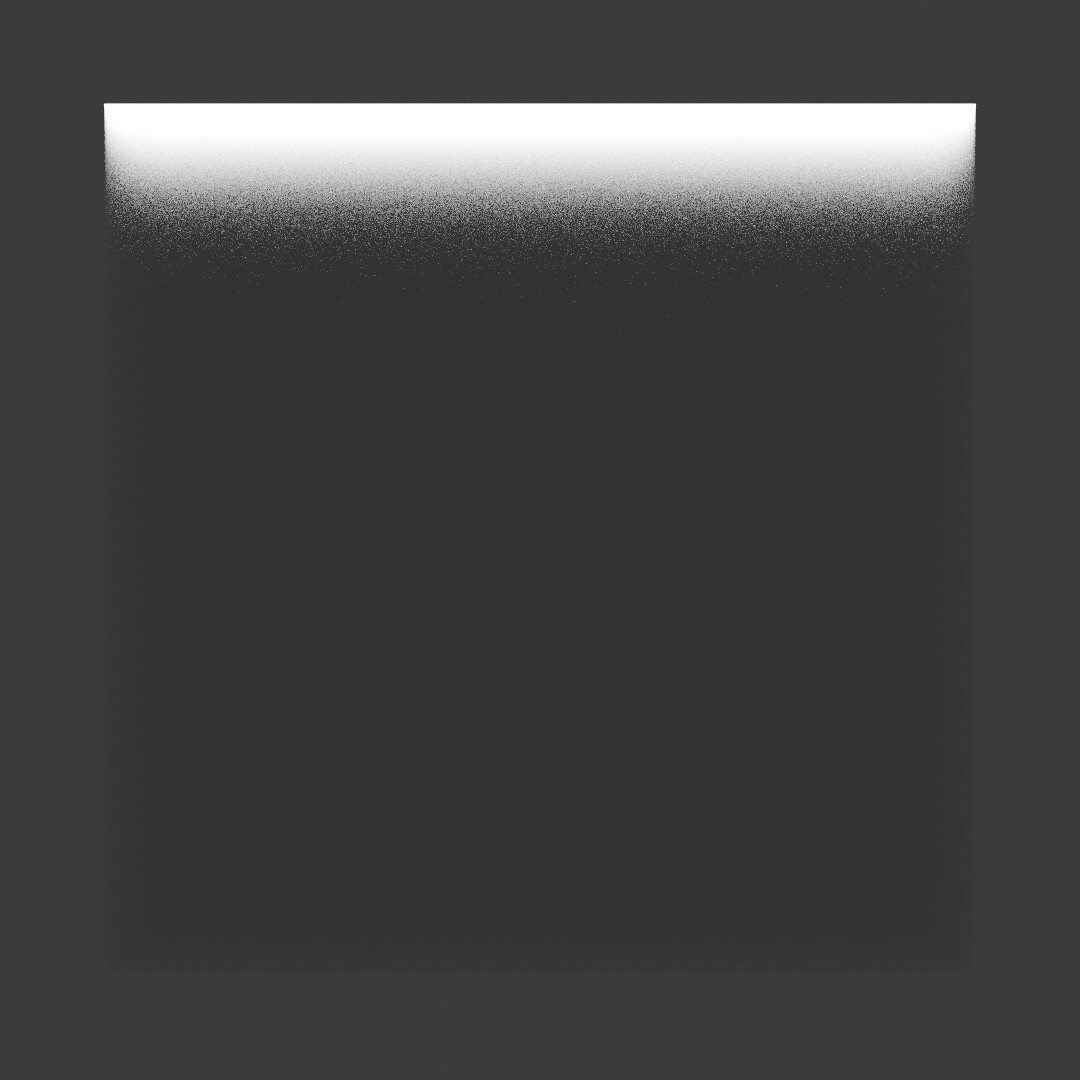
I could just be mis-understanding things. But it seems like the Anisotropy slider is working in reverse somehow. As the anisotropy is increased, the material scatters more uniformly rather than in a “forward scattering” manner. Once again, I could be mis-understanding it.
Here’s some examples:
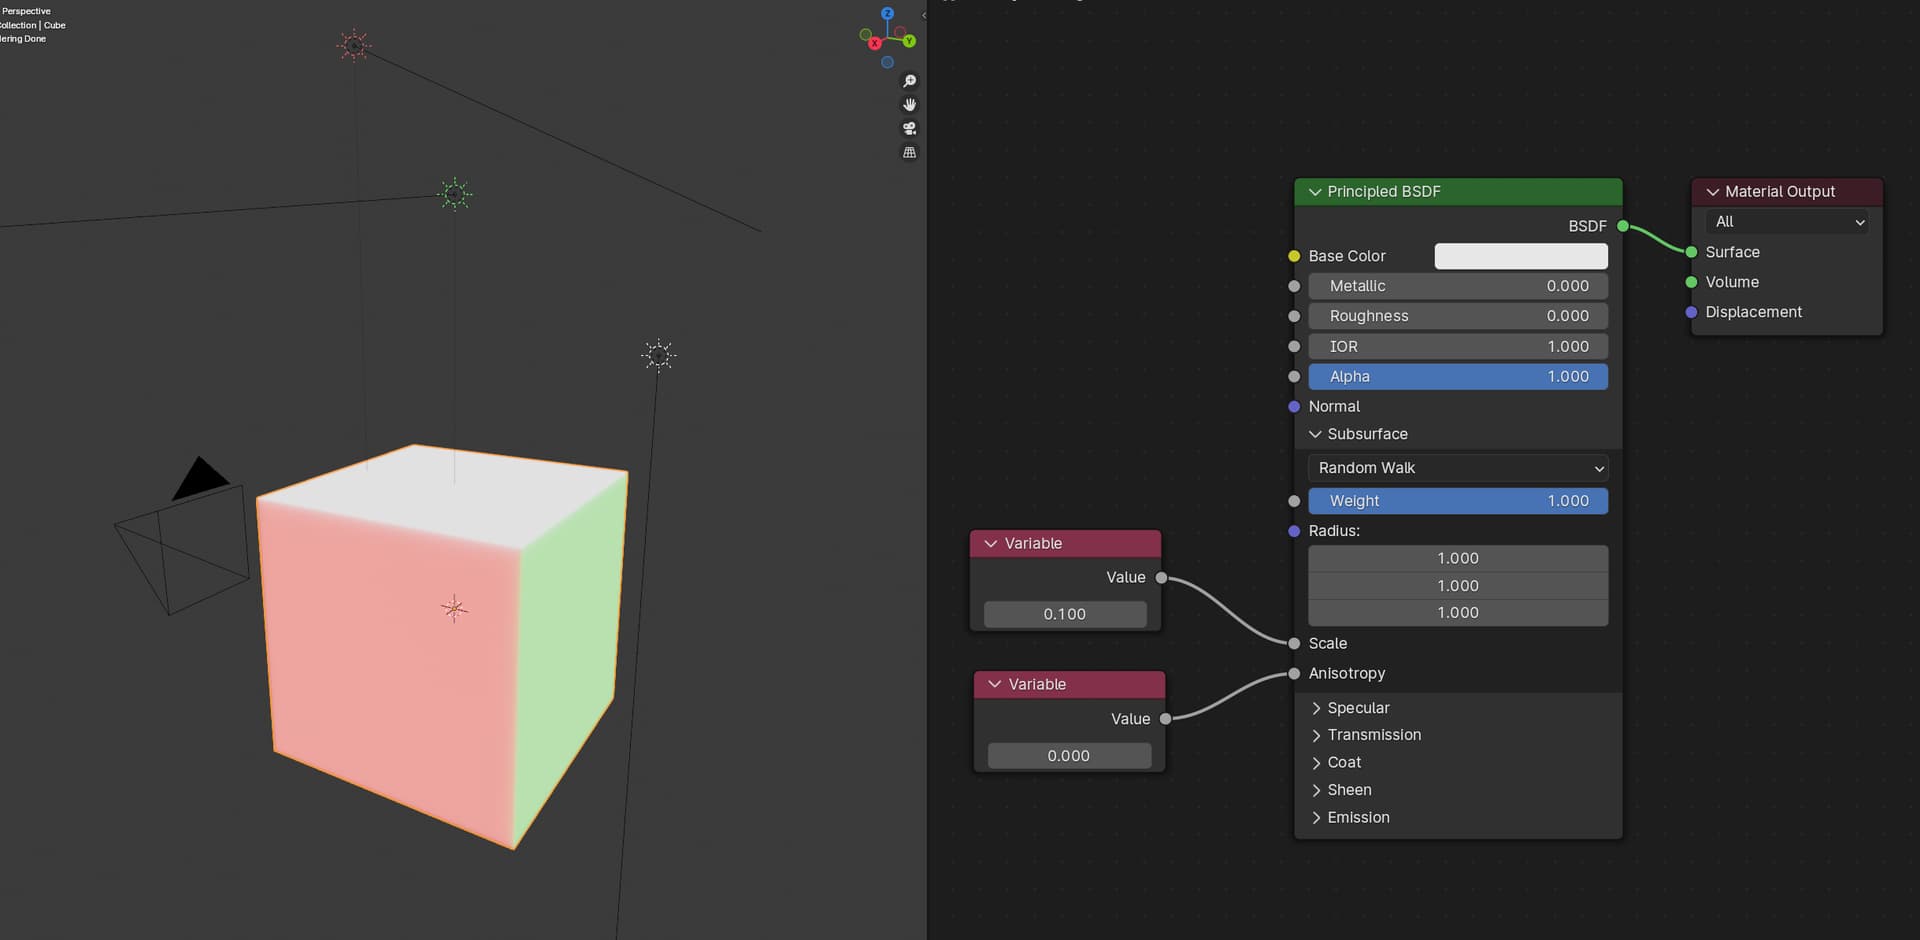
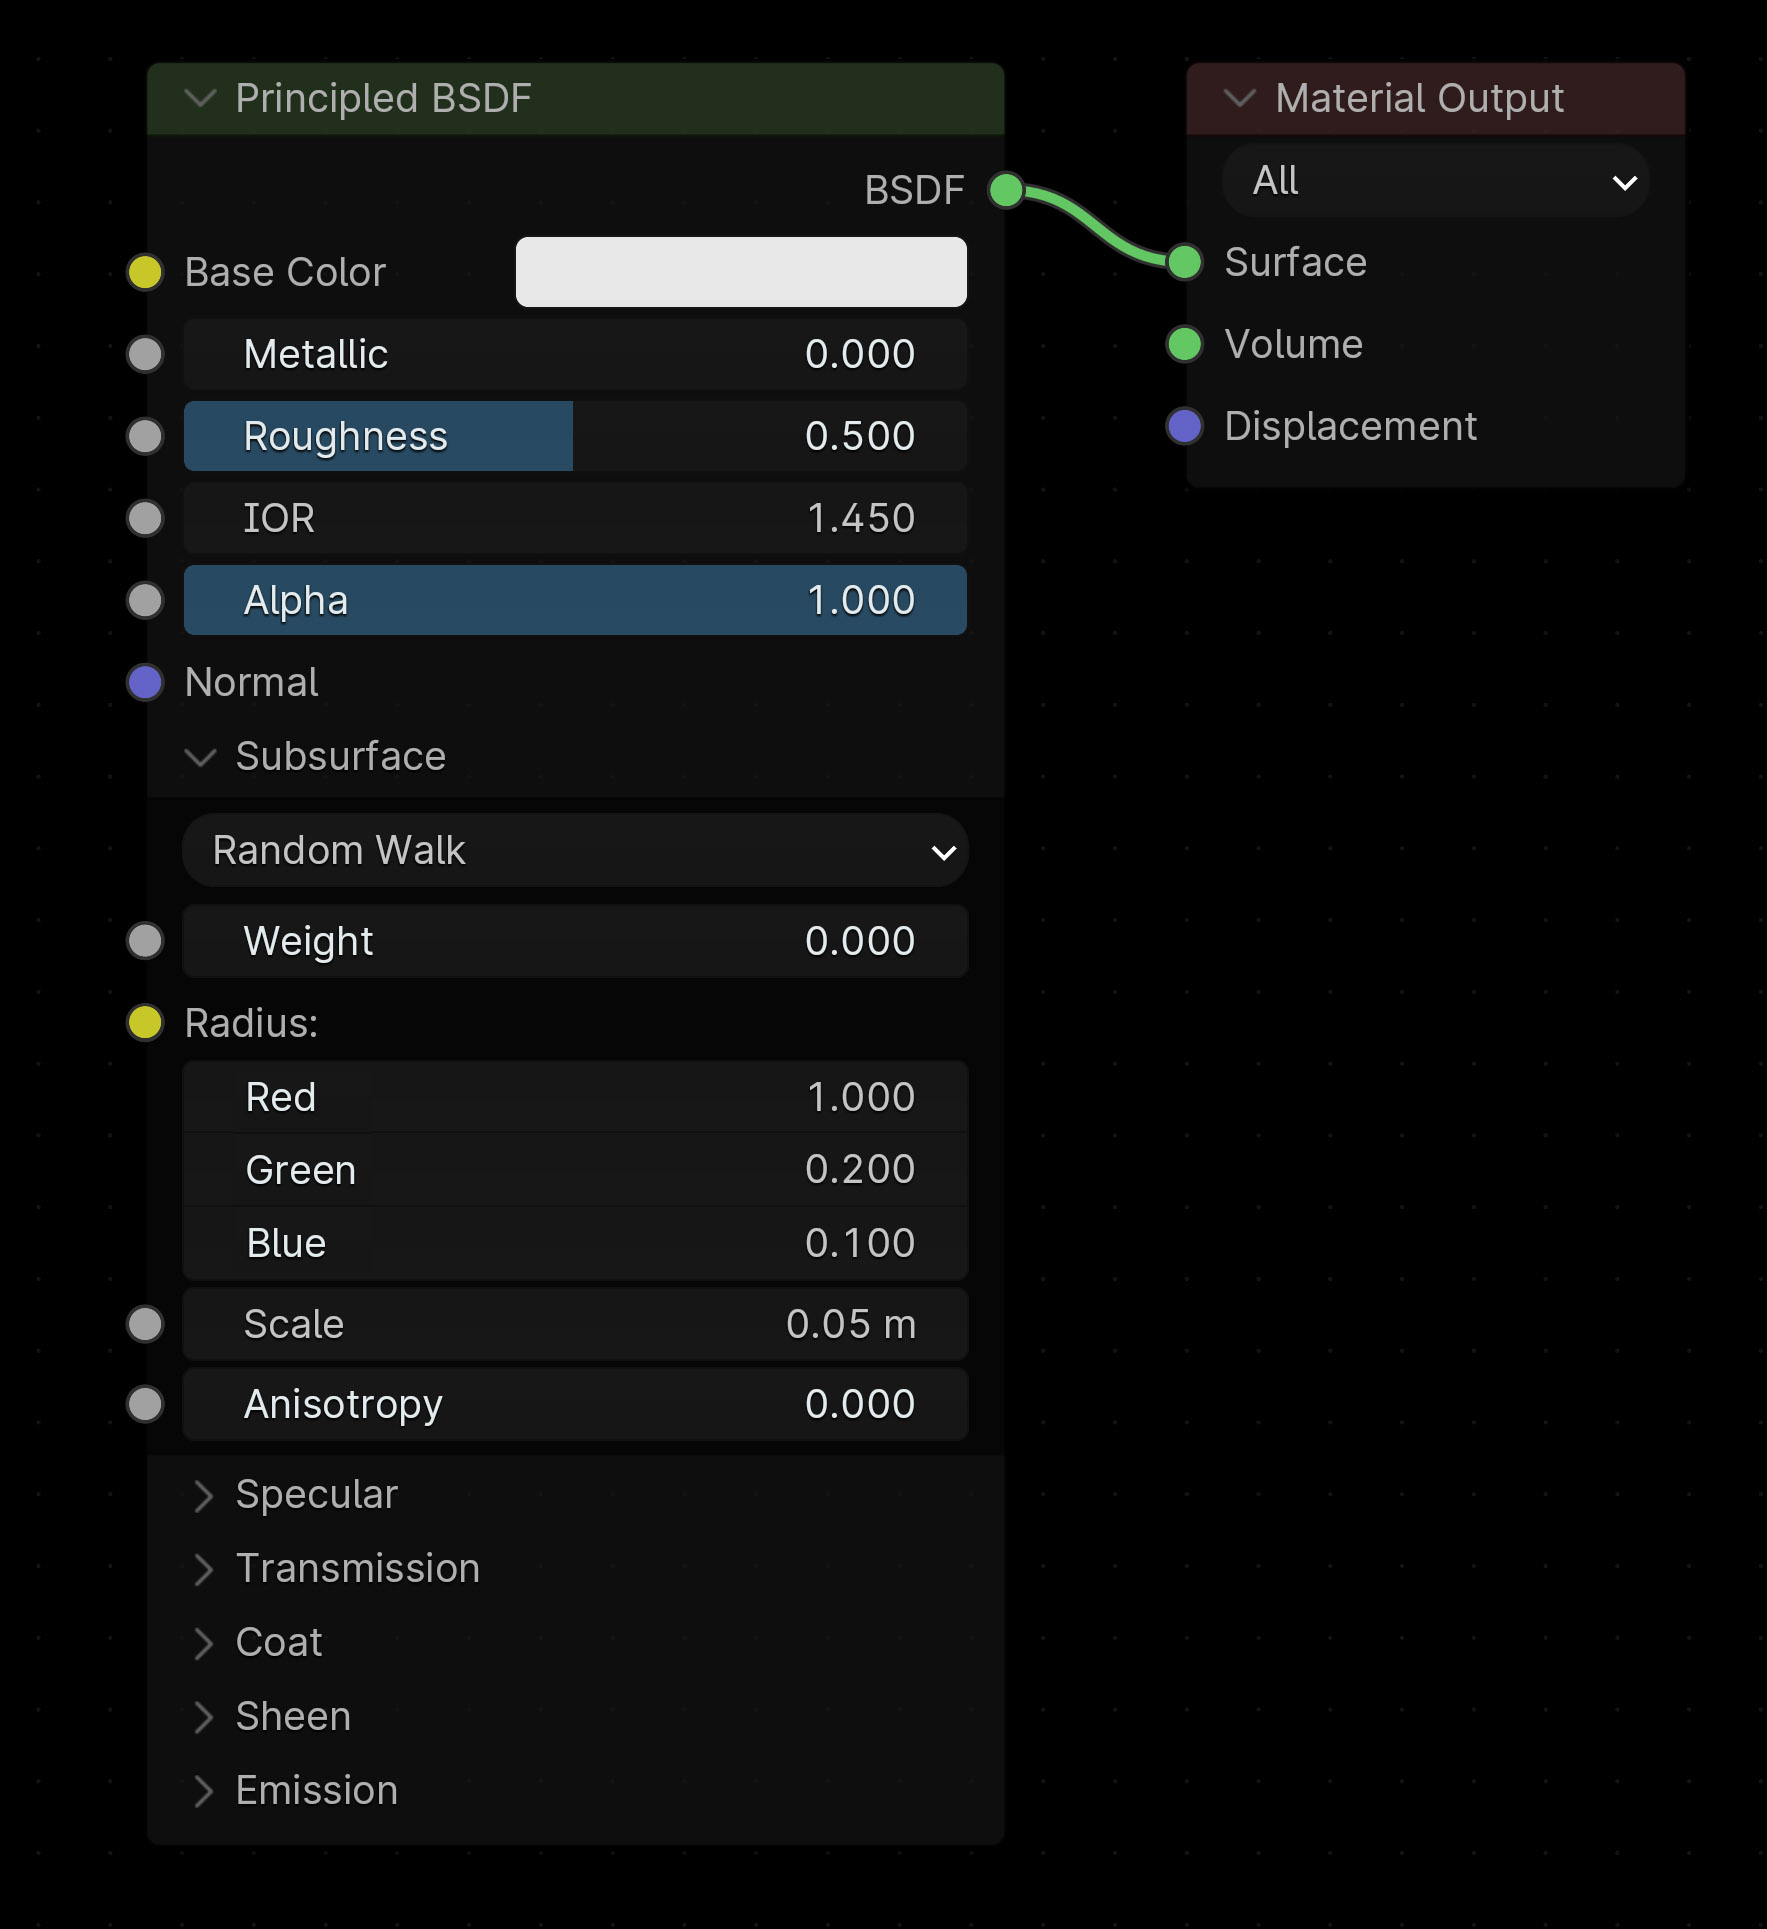
For Reference, this is how the scene is setup, and my material setup (Random Walk, IOR 1.0, Roughness 0). And the cube is 2mx2mx2m in size.


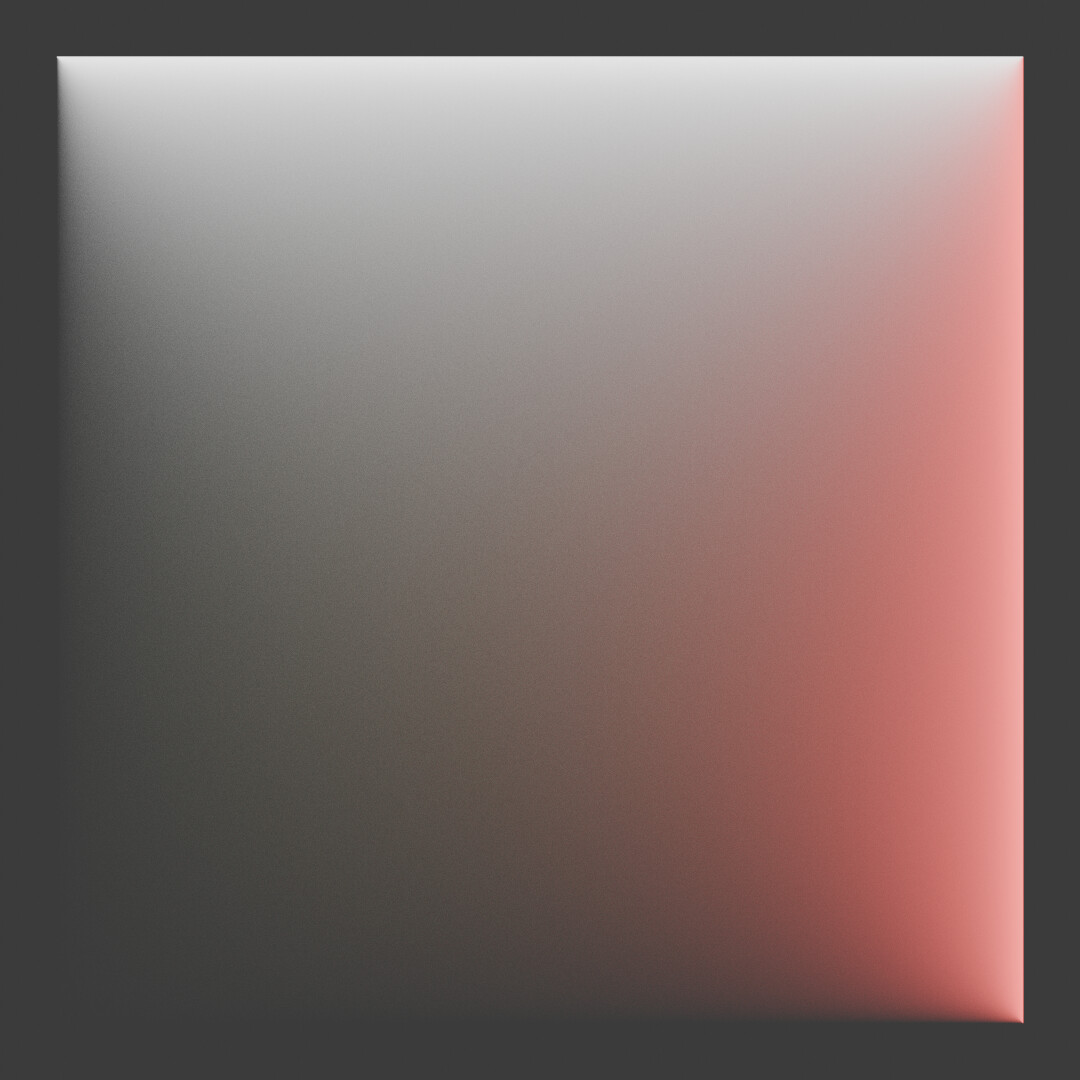


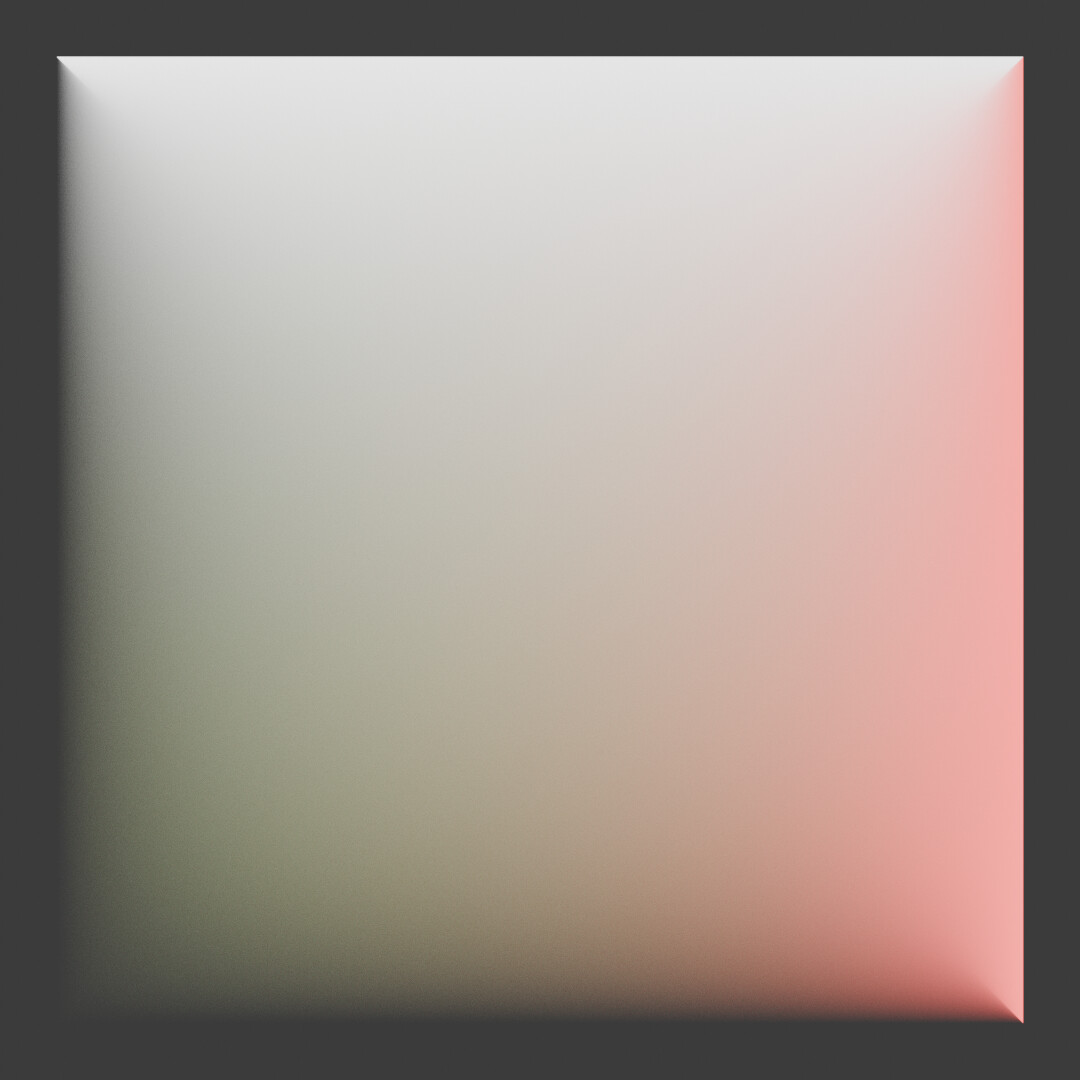
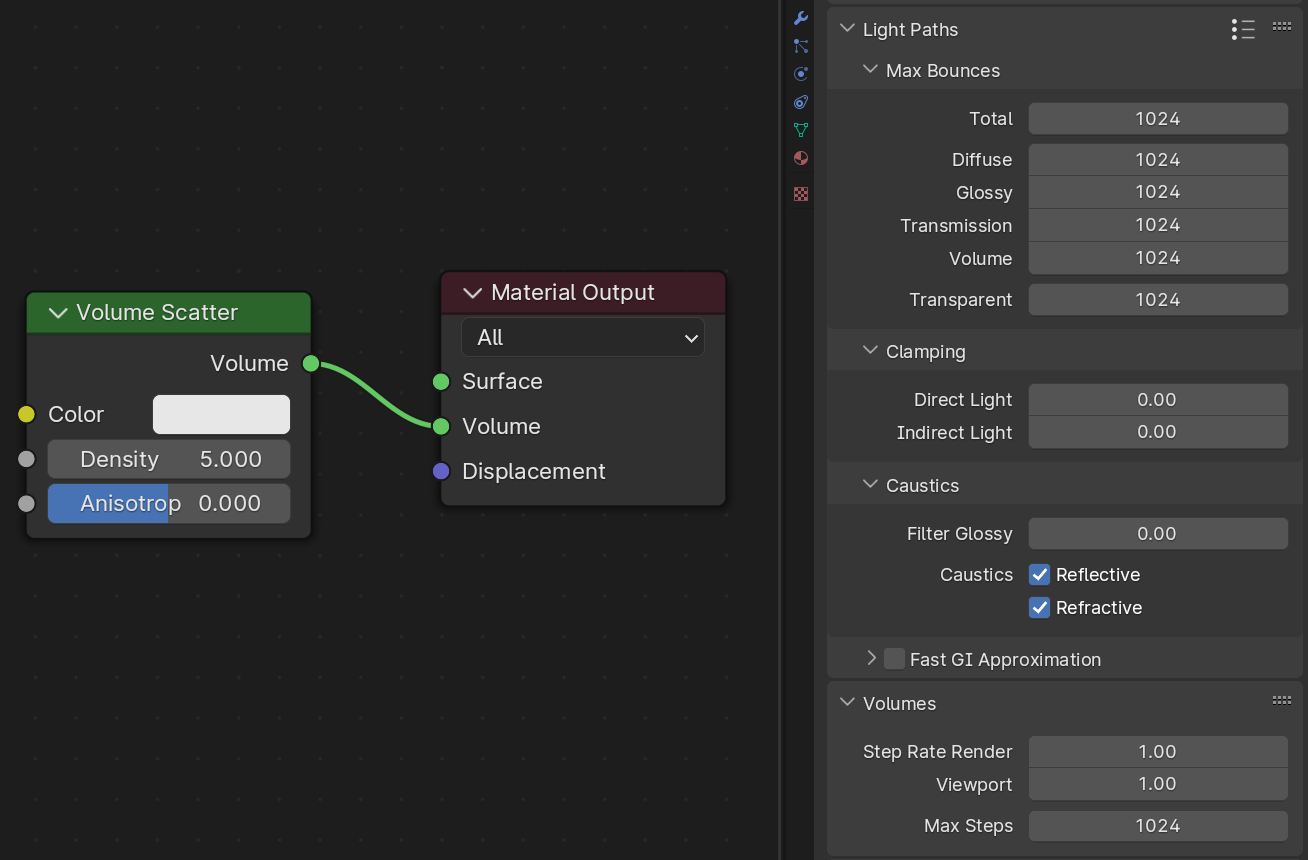
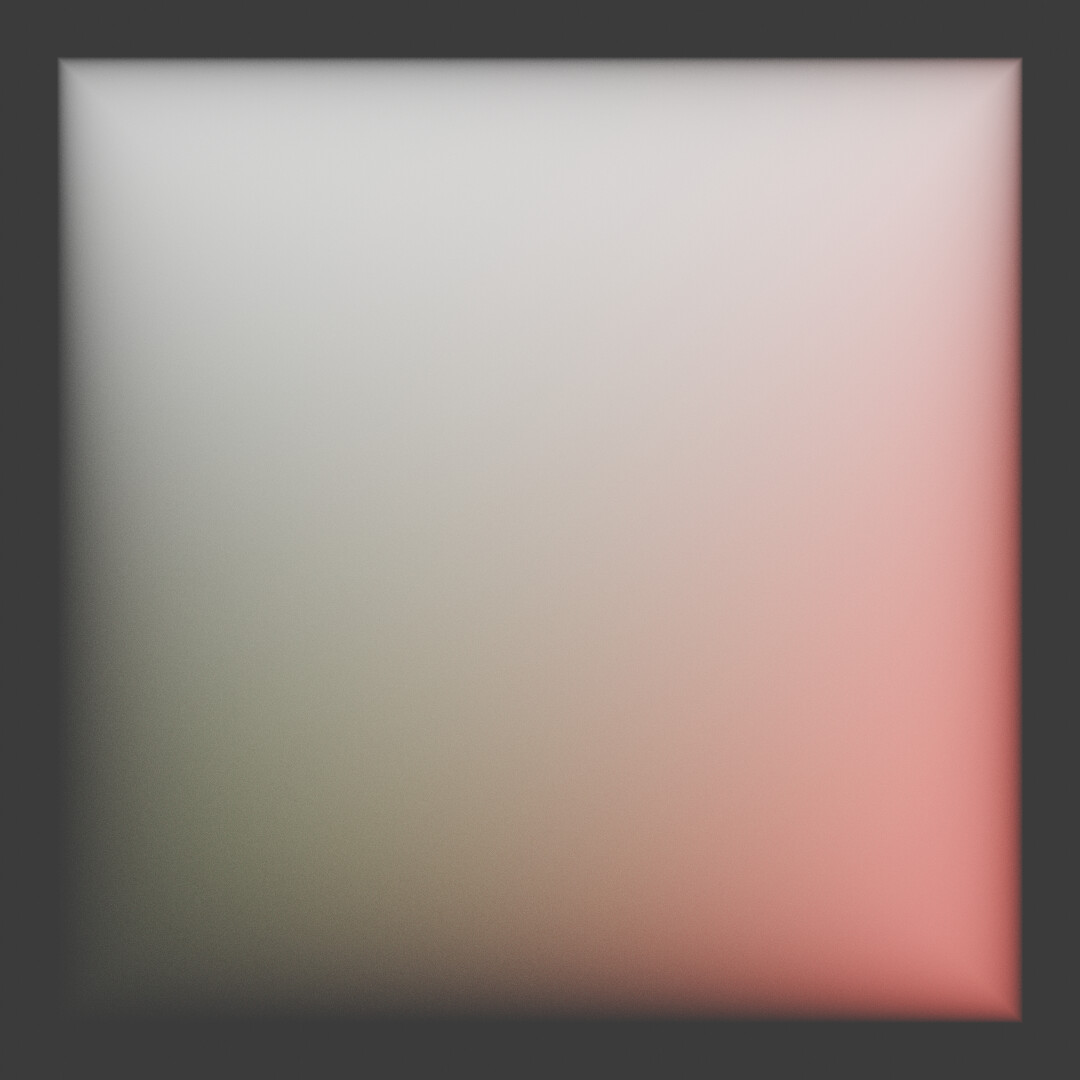
And just for reference, here’s Volume Scattering (The Anisotropy 0.0 volume case looks very similar to the SSS Scale 1.0m Anisotropy 0.9 case).

In those subsurface anisotropy 0.0 renders with very large scale the density is low and a lot of light just passes through without scattering at all. The subsurface anistropy 0.9 case has higher density as part of the mapping, as is needed to get it to scatter wide enough to reach the radius.
The mapping only really works predictably if the density is high enough for there to be enough scattering for the light to return back to the surface.
There is also some optimization to switch to isotropic scattering after 9 bounces that may have en effect.
1 Like
Is it possible to hard-clamp the anisotropic parameter to prevent user confusion? Right now I can type in -1 and the UI keeps it, but it’s inactive given the internal clamping.
Yes, this is my impression also. Just from a visual standpoint, it seems Anisotropy 0 is forward scattering. I don’t know what ‘forward’ means to the algorithm, but from a visual/user standpoint it appears the SSS is scattering more towards the camera/me. Whereas 1.0 make it seem like light is scattering moreso away from the view. That’s why I’m inquiring because it’s not quite clear what 0 and 1 actually mean technically speaking.
Isn’t the SSS anisotropy using the Henyey Greenstein phase function?
HG uses -1 for backscatter to 0 for isotropic to 1 for forwardscattering.
In the code, calls to single_peaked_henyey_greenstein and henyey_greenstrein_sample are made either to get the PDF or new direction for scattering inside the subsurface_random_walk file.
So the answer is “almost certainly yes”
1 Like
Then values from -1 to 1 would make sence if someone want to use HG values from measurements.
Btw.I don’t know if the development of shader features is final.I have seen a video of a SSS shader with melanin absorption for a more realistic skin rendering.
I’m pretty sure the Henyey Greenstein functions support the full back to forward scattering range, because the same function is used for volumetric scattering and none of the math seems sign dependent . And the Henyey Greenstein functions seem to match those values. -1 is back scattering, 0 is isotropic scattering, and 1 being forward scattering.
And Subsurface Scattering Random Walk seems to follow this trend. -1 represents back scattering, 0 represents isotropic, 1 represents forward scattering.
However due to the use of Anisotropy in other equations inside the Subsurface Scattering Random Walk material, values outside the [0…0.9] range are not supported. So we can only use the Isotropic to mostly Forward scattering range.
1 Like
Not sure how usefull backscatter is with SSS.However with volume scattering it is.Example is simple ocean water.You need volume absorption for the water color,but volumetric backscatter for the tiny particles too.
Even in the tests with smaller radius (E.G. Scale 0.1m), as the Anisotropy is turned up, there seems to be an increase in uniform or back scattering which doesn’t make sense to me.
This seems to be the main cause for issues. Disabling this optimizations gives me results closer to what I would expect.
Note: This is basically the same scene as before. 2mx2mx2m cube with the same material setup as before. In this test I tested the 0.1m scale option. Removed the red and green lights, and increased the brightness of the white light to 1000 compared to 10 in the original test.

Ok, so that answers my question about the value ranges. 0 is isotropic. I’m assuming then that Random Walk (Skin) is the same?
Currently the UI allows a value of -1 and I tend to think that it shouldn’t allow that if the functionality isn’t there.
Yes, it seems to be the same.
There are soft limits to the UI. You can only drag the anisotropy between [0…1]. The only way to get -1 is to type it in. And for a long time, this approach seems to have been considered “enough” by the UI team.
To fix that, there would need to be hard limits in the UI (E.G. You type in -1, and it resets to 0). I might be missing something, but I don’t believe Blender supports this at the moment.
Ok, understood. Thanks.
Well you can set RGB values to higher than 1 as well, so don’t see why not just use that? ![]()
To set a value to higher than 1 with a RGB picker, you need to manually type it in. With a Vector picker, values higher than one can be accessed by simply dragging the slider to the right until you get above 1.
This difference in user accessibility to values higher than 1.0 may be what Brecht was referring too.
He also said it could be used as absolute distances for each channel (presumably scatter depth), and then a texture map could be used in the scale to vary it. This sounds like a more flexible system than the RGB picker could easily allow for.
I don’t mean that it should be just an RGB picker like the base color, but instead Red, Green and Blue like in the RGB tab in the RGB color picker (but not as a factor clamped between 0 and 1). Like this:
To me this makes way more sense since it’s literally the radius of red, green and blue. The purple/blue input is a vector input which is about X, Y and Z and has nothing to do with color so I don’t see at all why that is even an option? Sure you can plug in whatever you want in those three channels, but for people not knowing this having a vector radius is not intuitive at all.
Also as a bonus this also looks better than having those three X, Y and Z floats in the middle of those input fields, so it matches the rest of all the fields and sliders in the Principle shader
6 Likes