hello.
Would any python hack exist to translate data from a cycles material to a particle distribution slot ? either vertex or texture distribution slot. non destructively ?
there’s even a reward for the one who have a solution
hello.
Would any python hack exist to translate data from a cycles material to a particle distribution slot ? either vertex or texture distribution slot. non destructively ?
there’s even a reward for the one who have a solution
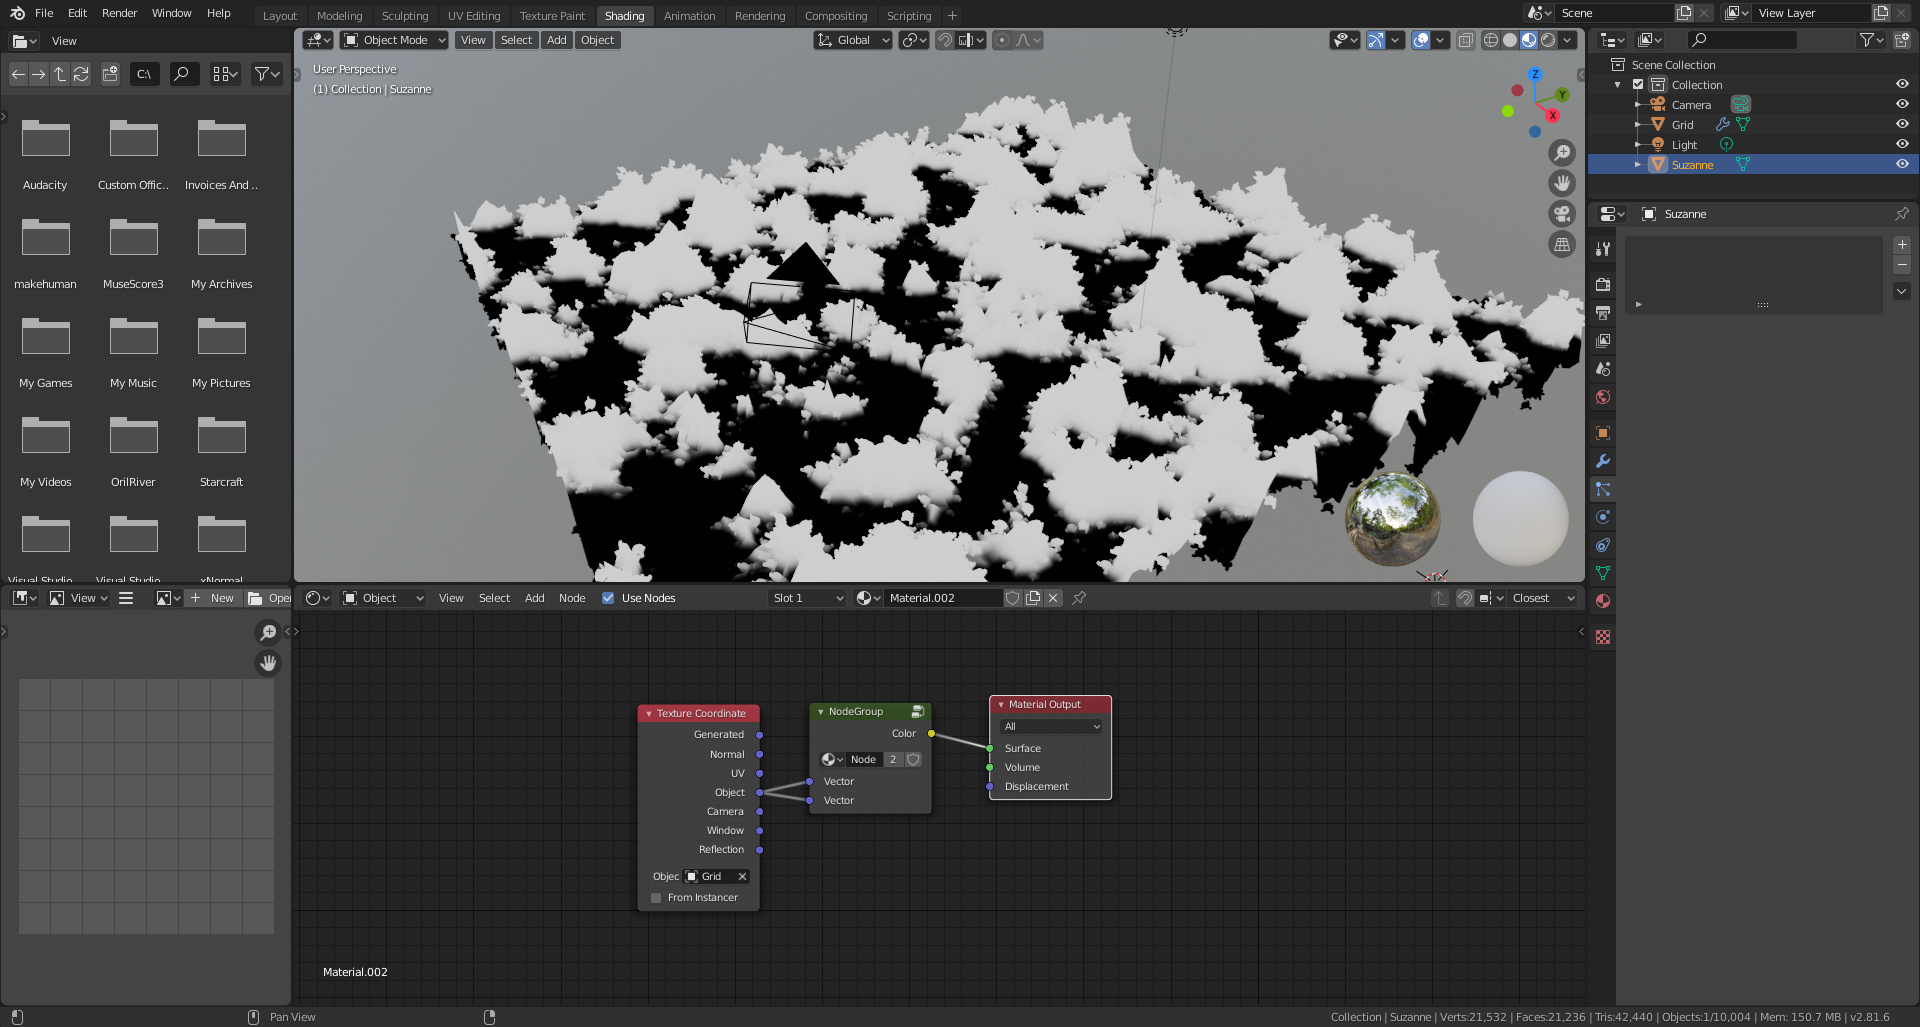
Can’t you bake it to a texture? You can use a texture to control the density parameter of the particle emission. Or do you want it to update as you edit the material? You might try making the particle’s material use coordinates from the emitter, and use the same texture setup (in a node group) to make the particle transparent.
This is kind of a hack, but it should help while you tweak the material, until you bake it. Note that this only seems to work with object coordinates.
You can get slightly more freedom with the From Instancer node option if you use a Particle Instance modifier, but that’s a lot slower when you have a lot of particles.
Or do you want it to update as you edit the material?
exactly what i wanted. it seems that there is no way to do that
no i need it for the particle system
Maybe you could try using the in-development Particle Nodes branch? https://blender.community/c/graphicall/Mgbbbc/ At any rate, this is going to be possible in the near future. Perhaps you could write out a description of your use-case for this feature in another part of devtalk, to provide feedback to a developer?
already did. it’s not only useful it’s more than needed to create forest biomes, where trees species only grows on certain places depending on slopes/altiture/ect
But those analyses are better done outside the shadertree… It’s far better to use the results of such analyses to drive particles and materials, than from materials to the rest of the scene.
Can only be done by analysing bmesh data in python? right ?
You don’t necessarily need to use bmesh for this, as you can create your own data structure to speed up your analyse of the mesh (thought bmesh is already available).
What you might need is to evaluate your object, in case your particles use the modifier stack.
It isn’t easy to do this in Python, you’d have to set up a loop through the faces in the mesh, text their normals, and then set the vertices to be in the group or not. Then you’d have to add an event handler to make it update. If you wanted to control it with materials, Python is really not able to access the data in the procedural textures. It can create noise, and do a lot of the same math, but it can’t test a location on a mesh for a color or value in a material.
I think you should try finding other ways of doing what you want. Here’s a blend file with a novel way of controling particle systems using the vertex weight proximity modifier. https://my.pcloud.com/publink/show?code=XZkvG0kZUYVo8T7cjO8CTLfU4nIcPfcLj9qy
Note that you have to click on the particle emitter to get it to update, but aside from that it’s interactive (actually I was able to get it to be interactive after re-setting the density weight group in the particle settings; just play with it and Blender should figure it out). If a point in the emitter mesh is near a point on a face in the control, it will emit particles. If you want to create volume “brushes” to choose where one place gets particles, you have to make sure there are faces, as vertex weight proximity doesn’t test volume-- this is why I’ve stacked a bunch of faces in the control mesh.
First, create a vertex group containing all the vertices in the mesh at weight 1 (or rather, anywhere you want particles; this value is multiplied by the modifier value, so if it’s zero, there will be no emission no matter what). Then create the control mesh, and use it to drive a vertex weight proximity modifier. Important: Set the lowest value to the distance you want the “brush” to affect, and the highest value to 0 (I know it’s counter-intuitive, but it works). Set the falloff as you like, I used spherical falloff. Now, create your particle system. Check the box next to advanced and under emission, choose Use Modifier Stack. You might create any number of interesting shapes in the brush mesh with a combination of an array modifier and some boolean modifiers, a few displace modifiers, etc. You could use the Data Transfer modifier to add vertex weights, too.
As a final step, I used the Select Similar tool to select all the parts of the mesh that were flat and created a Z-Up vertex group, smoothed it, and added a Vertex Weight Mix modifier multiplying the proximity group by the Z-Up mask. This is the part that you’d probably want to make a Python tool for, a simple macro that repeats this process would be enough.
I’m not sure if this is really what you want, but it’s easier than writing functions to test each face for a condition and set the vertex weight. If this is close to what you want, I think you’ll get faster results using the features you already have (modifiers) rather than adding new features.