Hey friends,
We are currently having a project in which we simulate hair in Houdini and want to render it in Blender.
In general the issue is importing animated alembic curves and then render them in Blender with the new curve data block.
Now many of you who already tried to get this to work might know it’s not that straightforward.
There are a couple of obstacles along the way.
Hopefully this whole process should be a lot easier once:
D11591 - Alembic: import arbitrary attributes
D11592 - Alembic/USD: use geometry sets to import data
are merged in master.
But for people who want to get something working before that, here is a little overview.
Using Blender 3.3.0 Alpha with new Curves type enabled (in Experimental settings tab)
Obstacle 01 - Importing Curves
Problem: Importing an alembic cache that contains curves seems to work in the viewport but when starting a render the cache always jumps back to the first frame or rest pose and essentially does not get evaluated. There are a couple of reasons for this which you can read through in this task:
Solution:
We know alembic curves don’t work but what works is alembic polygons. So what we need to do is somehow convert the curves in houdini to polygons, import them to Blender as a regular alembic cache and then convert them back to curves.
-
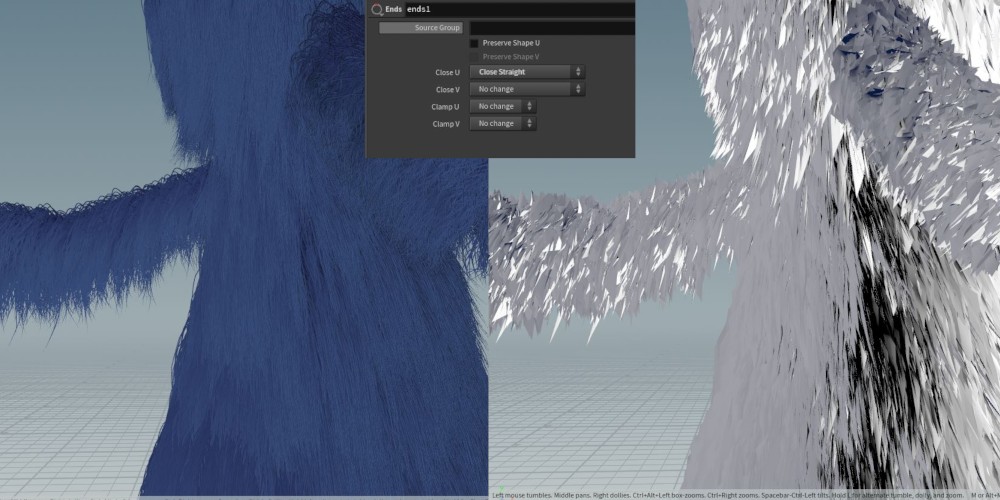
Convert houdini curves/polylines to polygons with the
endsnode. This node basically just connects the last curve point with the first one and creates a ngon.
-
Import that alembic file into Blender (here you can already verify that this cache renders at any frame as expected)
-
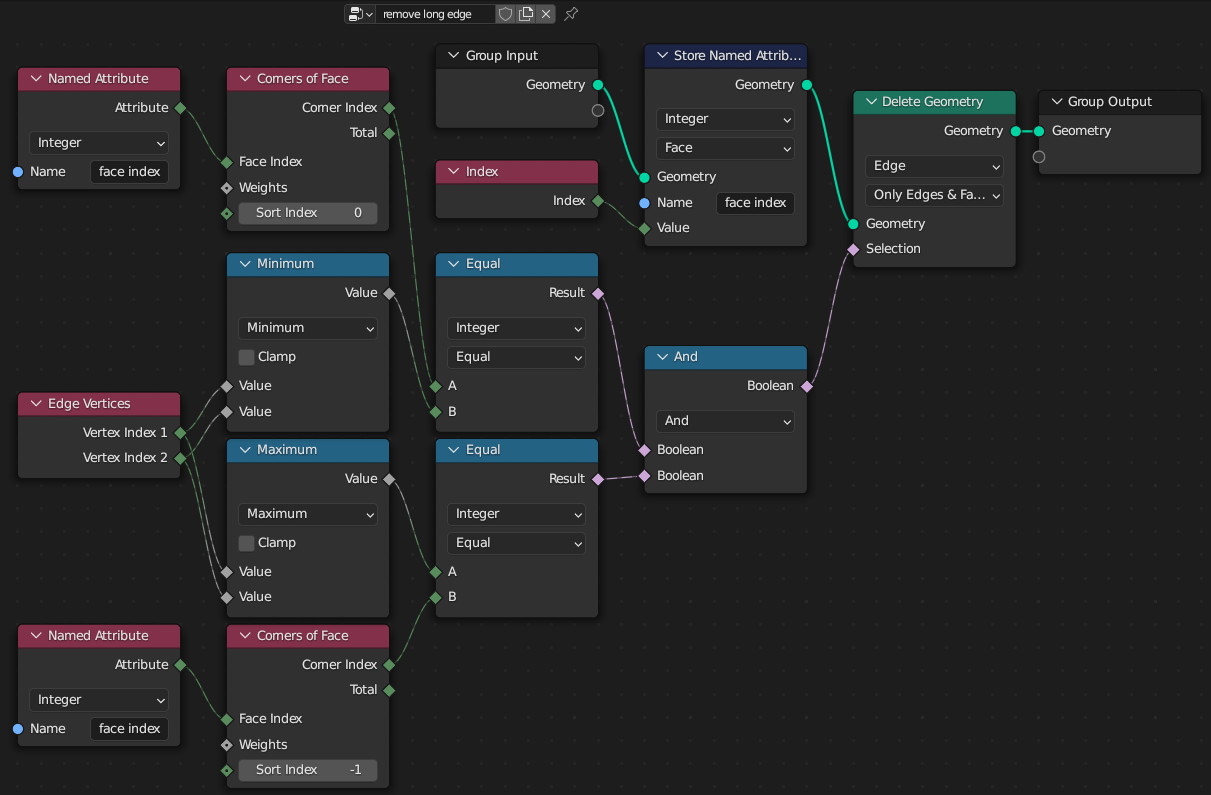
Add a geometry node modifier with a node tree that does the following:

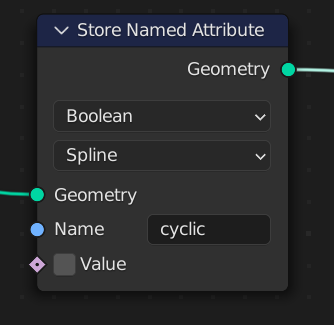
We convert Mesh to Curve and by using the Set Spline Cyclic node with Cyclic turned off we basically undo what we did in houdini and delete the connection between the last and first point.
Note: It seems like in some cases it deletes the wrong edge, input is welcome on how the debug this.
As a result we now have actual curves that don’t jump back to their rest pose when trying to render them.
But how do we render them?
Obstacle 02 - Render Curves:
Problem: Trying to render our converted curves now does not work. They don’t show up. In the background those curves are still stored in the old data block. What we want is the new curve data block so we can use nodes like the Set Curve Radius node and affect how our curves are rendered.
Solution:
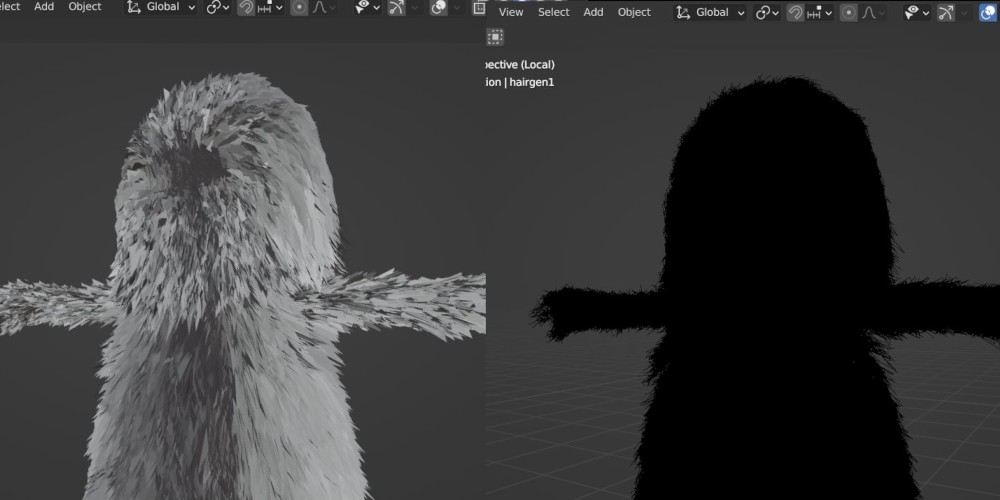
In order to ‘convert’ those curves to the new curve data block we create an empty hair object, add a geometry node setup and just reference our old object with the converted curves in to the new empty hair object geo node tree. That way we use the new curve data block. You should also immediatly see a change in the viewport how the curves are displayed.
-
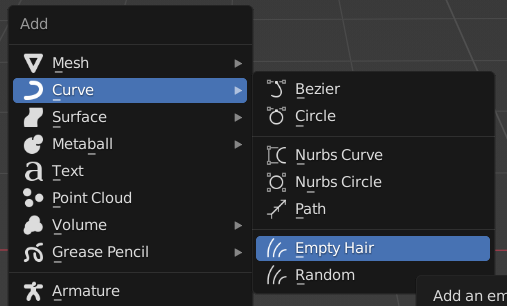
Create empty hair object
-
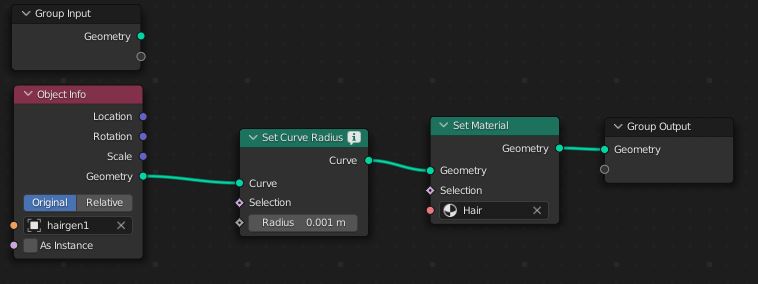
Add geometry node setup,
Object Infoconverted curves object and connect to output.Set Curve RadiusandSet Material.
-
Render!
Hopefully that helps someone who has the same issue right now.
Cheers!

 ). Maybe I’ll have time to do some tests soon and find out more.