@etti Can you add that test file to: #121245 - Compositor: Use smooth thresholding for the Glare node - blender - Blender Projects?
By Size cap, you mean that it can’t go below 6?
@etti Can you add that test file to: #121245 - Compositor: Use smooth thresholding for the Glare node - blender - Blender Projects?
By Size cap, you mean that it can’t go below 6?
Glare Bloom is hard capped between 6-9, while EEVEE-Legacy Bloom is soft capped between 0.0-10.0 (with a hard limit of 100.0).
Additionally the values do not match.
Legacy Bloom to Glare:
4=6
5=7
~6.2=8
8=9
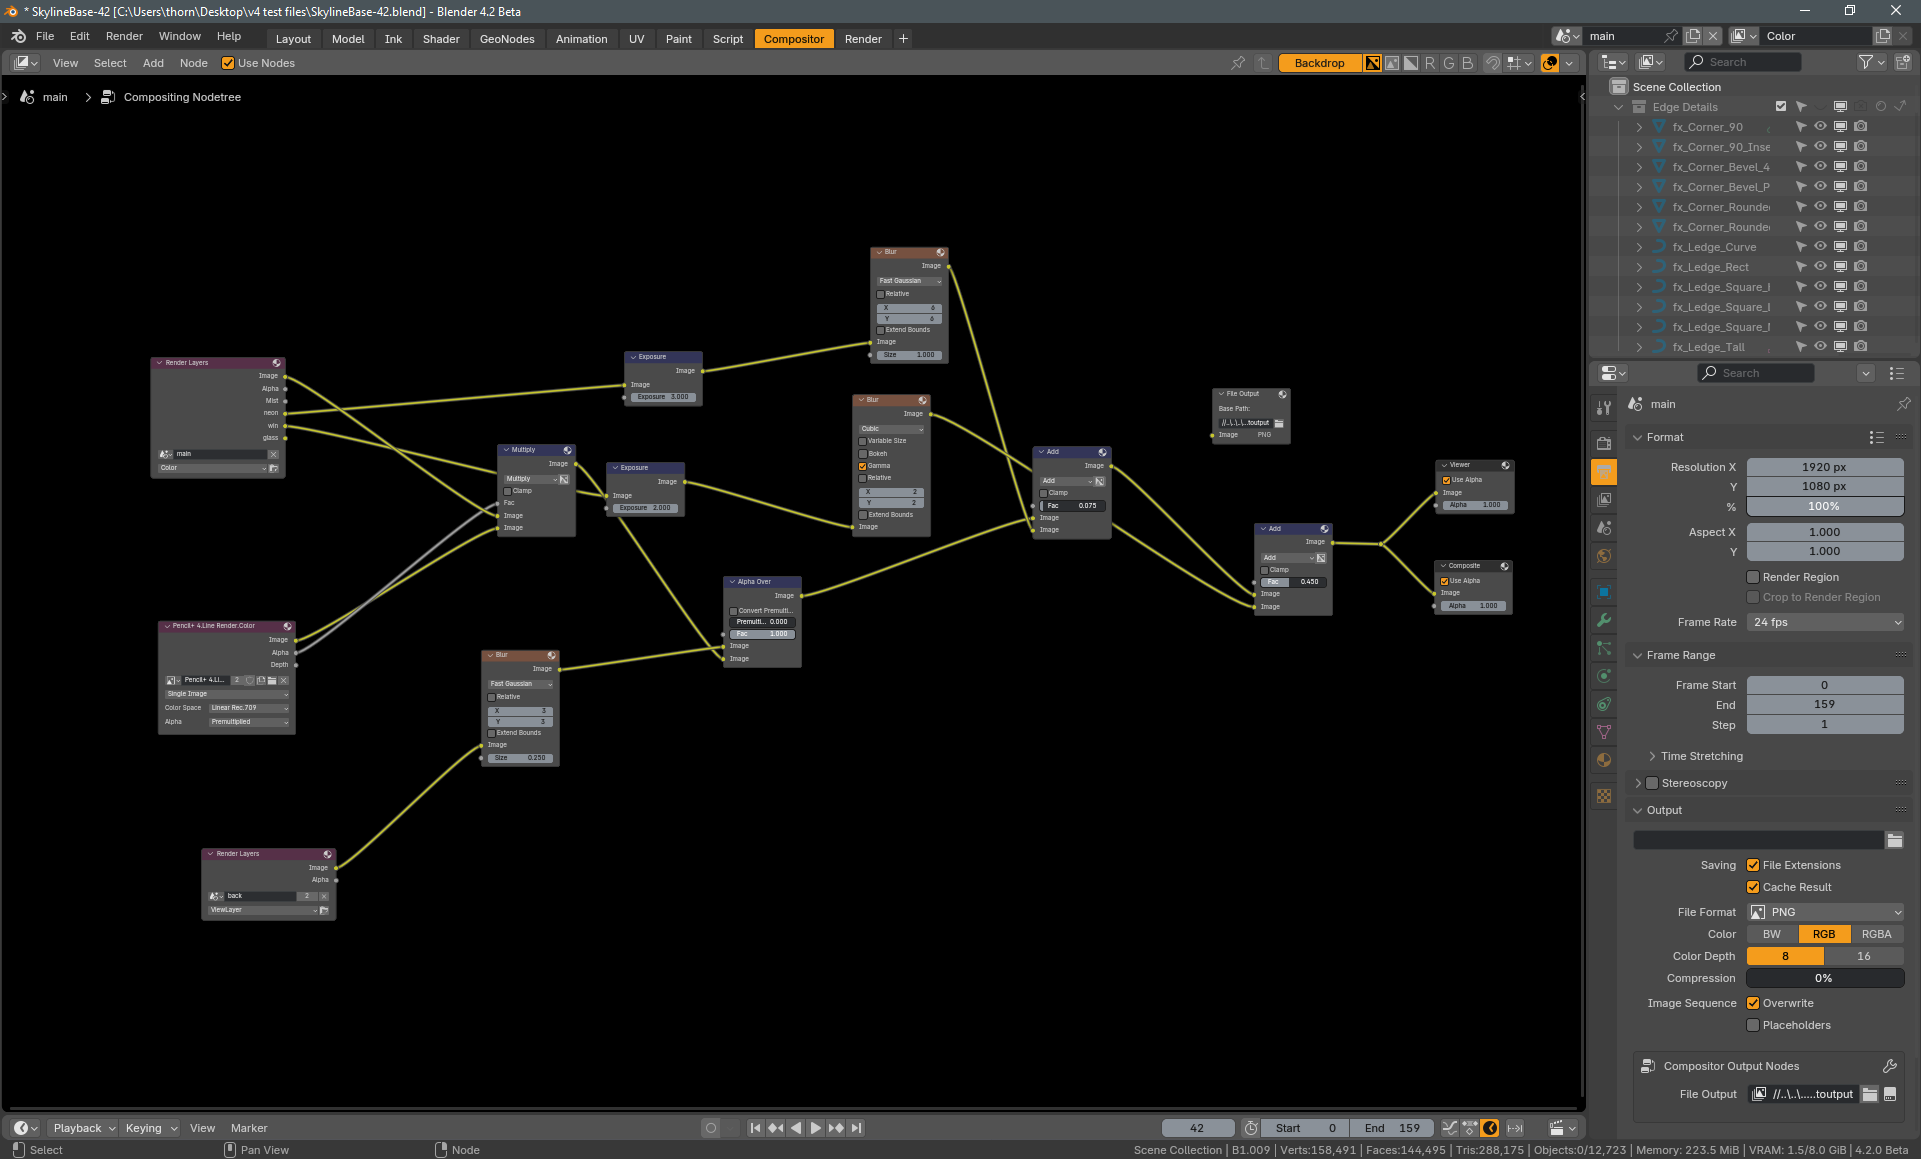
The issue on this is that the viewport compositor is not feature complete. This node tree will not eval in the viewport.
Obviously, this is a dead issue - the code has been moved, and won’t be returning to 4.1. But this problem with bloom and viewport compositing was brought up months ago - and, what was predicted, is now here: it doesn’t work.
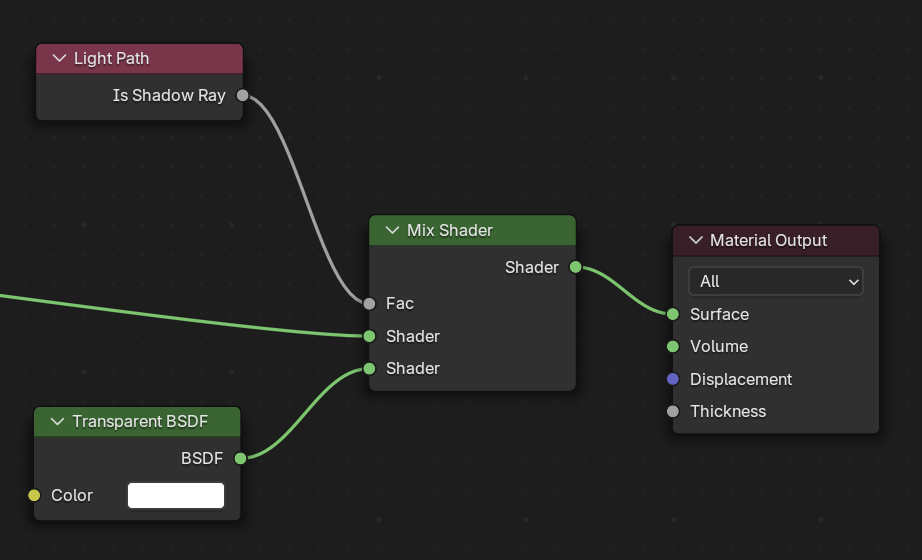
I feel like the clamp setup isn’t very obvious without being explicitly told how to do, like how i couldn’t figure out how to replicate it earlier, a simple solution would be adding the Clamp Node to the compositor (preferably with a variation that works with Color values, a Clamp Exposure node?).
Which node breaks your setup?
He is using passes, the viewport compositor doesn’t support multi-pass compositing yet.
This node setup seems unrelated to the discussion of how to recreate bloom in Blender 4.2, and it seems more like feedback about the veiwport compositor as a whole. Feedback about the viewport compositor is better suited on the viewport compositor thread: Real-time Compositor: Feedback and discussion
Unless you’re referring to the fact that in Blender 4.1 you would have this compositor node setup for final renders, and you would have bloom enabled in in render settings, meaning it’s visible in both viewport and final renders. But now that the bloom has been shifted to the compositor, you can’t use your complex final render node setups and your viewport bloom at the same time without a bunch of manual work switching between “viewport” and “final render” setups, or a add-on to automate that for you.
The most likely reason that node setup is failing is because at the moment the viewport compositor doesn’t support passes. Work is being done to add support here, but it’ll be in Blender 4.3 at the earliest.
After that, the most likely cause for that setup failing would be the use of multiple scenes, which I’m not sure if work is being done on.
what has been removed in the name of coherence and consistency has become a little nightmare.
New bloom is worse and strangely convoluted, it is dependant on viewport real time compositor while old bloom was just a checkbox, it was simple and worked beautifully. I know the node tree for new bloom is a temporary solution but, alas, it was so good and convenient.
I hope filters get some love for 4.3. I miss good lens flares (not ghost filter), a simple vignette tool, better color correction, etc. Honestly, the filters in the compositor feel ancient and now we get bloom forced into that ancient pipeline, dissapointing
That’s why I use Uber Compositor for the last 3 years (don’t have any affiliation to it, btw)… should come as default in Blender ![]()
Hi @OmarEmaraDev,
Firstly, thank you so much for your incredible Compositor developments.
Apologies if the following is a silly question…
Since Bloom Intensity range is -1 to 0, would it help if the code automatically subtracted an input by 1, presenting a more artist friendly UI range of 0-1?
Kind regards.
I have made a addon for this issue, well mainly in general not to have slow startup of blender when you open a scene which was saved in render preview. This addon will switch any scene to solid mode when you open the scene
The range is more technical, it basically between -1.0 and 0.0 it mixes between no glare and full glare, and between 0.0 and 1.0 it mixes between full glare and only glare. So for example if you’re blending glare manually with a mix node somewhere else (for example if you’re using multiple glare types at the same type), you’d always want to set mix to 1.0.
It’s possible to add back the ability to turn off shadows per material?, Trying to turn off shadows one by one is very tedious.
It’s complicated for no reason,in the legacy it’s just as easy as selecting “None” on shadow mode option on the material settings
I’m not a EEVEE developer, but I assume this change wasn’t done for “no reason”. My guesses for why it was done would be:
Either way, these are just speculation, and since I’m not a EEVEE developer I can’t tell you if the shadow mode material option will return. So I’ll leave future comments on this topic to a developer.
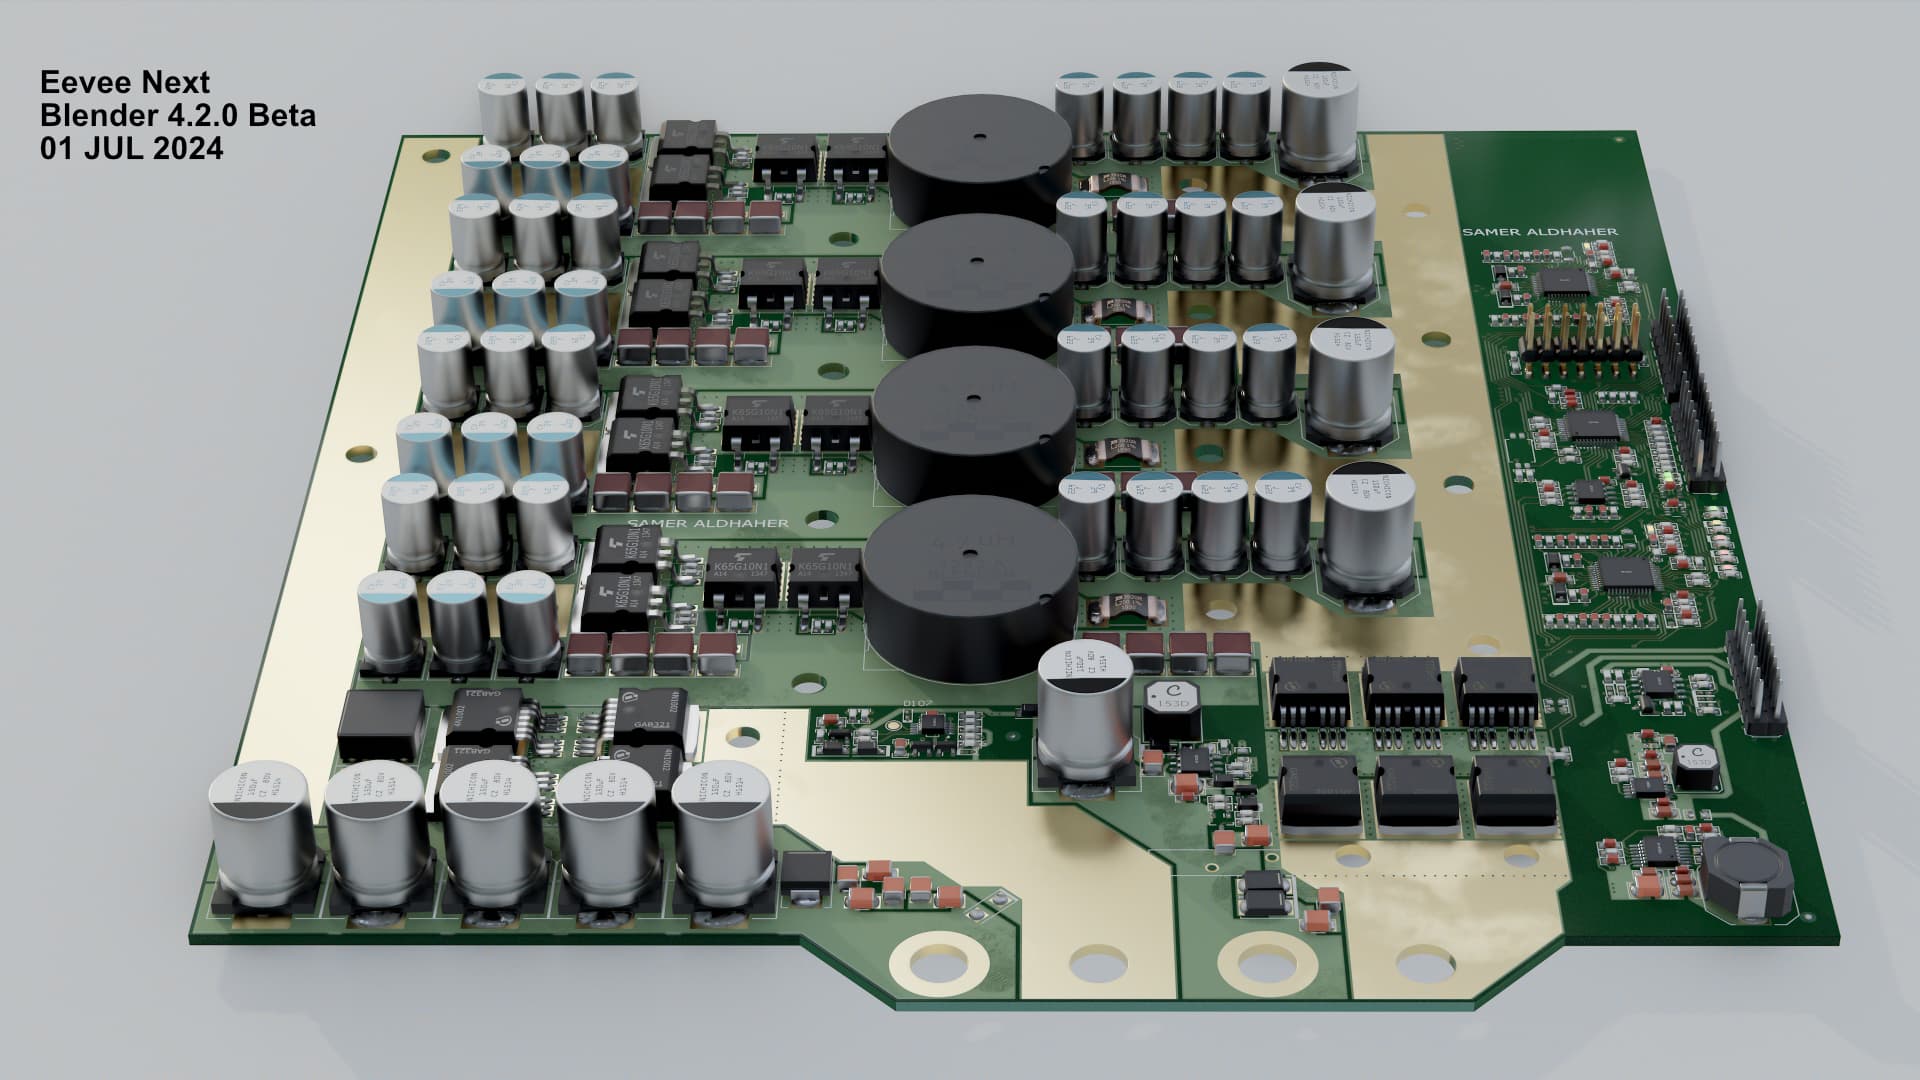
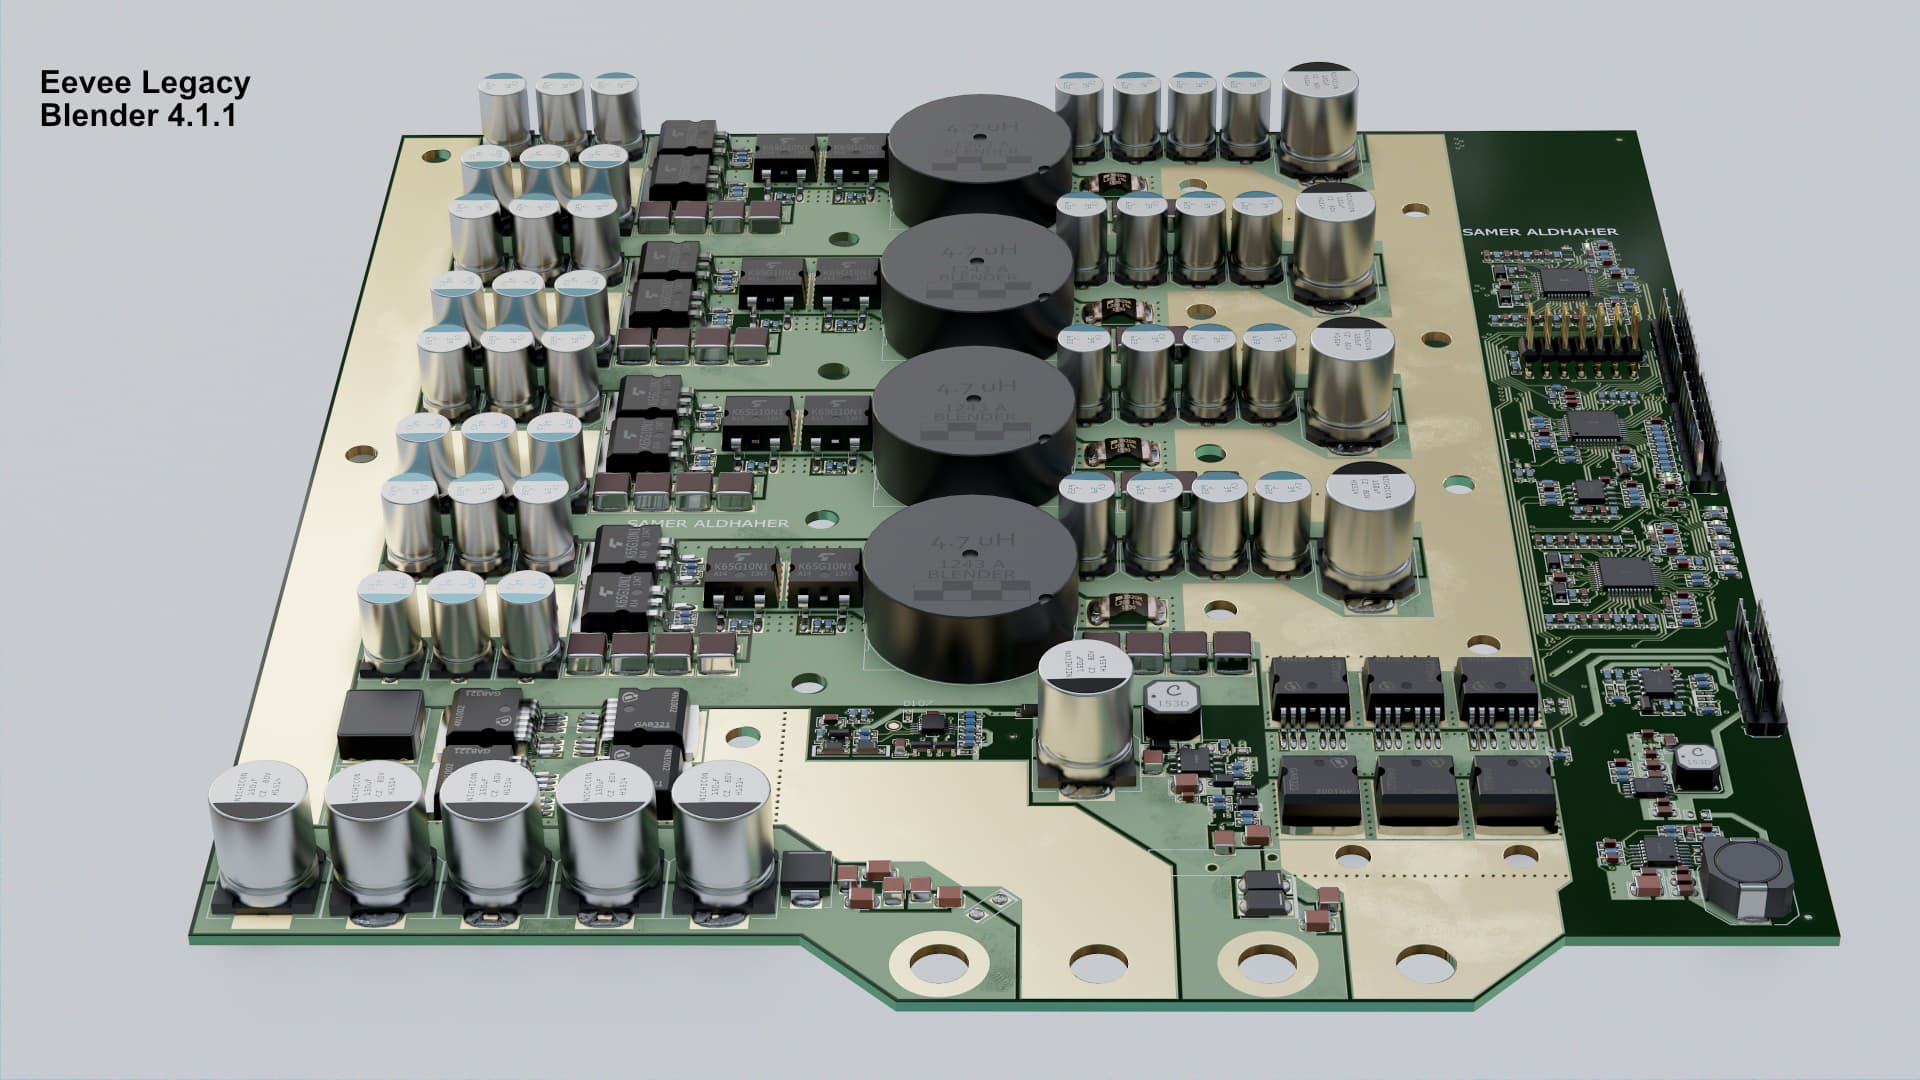
I’d like to share some of results and experiments with Eevee (next), here are some comparisons between Eevee, Eevee legacy and Cycles. All setups have identical model, materials and lighting.
Starting with cycles
Eevee Next
and Eevee legacy
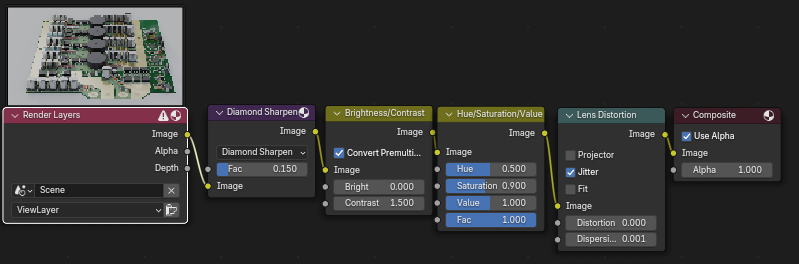
I do have the following compositor setup for all three comparisons
You can see that in cycles the shadows under the circuit board edges, whereas shadows are not visible in Eevee and Eevee legacy. The material for the circuit board (the dark grean areas on the right of the board) have a bit of transparancy and you can see cycles is handling that very well for the lighting setup, whereas in Eevee and Eevee legacy they do not show any transparency without having to play with the scene lighting. Overall I’m quite pleased with these results. Thanks to the developers for you hard work.
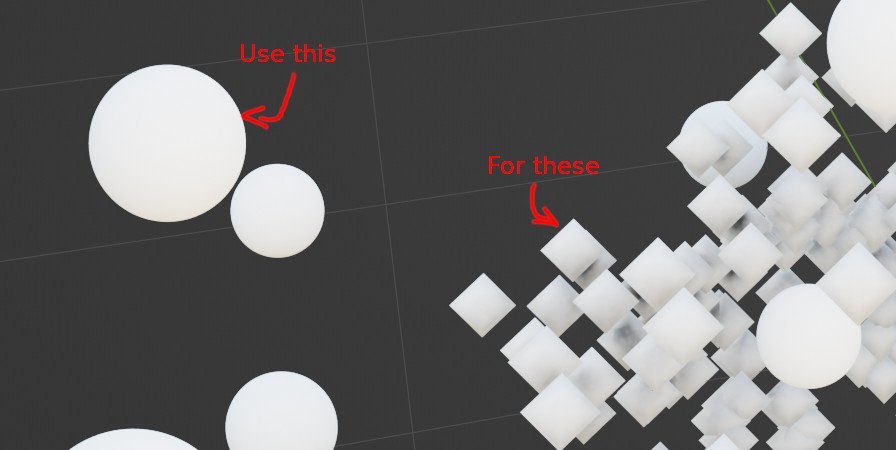
I spoke with @Jeroen-Bakker recently about point cloud rendering in EEVEE Next.
Currently, the code is shared with the viewport and renders the points as low resolution spheres.
What we spoke about briefly is whether it would be possible to use the same code that renders the light probes to render the points of a point cloud, similar to how Cycles handles rendering points. This would allow up close rendering of perfect spheres, without having the massive overhead of instancing geometry.
I just took some time to play with the volume, and immediately face some problem.
I wanted to report the bug, but now I find I can no longer reproduce the issue.
I have to say however it was really frustrating for me at the beginning, and if it happens to other people at the first time, I believe the solution of switching to cycle and then back to eevee may not be immediately obvious.
This is more involved than this. I still need to make a design task for that and explain the issue with the different approach.