Awesome! I saved the file and will see how it can be added to the bundle. I’d like to take some time to sculpt over it a bit at some point but it’s already really good.
The topology is functional. Only the triangle on the back might cause some problems during multires sculpting but it’s ok for now. I’ll have a closer look at the models soon.
2 Likes
Sure! I would appreciate if a more experienced sculptor will make a refining pass over my sculpt.
Personally I am more a wide range workflow designer rather than specifically sculptor, I am supposed to investigate the requirements of a very different workflows, from ARTwork to CADwork, in order to coordinate people during production, but such a wide range comes with a noticeable deep skill limitations, since deep skills at this scale are a bit mutually exclusive)
This triangle has come from the original topology - LP was obtained by unsudb, so its subd returns the topology close to presented midpoly models (similar to derivative and antiderivative in math terms), so this triangle is not physically avoidable. The only question is where it will be located:
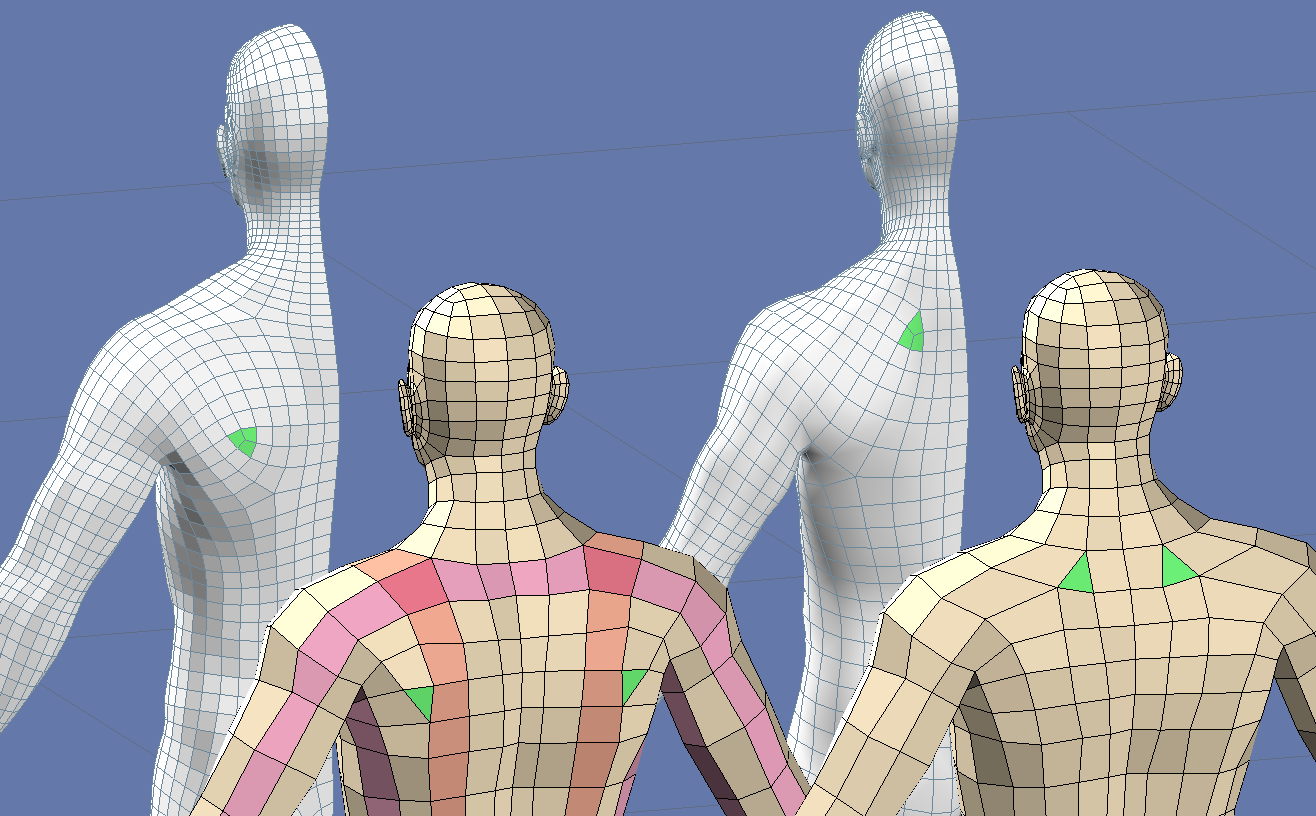
The problem is that the other variants assumes less dense topology for shoulder blades and also break a nice shape-defning loops which encircles the entire body, that’s why I didn’t dare take this step.
Thank you in advance!
5 Likes
May I ask a short question about sculpting - is there way to quickly set mask from editmode selection?
I can find only hiding and faceset creation, so you can create faceset, hide it, fill mask and unhide it, but the problem is that it is a destructive method since it influences existing facesets or hiding register, so such a method doesnot fit temporal operations.
Or am I missing something?
A way better way since 4.0 would be to make a geo node operator that takes the selection and saves it as the new mask attribute (or even adds the selection to the current mask).
Other than that there is no fast way to convert the edit mode selection into a mask.
A common workaround would be via face sets or visibility, like you mentioned.
2 Likes
Thank you for the answer.
Adding a selection to the current mask could be rather limited, since the resulting mask more likely needed to be modified after creation (blur or something)
I think that having such an operator could be useful at some point (I faced the necessity when sculpted foot fingers, when I needed to view their composition but sculpt a separate finger, so hiding wasnt helpful), using geonodes for such an operation will be rather expensive, in the same way as, for example, creating facesets from the selection with geonodes instead of a direct function.
Also I didint found the way to mask a separate finger with Shift+A masking, is it possible to make it follow topology instead of a sphere at the moment?
You can change the expand method with the 1-4 keys.
1 = Geodesic (Surface Distance)
2 = Topology (Triangles)
3 = Diagonals (Quads)
4 = Sphere (Scene Distance)
1 Like
Ha, indeed.
The description in the statusbar was confusing (it doesnot display numbers as buttons), so I missed them. Thank you for the answer!
Hi, thank you for all the work on the bundle. It’s very fun playing with primitive body meshes.
Btw, some primitives have empty material slots to them.
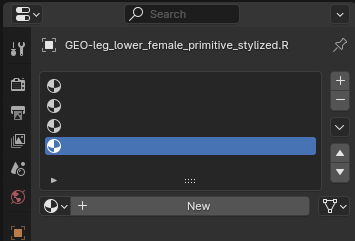
I can see this in all parts of primitive head, and lower legs and feet of stylized female primitives. Also, jaw - realistic has a basic material to it.
1 Like
Few more things I found.
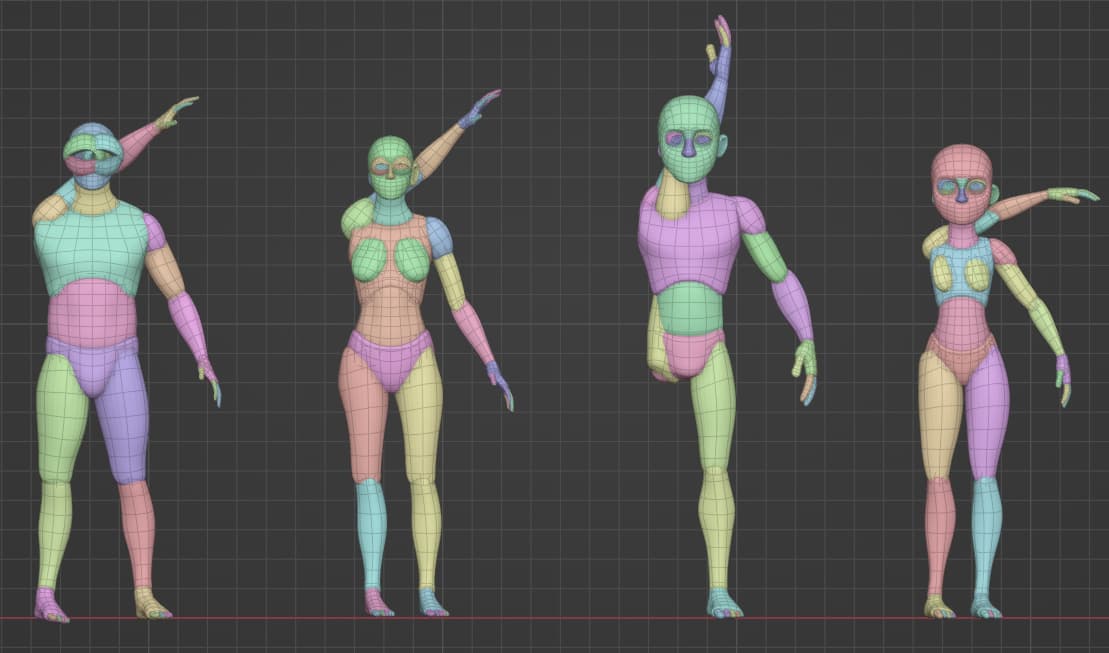
- Some parts of primitive body meshes have rotations not applied. Clearing rotations makes them do this:
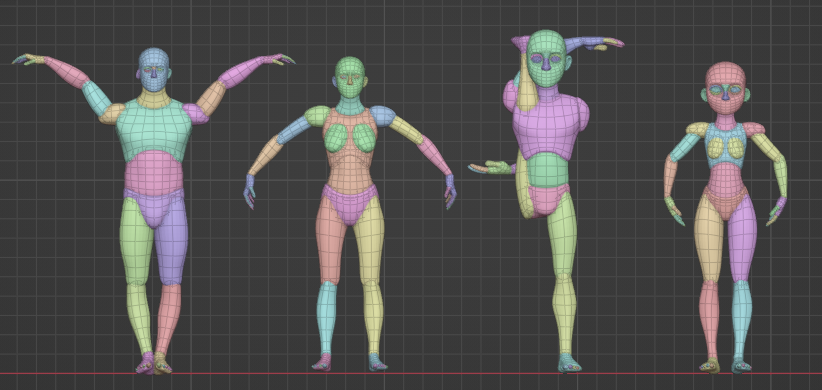
- Scales of the parts seem off too. Clearing scales does this (notice eyes and that not all limbs are given negative x values):
- Realistic male body, realistic animation head, realistic sculpting head, have rotation values
- Realistic skull and eyes of the primitive head have non-base scale values.
7 Likes
Thanks for the feedback! I’ll fix those and update the bundle.
The limbs don’t look right but they intentionally have rotations. It’s so the orientation of the transforms are correctly using the visible orientation of the limbs.
3 Likes
1D_Sculpting_set_v02.blend
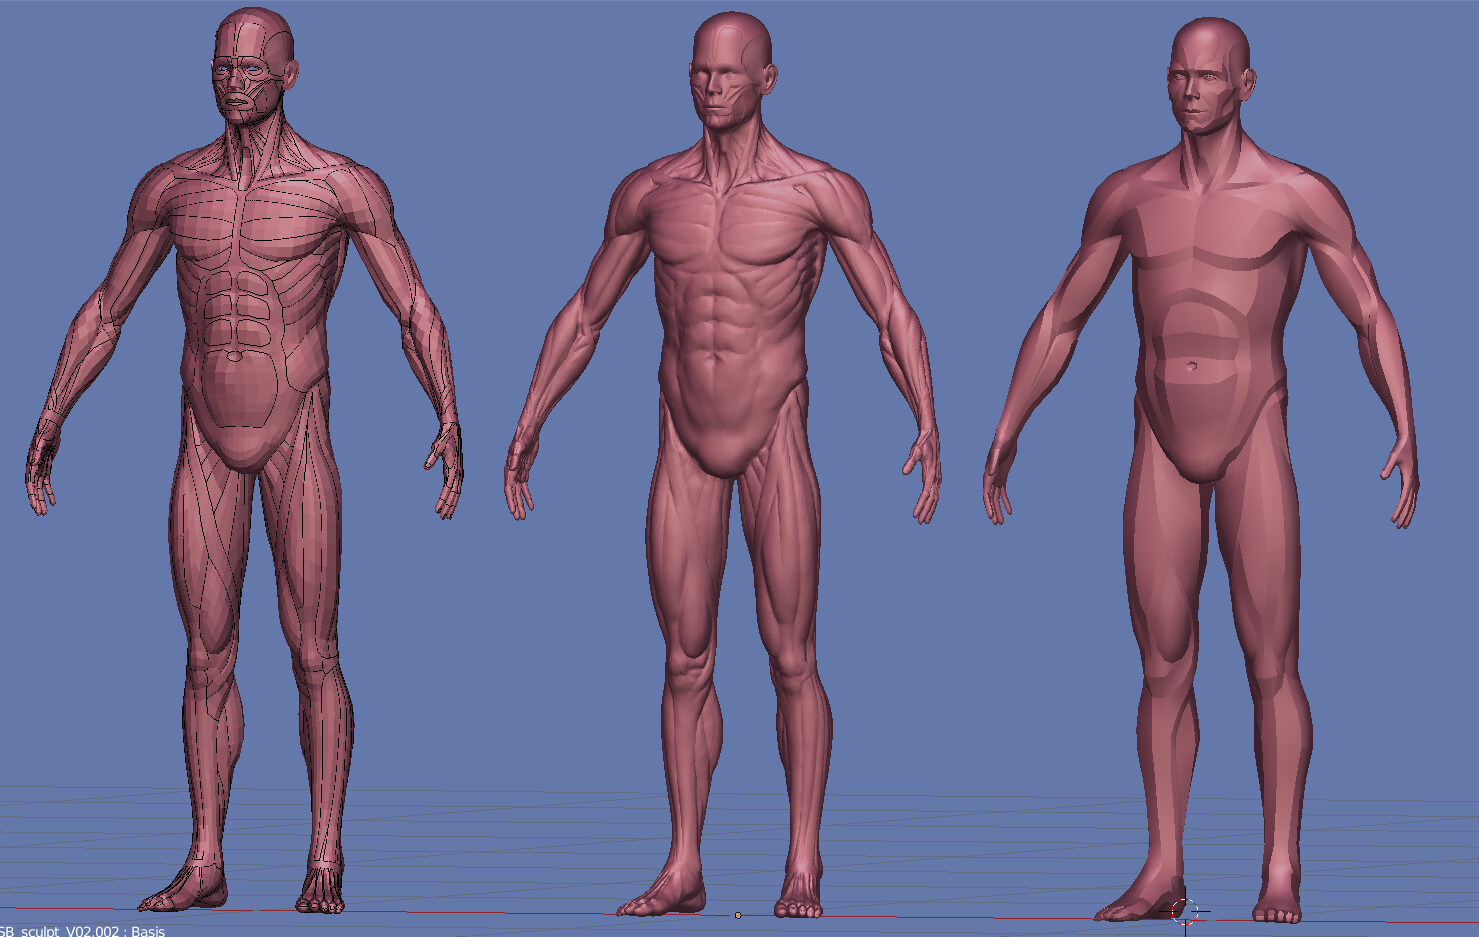
Updated sculpt a bit to make its shape more natural (I forgot to sculpt macrodetails volume before sculpting separate muscles and now fixing that became expensive). Refined shoulders, arms, ribs, hips, chest muscle flow and also updated retopo.
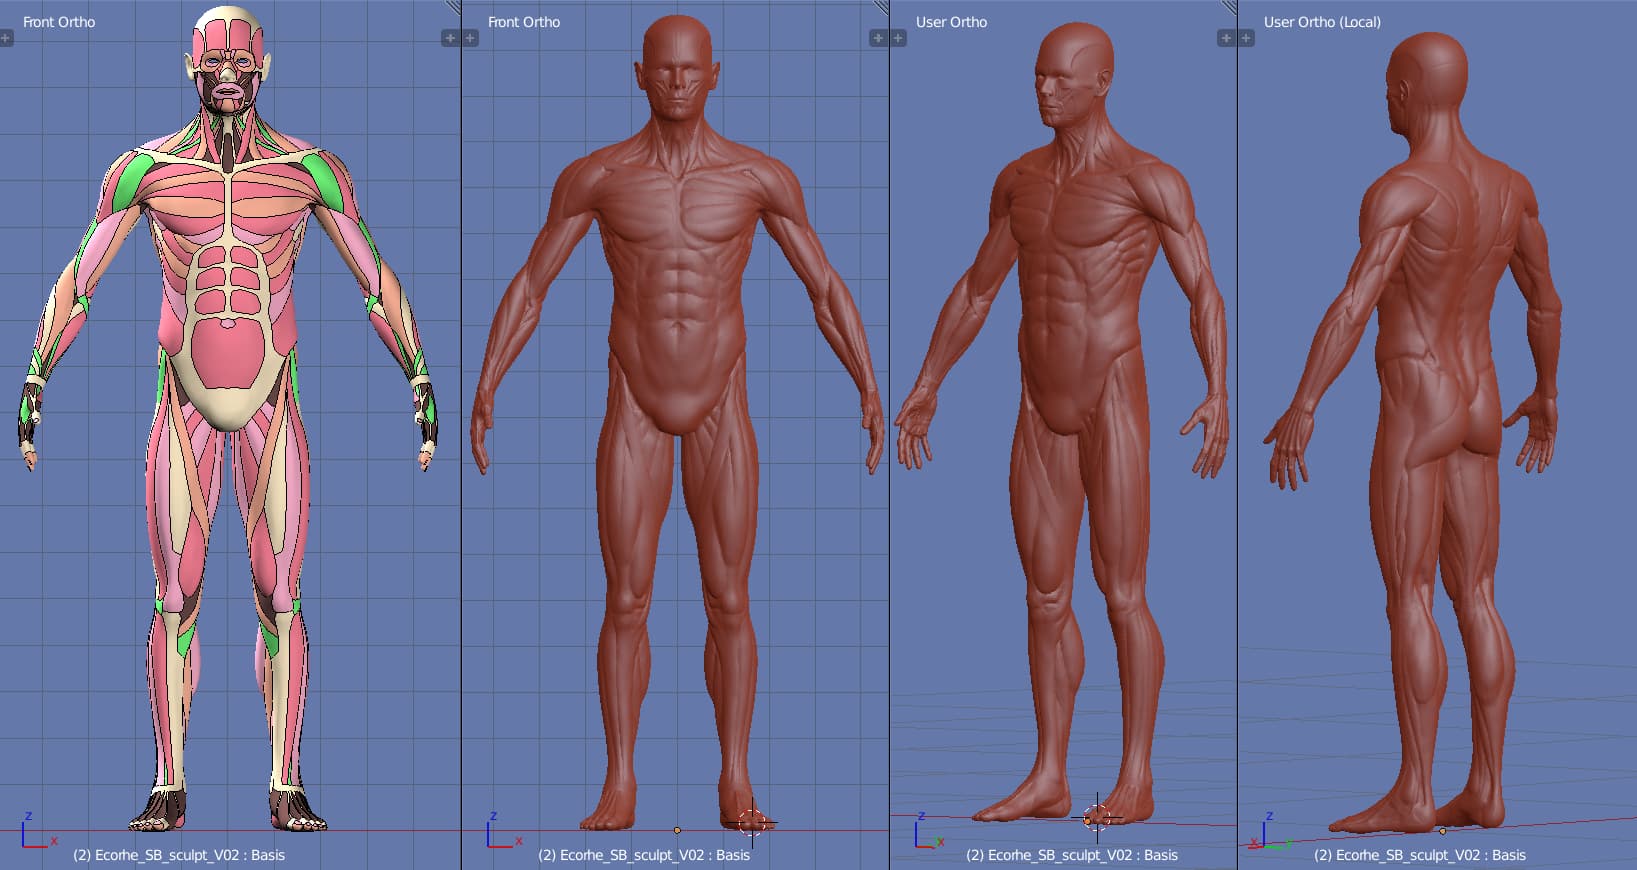
A file in case if could be useful:
7 Likes
Thanks! I’ll check it out
Imho, in fact ecorche is a thing which much easier to stripemodel, especially having skeleton ready - because of a way better separate muscles shapes control and precise surface curvature control during stripe modeling. It is way harder to avoid bumpy results in sculpting.
In order to fix several general shapes issues I planned to make a planar body sculpt as well.
It looks like as a result I will repeat path of Tonatiuh, but I see no other options at the moment to get it on a unified sculpting base. Unlike Crease brush, Planar brush is more satisfying in use.
Also not sure that making planar sculpt before ecorche makes much sense, since muscles are very shape-defining structures, from my experience artists does ecorche first when dive in character creation.
4 Likes
It’s great to hear how much thought and effort you put into the models!
If it helps to make the result better by relying more on stripe modeling, go ahead ![]()
I agree with the idea of splitting up the object into muscles instead of sculpting it all in one object. That easily results in a very sculpted look or a body-suit feel rather than the actual muscles.
My advice is to do split things up for the gained shape control but don’t feel pressured to detail the muscles beyond what is visible on the outside.
It also doesn’t need to be super precise in small details. The overall anatomy reference it gives is already fantastic to have ![]()
5 Likes
I skipped ecorche modeling step because the expected result is sculpt anyway (it is nice if such a detailing quality is okay), but most of artists I follow doesnot skip ecorche modeling step, now it is more clear why.
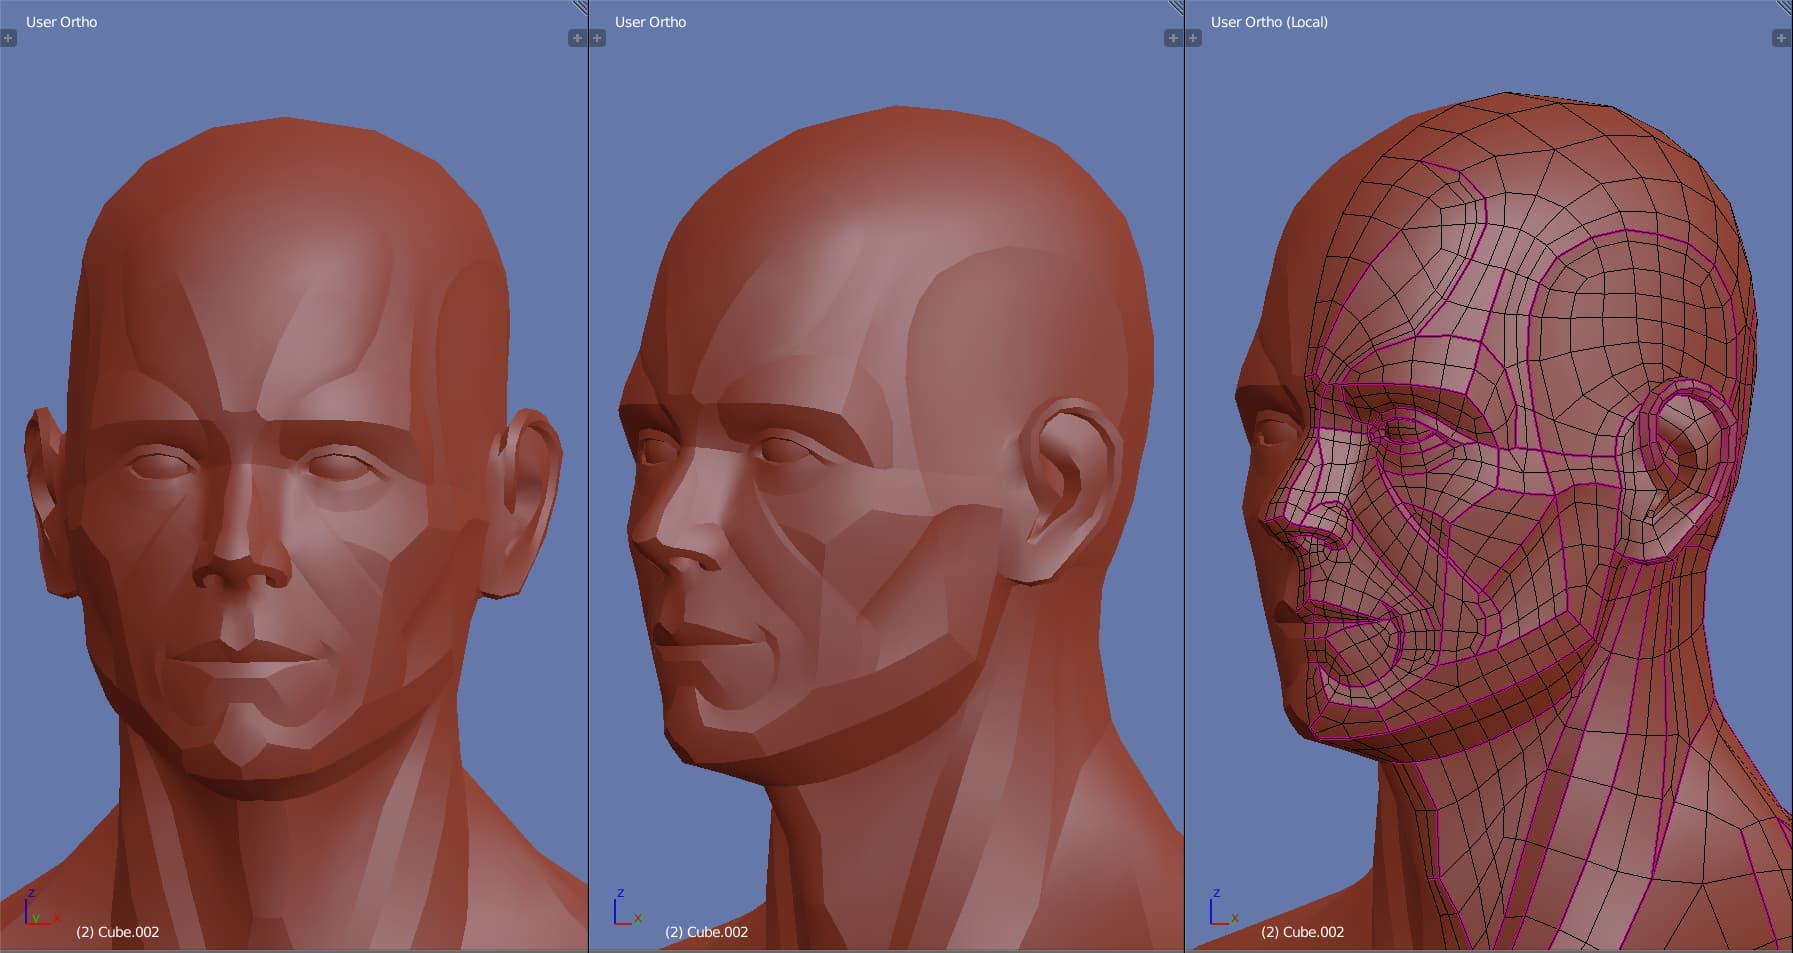
Started making planar sculpt from ecorche, faced the necessity to sculpt planar hear once more time.
Love the resulting Dishonored 2 stylistic vibes, it also allow to discover issues for ecorche sculpt shapes refine (for example, sternocleidomastoids shape issue), so it will be quite useful step.
Found interesting thing - Apply Base in Multires modifier behave differently if model has shapekeys or not. Quite convenient behaviour that allow to reach additional effects.
6 Likes
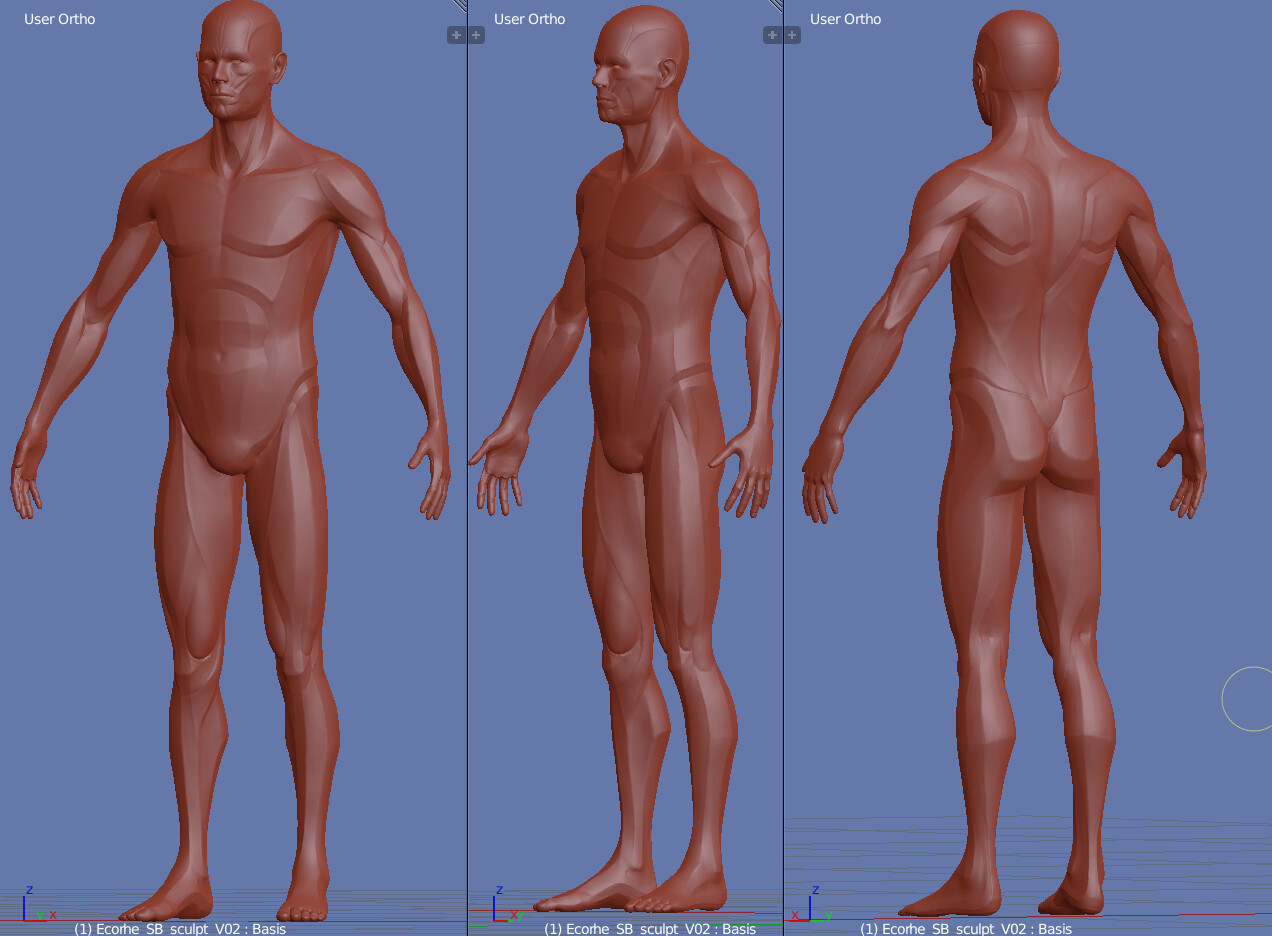
Work in progress - finisher planar model sculpt and made its retopo.
Fixed muscles volume to make it more a skin texture for a better editmode shaping control, the result looks pretty solid.
As a result there are planned 3 models - one ecorche sculpt+shapekeys and two retopoes (ecorche and planar as a visual reference)
Trying to figure out the solution to some topological problems I faced during multires sculpting.
12 Likes
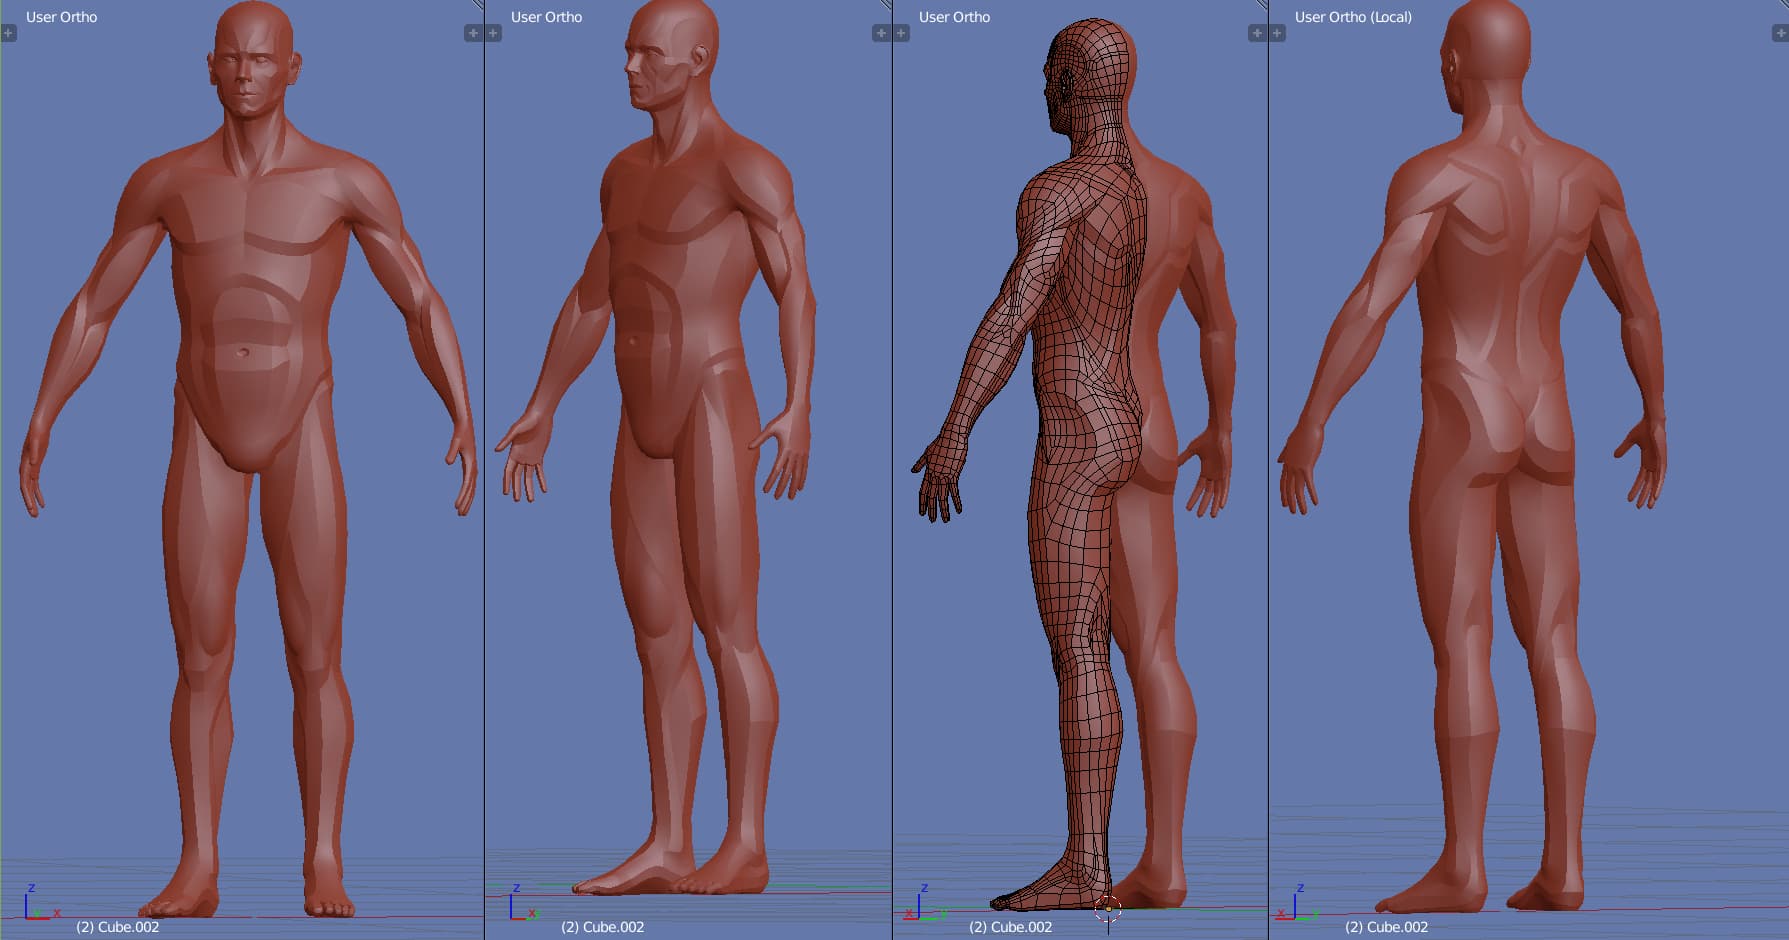
Using Surface deform modifier and sculpting base shapekeys obtained basic shapes for Female planar model and ecorche reference model.
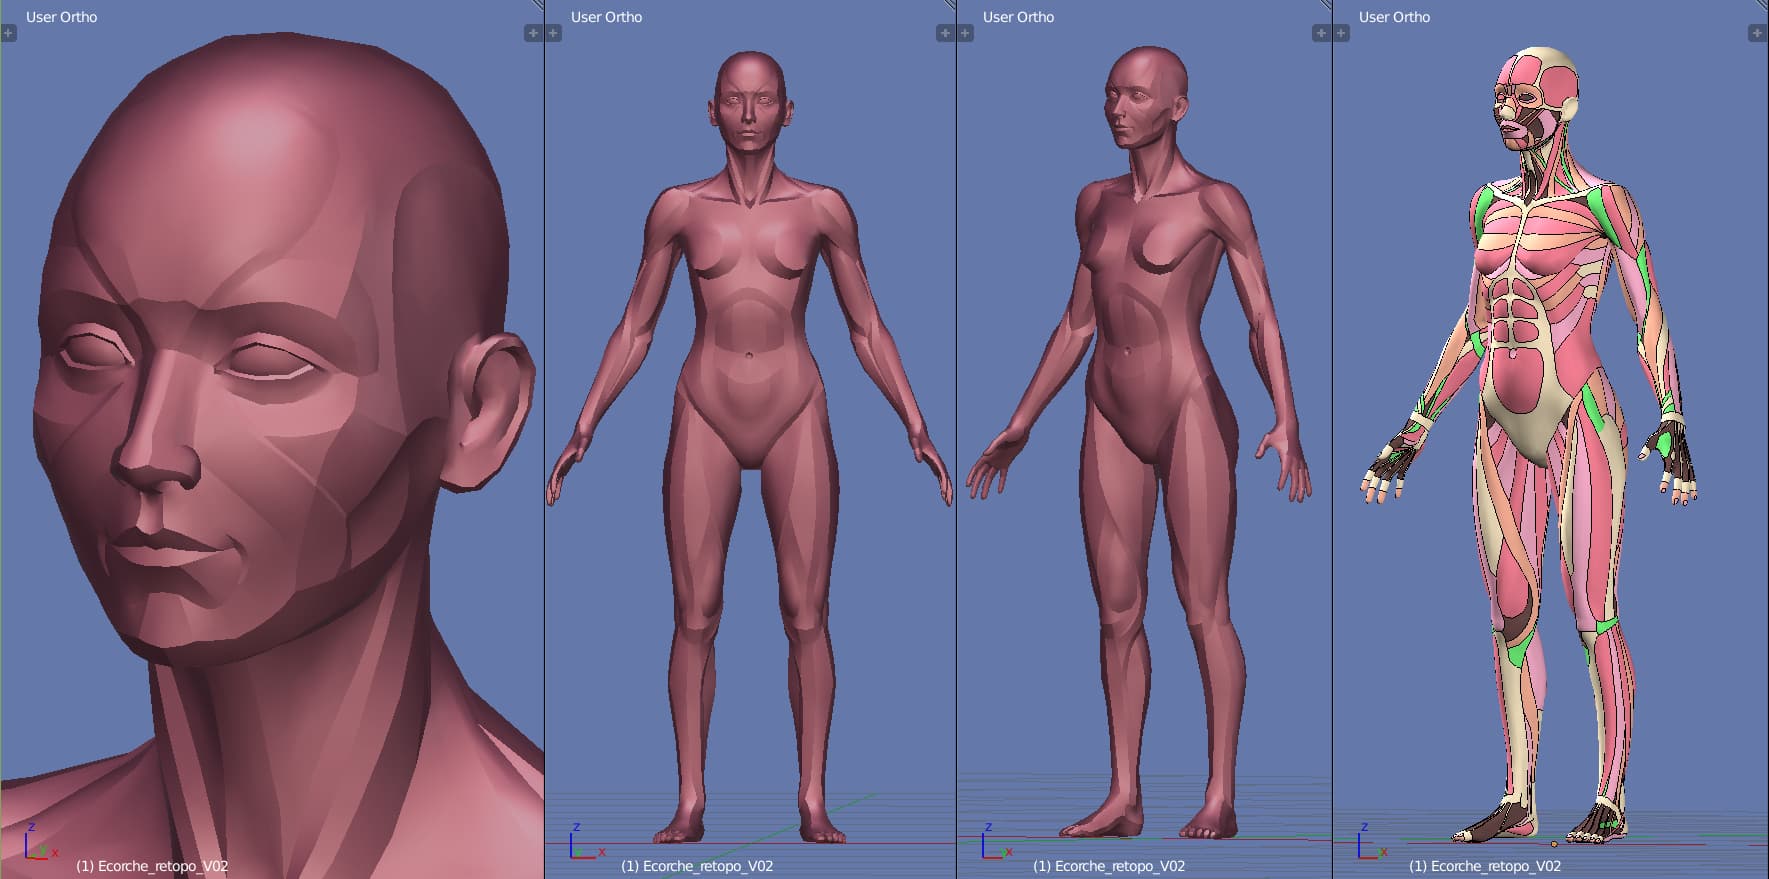
For planar model actively used compositional undo to switch between editing steps without entering edit mode to control influence of a mesh tweaks to resulting composition from different views:
It will take some time to polish and refine.
7 Likes
Nice models, I like sharp edges style, it emphasizes shapes well)
1 Like
Thanks)
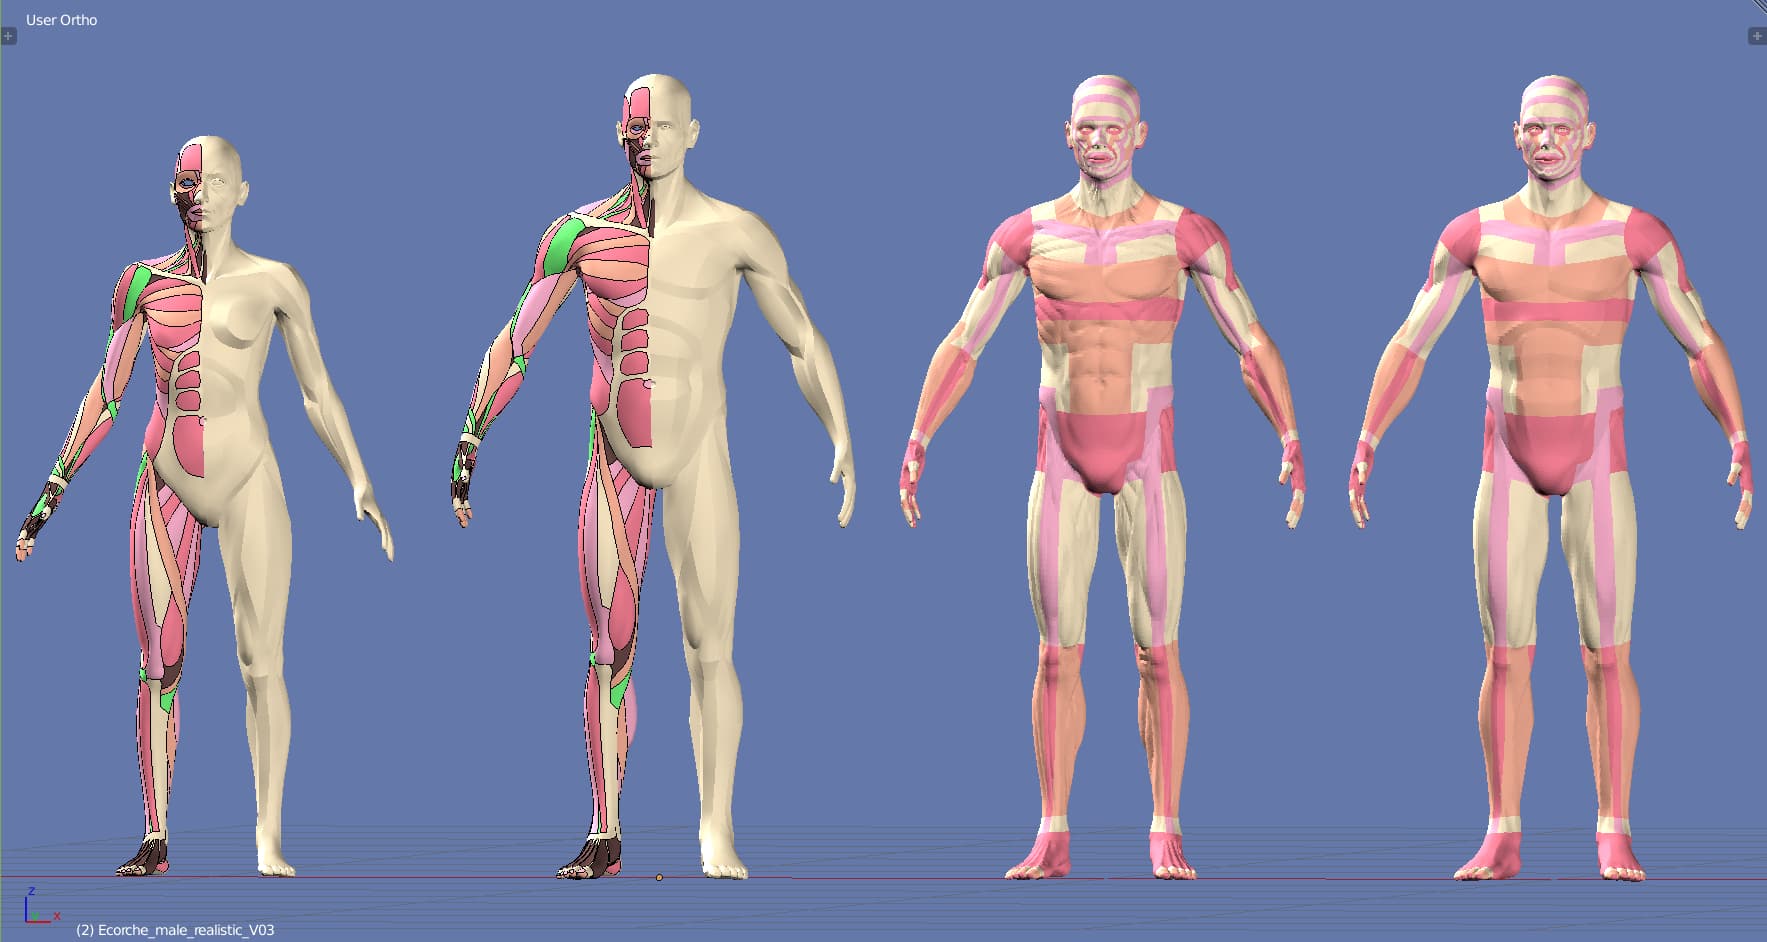
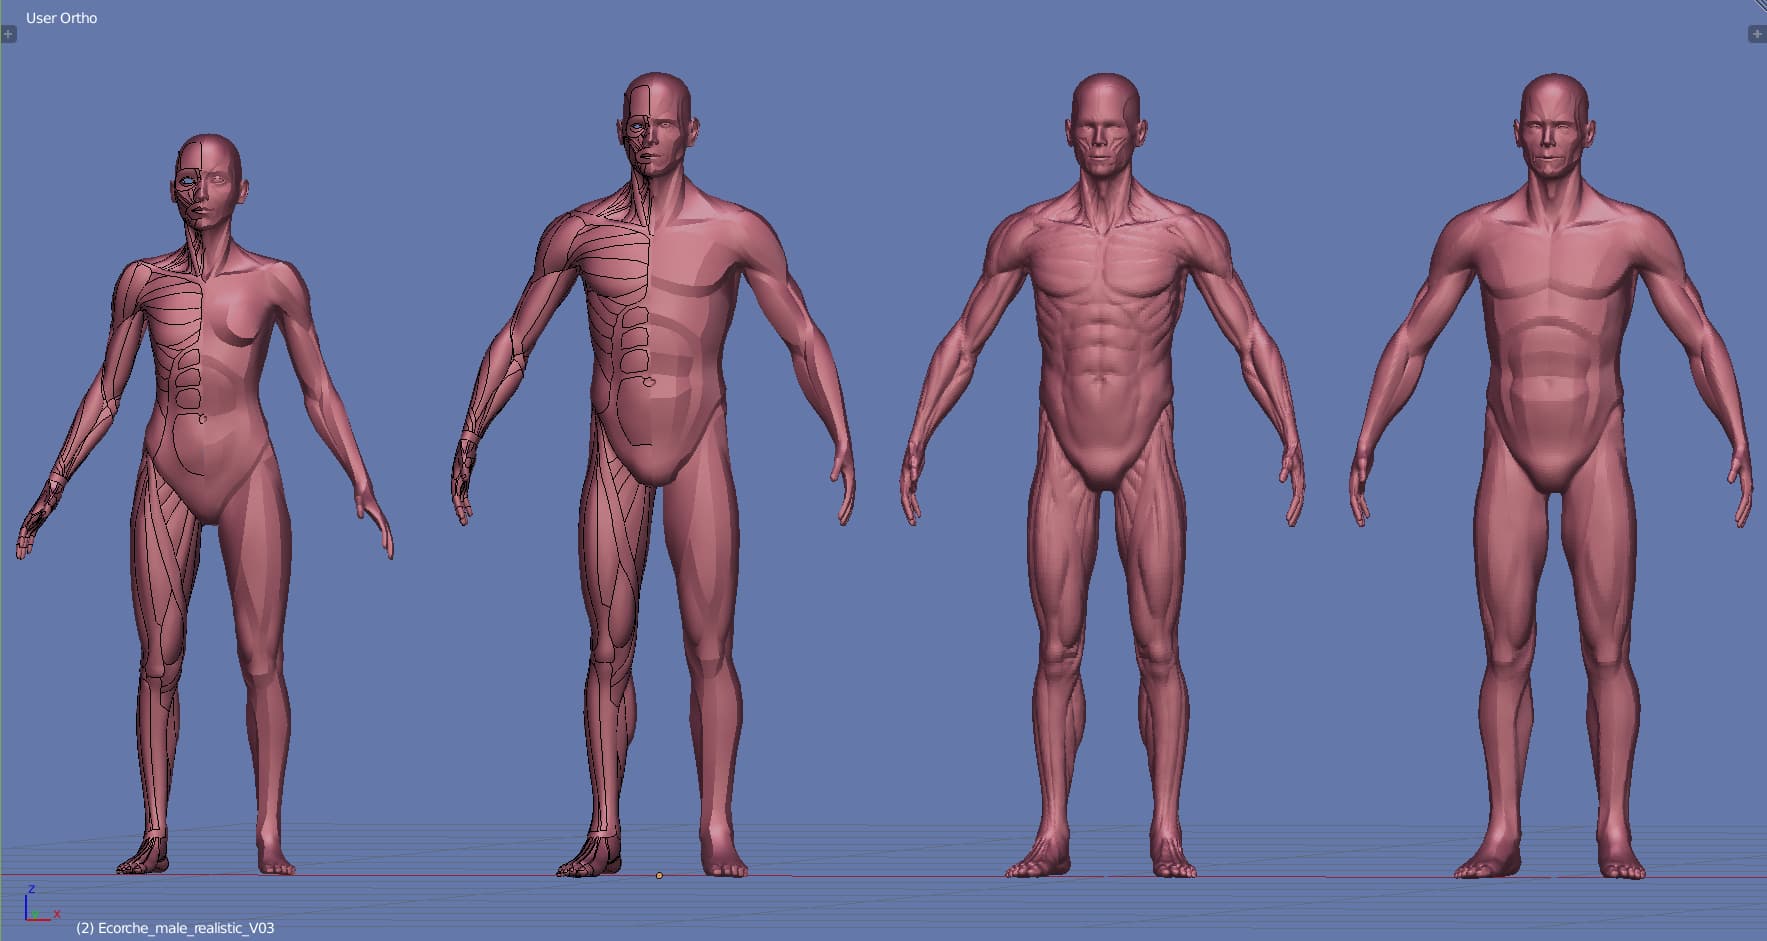
1D_Sculpting_set_v03.zip
Added male and female ecorche+planar reference models and both ecorche+planar Sculpting Base multires sculpts that was used for their creation and also for testing shapekeyed Sculpting Base purposes. All the shapekeys were slightly modified to provide a similar shape to the corners of the mouth, which used to cause problems during multires shapes transition.
9 Likes
These look amazing! Great work ![]()
I’ll spend a bit of time soon going over the models and giving some suggestions if needed. There might be overall too many sharp edges for shapes that are typically rounded off afterwards anyway.
But afaiks these follow the other asset examples really well and should work perfectly ![]()
There are enough fixes and new models now that I’ll get another update for the released bundle ready.
4 Likes