My first time diving in the code and I managed to allow python side access to a function previously only available through the menu drawn along the CurveMapping.
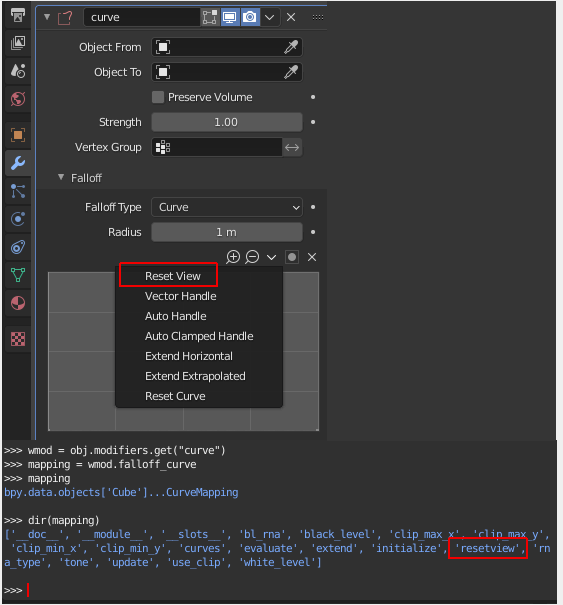
The functionality is “Reset View” in the menu shown in the picture below.
The new function is then available in python under the “CurveMapping”, visible in the console in the picture above.(had to combine the pictures as new used)
I have submitted the code Reset View for CurveMapping through python
The function is called reset_view though now, as it went through 
3 Likes
So nice! Is this for all curve templates?
I was adding some features to the Amaranth addon and bumped into this issue. Nothing of those templates can be called. Would be nice if more items could be added perhaps.
For bl 2.91 i now did a dirty loop clearing all the points. I added functionality to the save color management settings so that if curve is used it also save the curve points.
The CurveProfile and CurveMapping both got the new function “reset_view”.
It’s live in the master 2.93 already, I do not know though, if there is a chance that it may be patched in earlier versions. More/New functionality would most likely also only end up in the new version.
I added the function more or less to allow my addon (eventually others will use it too) to save it’s user from having to manually reset the view.
This was though by no means a new functionality, I only exposed an already available functionality from the “C” side to the Python API.
1 Like
Yeah i thought it about that, its looks like in 2.9 branch more items are hidden or i never looked at them. I do bump into more items not available for editing.
Whats the name of the addon you’re working?
EDIT
i downloaded 2.92 and i dont see it here, at least not in the curve of color management and i dont see it in say an RGB curve. I cant remember really when 2.92 was released so probably makes sense its not in there.
Can i ask what your method of cleaning is?
This is a little script it got working now, yet its only for the curves.
import bpy
scene = bpy.context.scene

view = scene.view_settings
cm = view.curve_mapping
if bpy.app.version <= (2,93):
    for l in range(len(cm.curves)):
        totCpts = len(cm.curves[l].points)
        if totCpts > 2:
            for i in range(1,totCpts-1):
                cm.initialize()
                cm.update()
                newIdx = len(cm.curves[l].points)
                cm.curves[l].points.remove(cm.curves[l].points[(newIdx-2)])
        cm.update()
It took me while to get the correct points to be deleted, i was guessing after the first the total index isnt right. Some fiddling and i ended with this.
Yes, in 2.92 you won’t find it, earliest in 2.93 alpha.
The Addon I wrote is called MatrixExtrude, while it’s based on a function I used in Cinema 4D before I switched to Blender. It was a “public” request, that overlapped with me working on it already, so I put some extra functionality in it and some other nice users actually showed interest in this “niche product”.
I got inspired by the “Animation Nodes” hyjacking a node, but instead used the Warp Modifier, which only has one curvemapping in form of the CustomProfile or more precise falloff_curve.
My function for cleaning/refreshing/generating of the curve/points is highly adopted to the needs of my operator based addon, split into some sub-functions and even helper functions (base idea I got from Animation Nodes, but there it is node based), so I had to adopt/adjust.
In short, I need to juggle with the modifier being there and it’s curve data used. Storing it temporary and writing it back in case the user deactivates the usage of the curve.
I’d highly recommend to dig a bit in the Animation Nodes by JacquesLucke code.
May I ask if the “Reset” button below the curve in your first post, is supposed to do just that, reset the default points (aka one point at 0,0 and one at 1,1)?
If so, it should be easier to just clear the points and add 2 points with those specific values.
For that ,look in the mentioned code from Animation Nodes.
Also to mention, reset is not the same as reset_view, which only adjusts the visible area of the UI to show the set clipping area.
Ow cool, sounds nice, but really have no clue what your addon does lol
I once used an RGB node for storing curve data. I used it for an addon for an external rendering engine. That engine had custom falloff for reflections. So i added a RGB node and stored those data points. But i always need 90 points for the exporter, i remember it took me a couple days to figure that out, with the help of some stackoverflow posts. the points also needed to be from 0-90 deg, cant really recall it properly. But thats why i remembered i could store these points. But i never bothered then about the clearing.
Ill check that code, i think i peeked once but at some point it way above my understanding.
The reset buttons is Blender default, it simply resets everything we see in the curve mapping
Ill have a look. So you reset function is only for the view. ai i thought it was for resetting all settings. hahah now i remember, i saw the remarks on adjsut the naming, it clearly stated reset_view, hahaha still i thought it was for resetting the settings
Wow that looks pretty nice!! intriguing how it works as well. PS wouldnt it be nice if each sub-setting is a sub-panel so they can be collapsed. The panel looked quite massive.
Are you running this in modal mode or so than it can keep updating?
For the addon below i also added them, it makes the addon fit in better with Blender but also does it make the UX better. At least i think, i find the panels are better to read. Also they collapse nicer
Adjusted layout
Old layout
1 Like
PS thanks for noting the animation nodes, i see has somewhat the same method i actually used.
My first approach was to skip first and last, but then i thought if users change these they also need to be saved and thus cleared.
I do see some function or code parts i still dont fully understand. Like the lambda function and the yield.
Mentioning Animation Nodes, I had to, even if I could not use it as is for my needs, I learned a lot from it, I also mentioned it in the code, just saying.
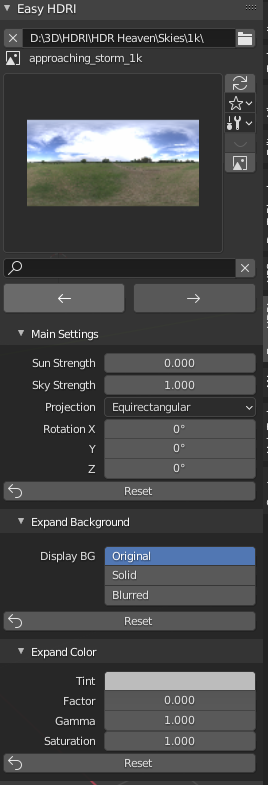
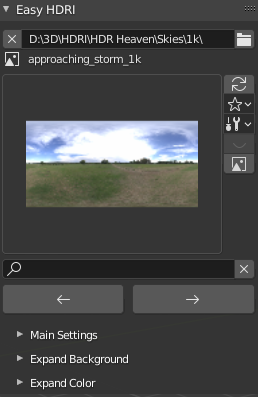
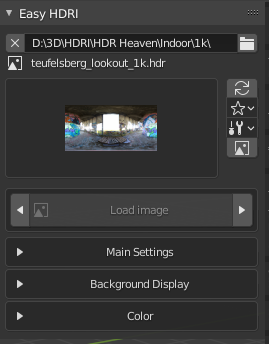
Regarding the post before showing the btw. very nice addon “Easy HDRI”, thanks, “MatrixExtrude” sure was challenging and taught me some new things, and yes it would be nice, but as an operator addon, keeps updating per userinput/adjustments, it does not support panels in the same way as the addons in the “N” panel. That’s where I started it though.
The interactive mode was just so much more intuitive and the real-time (as long as you don’t overdo it with the face-count) was the deciding factor. So it became an operator based addon.
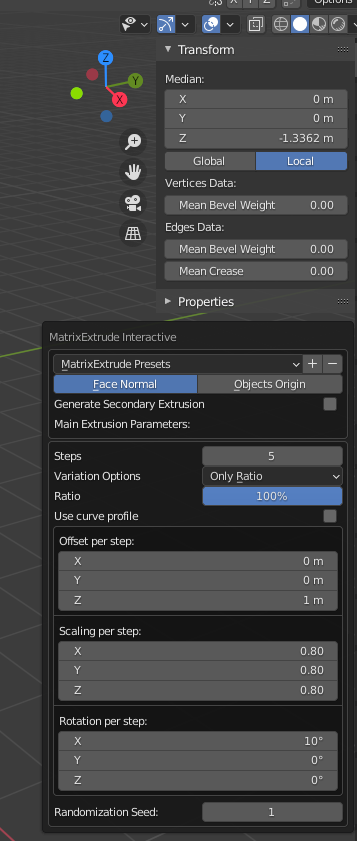
It’s like I said a niche product, used to extrude any number of preselected faces and extrude them at the same time based on their “face-normal” with options to adjust the distance, scale and rotation at the same time. While on a sphere you get a tentacle ball, it can also be used to create specific growths on other objects or even tailored extrusions for specific needs, as you can adjust and trim it to the needs. Still of course not something you use all the time.
Regarding the size, I already trimmed it, the version in the video was before, now it is at version 2.08 and all got tighter and easier to see. Still with the amount of options, it sure eats its share of screen-space.
You could always make an “regular” N panel of it and only make it visible in edit mode. Most of those windows in the bottom left show after a first step or procedure is done. How does that part go in your addon or is it more of an activation after a selection is made? But i guess its same as with extrude, but then you select and already do a first extrude, then that menu shows.
Did you also make a tool icon for the tools icon. I saw there is a nice example template in Blender. It shows and example with select tool. Looks nice
I had the first version as a “N” Panel addon. The interactive version is like some of the tools an operator, not modal, as I do not restrict the user. Once you start the addon, you have the UI open, can rotate around your object and interact with the viewport, should you accidently click in the screen and the UI closes, F9 comes to the rescue, opening the UI again at the cursor though. That way you can check the progress of the creation and rotate or pan around and still adjust the settings. Once happy you can save the preset or just click on the object to finalize the creation. Also possible to press “Shift R” and repeat the same extrusion settings multiple times based on the after each turn left selected faces. None of this would be possible with the “N” Panel approach (At least not that I could find).
There is also the case of width of the UI, the “N” Panel can be adjusted, but should essentially always be kept at the defaults as to not have the user needing to expand it to see all. The operator UI is wider and fit my addon better, also only way I know to get the interactive mode.
Making a difference is also the UI width, no adjustments made, just used “F9” to open and position the menu under the “N” Panel for easier comparation:
Also the UI only grows huge if the user wants all the options. Not used parameters are hidden, as hidden parameters are not used either, except the main and secondary extrusions. That is a workaround tab functionality as having both on the screen at the same time would be nuts, can be seen at 0:11 in the MatrixExtrude video. The demonstration is very fast though, may help to slow the play-speed down.
EDIT: Not sure, but I believe we diverge from the original intended usage of this forum a bit too much.
Might be better to use the forum on Blenderartists
1 Like