New Sky Texture

Asked for that earlier:

Lukas answered:

Still needed, even with the mapping node working! (mainly for sun elevation now) :slight_smile:

And a checkbox for deactivating this dropdown pls - just for ppl who want to keep the UI clean… ;D

Here’s the work in progress patch full of fixes and changes:
https://developer.blender.org/D8091

So, do you all want the Sun Elevation to start from 0 (zenith) and with +infinite and -infinite limits?

4 Likes

If I understand well, we could have a field at the bottom where we can select an object to look for rotations, as it happens in texture coordinates node, where you can choose an arbitrary object loc/rot/scale to drive the coordinates. When field is not empty elevation and rotation get overridden {and greyed out}.
The problem is that we need just two parameters, while objects have three rotation axis. The solution might be to look only for the object position and translate it into rotation and elevation in relation to the world center. This way the user could place an empty right in the position where he/she wants the sun light coming from.
Then animating sunsets becomes a visual thing in 3dviewport, and no driver is needed anymore

1 Like

In that case a toggle to hide the checkbox would be nice

4 Likes

The Sky fixes made it in Blender 2.90 today!
Changes are listed here

5 Likes

I can’t hide to you anymore that there is actually an hack in the sky code that is making the sky itself lower-exposed.

Thanks to @polyrhythm we created a fix here https://developer.blender.org/D8285.
It makes the sky values physically accurate, we measured the lambertian diffused RGB values and transformed to illuminance, and we got RGB(111,576; 94,411; 81,536) for a noon clear sky which means that it matches reference actual measured real life lux data.
This also leads to another step toward a better integration with the upcoming spectral branch by @smilebags.

Now, the only problem that the fix brings is that it makes the sky appear brighter on default scene with Exposure value 0, that’s because the intensities of the sky are very high. This could create misunderstandings at first, but in the end this is what a real sky should look.
To properly expose the sky we should rely on physics, so like what happens in real life we should downexpose the whole scene by 16EV, fact is that Blender’s Exposure value is = -1 * (EV - 9.416) being EV the exposure value of the real world. So if we put 16 in the formula we get -6.584 and so a properly exposed sky.

Problem is, i’ve talked with @Brecht about that and he “suggested” to hardcode the sky intensity to get a “good looking” sky in a default scene.
Now, there are no reasoms behind this choice other than having a “good looking” sky by default, but, at least in my opinion, the intensity of the scene should be controlled by the Exposure value, or anyway an artist can just adjust the Strength of the Background Node on which the Sky Texture Node is connected.
What are your opinions on that regard?

Before (hacked RGB):

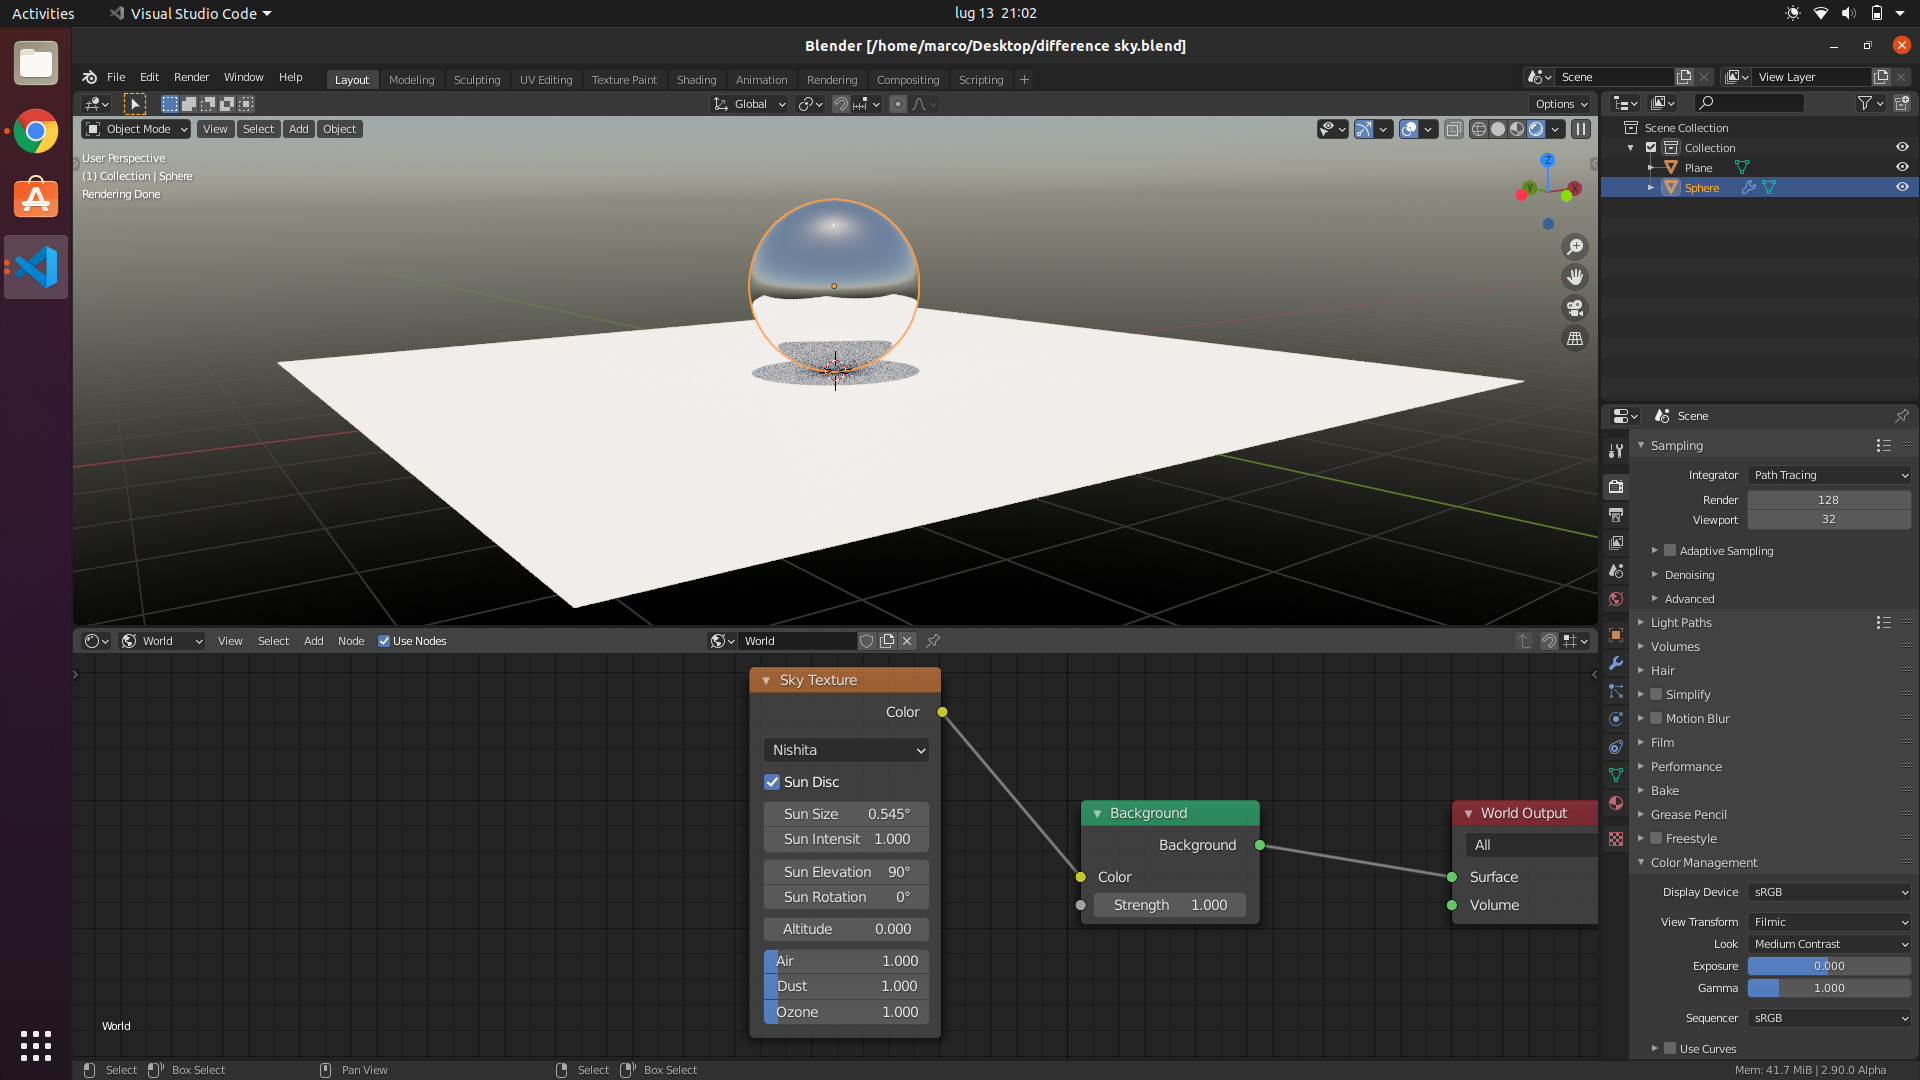
After (accurate RGB):


which looks blown out at first, but once we put -3 or -4 in the Exposure of Filmic, it should look like the first screenshot.

13 Likes

There is a simple solution: all photographers know, that there is this specific time of day, when the sky brightness becomes similar to the brightness of artificial light sources - allowing for the very special photos of the sunset sky blending with the illuminated cityscapes.

Let’s just change the default sun elevation in the sky texture so that the physically accurate sky brightness looks good with the default exposure!

14 Likes

Definitely in favour on working with physical units of light wherever it makes sense to do so, this is definitely one of those cases.

A few reasons:
The daylight sky is damn bright in real life, so it makes sense to match that in Cycles. You could put this new sky on the environment then create a room with a window, and if you put in a physically accurate lamp, they would be pretty well balanced in the shaded areas of the room. It removes the guesswork from lighting a scene.

If someone is going to be using an addon like the Photographer addon to use familiar controls of exposure, this sky will be what you’d expect. Daylight settings will look correct with the daylight sky. Setting up a scene and then having to boost the exposure to get the right sort of sky brightness introduces guesswork and just one more step for people.

14 Likes

Considering that the default EV for blender at 0 exposure is 9.416 (2^9.416 = 683, maximum luminous efficacy), the sky would need to be at very early morning or late evening to be exposed correctly at this exposure. So, the idea itself is possible…but:

The current sky model doesn’t really darken enough at morning/evening for this to work in practice. In my testing, the exposure doesn’t really drop below EV12 even when the sun is a couple degrees above the horizon - normally this would be closer to EV7. So, the sky model, as it is right now, will always be overexposed when Blender exposure is zeroed out, regardless of time of day.

There could be a lot of reasons for this, and worst-case scenario, we introduce scaling into the model to get it to be behave with regards to absolute brightness at morning and evening.

2 Likes

I’d suggest keeping the sky at correct exposure and not doing any internal shenanigans which could compromise sky exposure accuracy when used together with light sources which have correctly set up radiometric units.

Cycles’ light units are defined in watts, so it’s especially important for archviz purposes that when one sets up interior lighting of correct intensity, especially when using IES lights, that the exterior daylight exposure matches correctly. Otherwise this would be a total dealbreaker for use cases where one wants to use Blender to evaluate architectural lighting scenario.

I see this kind of scenario very frequently all over Blender. Blender has some fundamental flaw which none of the core developers wants to address because it’s not a bug, so other developers are left with no other option than to put another hack on top of that and continue ugly chain of hacks until some really ugly machinery is created that no one wants to touch.

In this case, the fundamental flaw is Blender having two physically based renderers, yet not having any concept of physically based camera object, where ISO, shutter and F/stop parameters work together to represent interdependent properties of real world cameras. If we had that, there would not be any need for shenanigans like underexposing physically based sky model just so that it works well out of the box for noobs whom don’t know what exposure means.

But try to report “Blender’s missing physical camera implementation” on maniphest, and you’ll immediately get shit for posting feature requests on bug tracker. Then try to post it here in user requests section of the forum and watch it getting buried in a single day with 0 replies and 5 views. Good luck… :confused:

15 Likes


This is what it looks like at Sun Elevation 0, which doesn’t look so bright really… So for me it would be ok.

12 Likes

That’s nice. But if this is true

i’d suggest to fix it anyway

We can support physical units. But when we change this it will be for Cycles as a whole and not just one particular sky texture. As long as everything else works a certain way, the sky texture should as well.

Otherwise you end up in a situation where you have to set your exposure very low for the sky texture to work (and this is not discoverable at all, so most users will randomly pick an exposure value that looks good and no physical accuracy will have been gained). But then all your other lights and emission shaders, or switching to a different sky model, appending assets from a .blend or other file format will all work poorly.

The other important thing to consider is that not every use case is about physically based rendering, and that we also want Cycles and Eevee compatibility. For example for motion graphics you want to be able to hook up an image texture to emission, but then if that’s a physical unit rather than just mapping 1-to-1 to pixel values, it’s no good.

So overall, this needs a proper design and doing it halfway with just the sky texture is not something I will accept in the code.

7 Likes

This is only a problem if the other assets are not already physically based. This is the case regardless of whether or not one of the assets is accurate - importing an HDR environment with physically accurate brightness values is going to look wrong in a lot of scenes which haven’t been made with this in mind, so let’s fix that. Make the defaults logical, physically accurate, and internally consistent. There’s no reason that can’t be done.

I don’t see the issue here. Eevee can also be (albeit slightly less accurate) physically based and result in very similar looking images to Cycles with the same settings.

Make the default value map 1:1 then. It can still represent a physical value, it’s just going to be a value that’s more contextually relevant in the physically based setting. Even right now if you change your exposure, an image texture in emission still won’t give 1:1 output, so I don’t see any significant difference here.

The only way the proper solution could start to be implemented is with some anchor to something that’s accurate. The fact that we’ve needed an addon to get consistent camera controls highlights that there’s an issue. It needs fixing, and I don’t see why having an accurate sky isn’t a suitable first step.

6 Likes

I would be very happy if this is what I saw the first time I added a sky node.

2 Likes

Just tried latest build, on Manjaro. With a TitanX and a I7-6700 and the renders come out borked.
Mostly the indirect pass shows the worst of the difference between cpu and gpu mixing.

This shows up when rendering with BOTH CPU and GPU together.

Indirect pass showing the tile differences between cpu and gpu

1 Like

Please report here the bugs.
And anyway this seems an old bug that has already been fixed here

There’s a difference between unit conventions and being physically based. HDRs that I’ve seen look approximately as intended at exposure 0, and require scaling to bring it to a typical physical unit. I’m not sure that I’ve come across HDRs that have values in the same physical unit as is being proposed for the sky texture node here.

The issue is one of usability. It will not be obvious at all to the user that they need to change the exposure. And not the exposure in the color management panel, because then your pixel values will be too dark for compositing and export of EXR to other applications, but the one in the Film panel.

So if you don’t have a proper design here you are just letting users end up with other non-obvious problems.

As a developer you have to start somewhere, but it doesn’t mean we should release a halfway solution to the user before the full design is worked out.

1 Like

Thanks, raising the sun size to 0.4 worked.

1 Like

What I proposed to @nacioss is to add a Strength parameter on the Sky texture. If set to 1.0 it would use the physical units, but until that design is worked out we would set it to a lower value so it looks ok with the default exposure at 0.0.

5 Likes