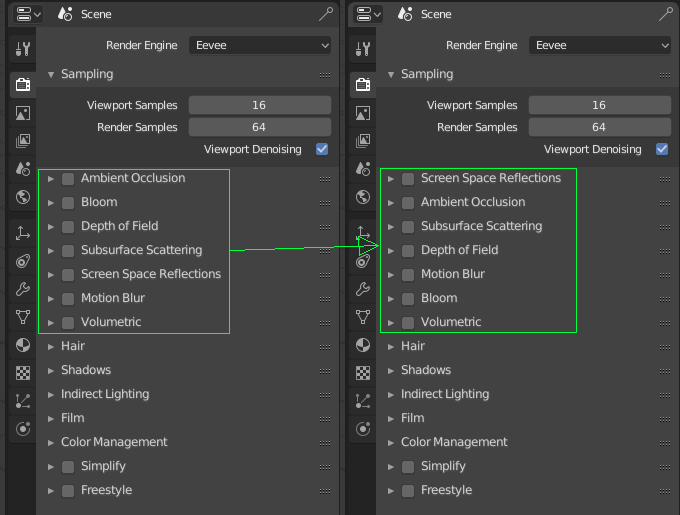
Maybe those panels should be rearranged from most used to “fancy”? It’s kinda weird to have bloom/depth of field on top of of stuff like SSR/SSS. 
8 Likes
 Well maybe. I suppose turning a drop menu option into a socket is not as simple as it seems visually, I know. I will remove it tomorrow just to make sure they see it and in case any of them reply about it.
wires, lamps, empties etc etc all black
its a quick fix that a change every time i reset 2.8 but all the same black tone may be coherent but its really annoying.
A little variant:
7 Likes
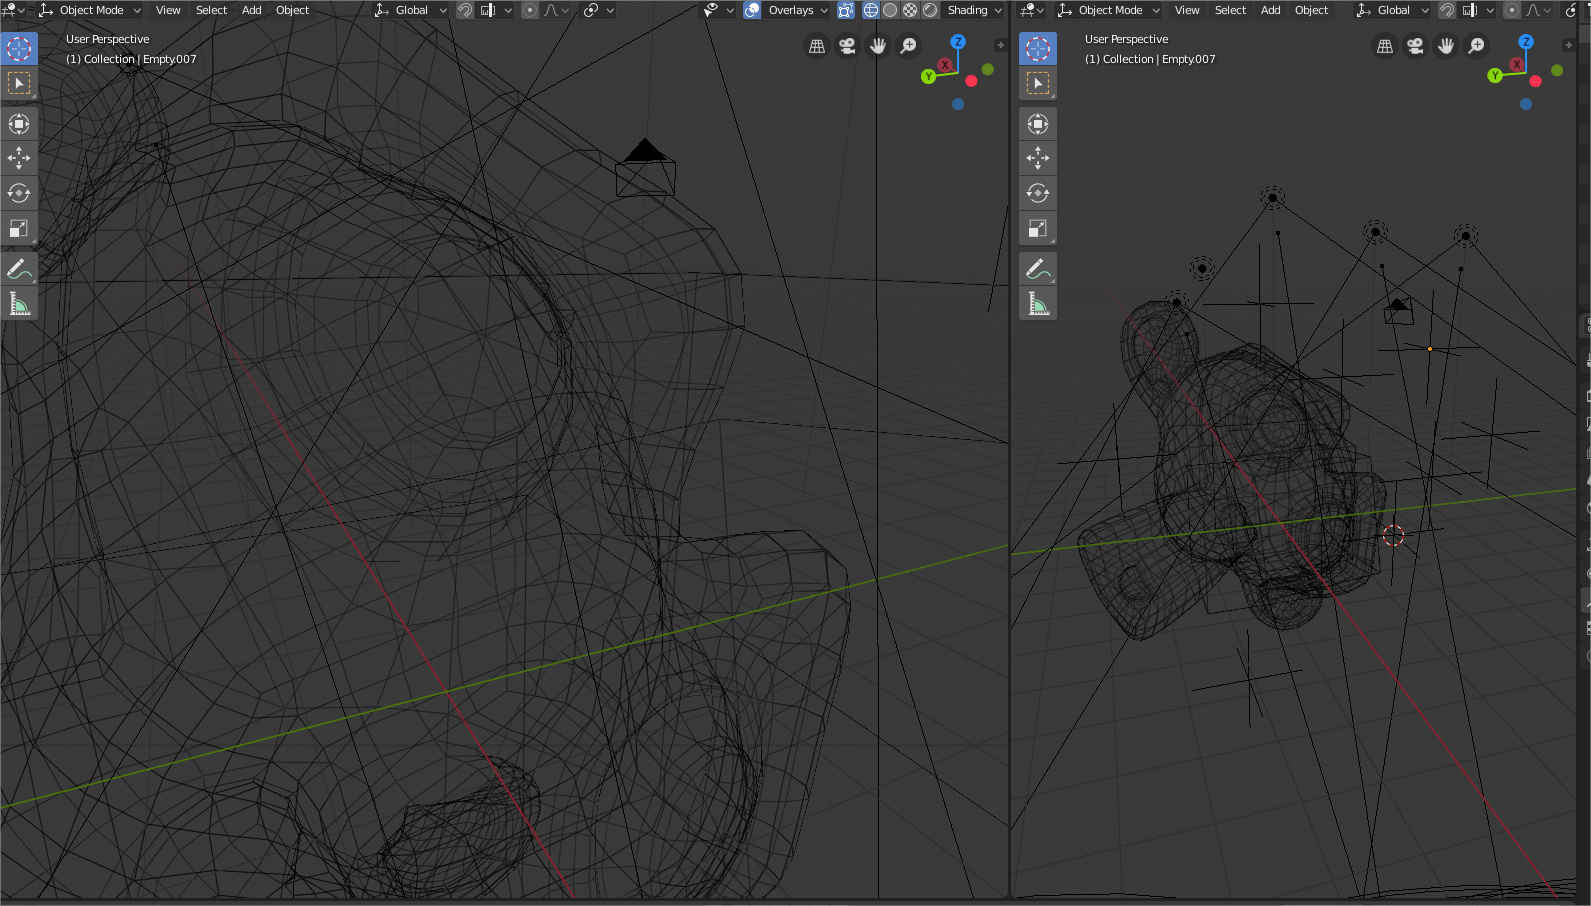
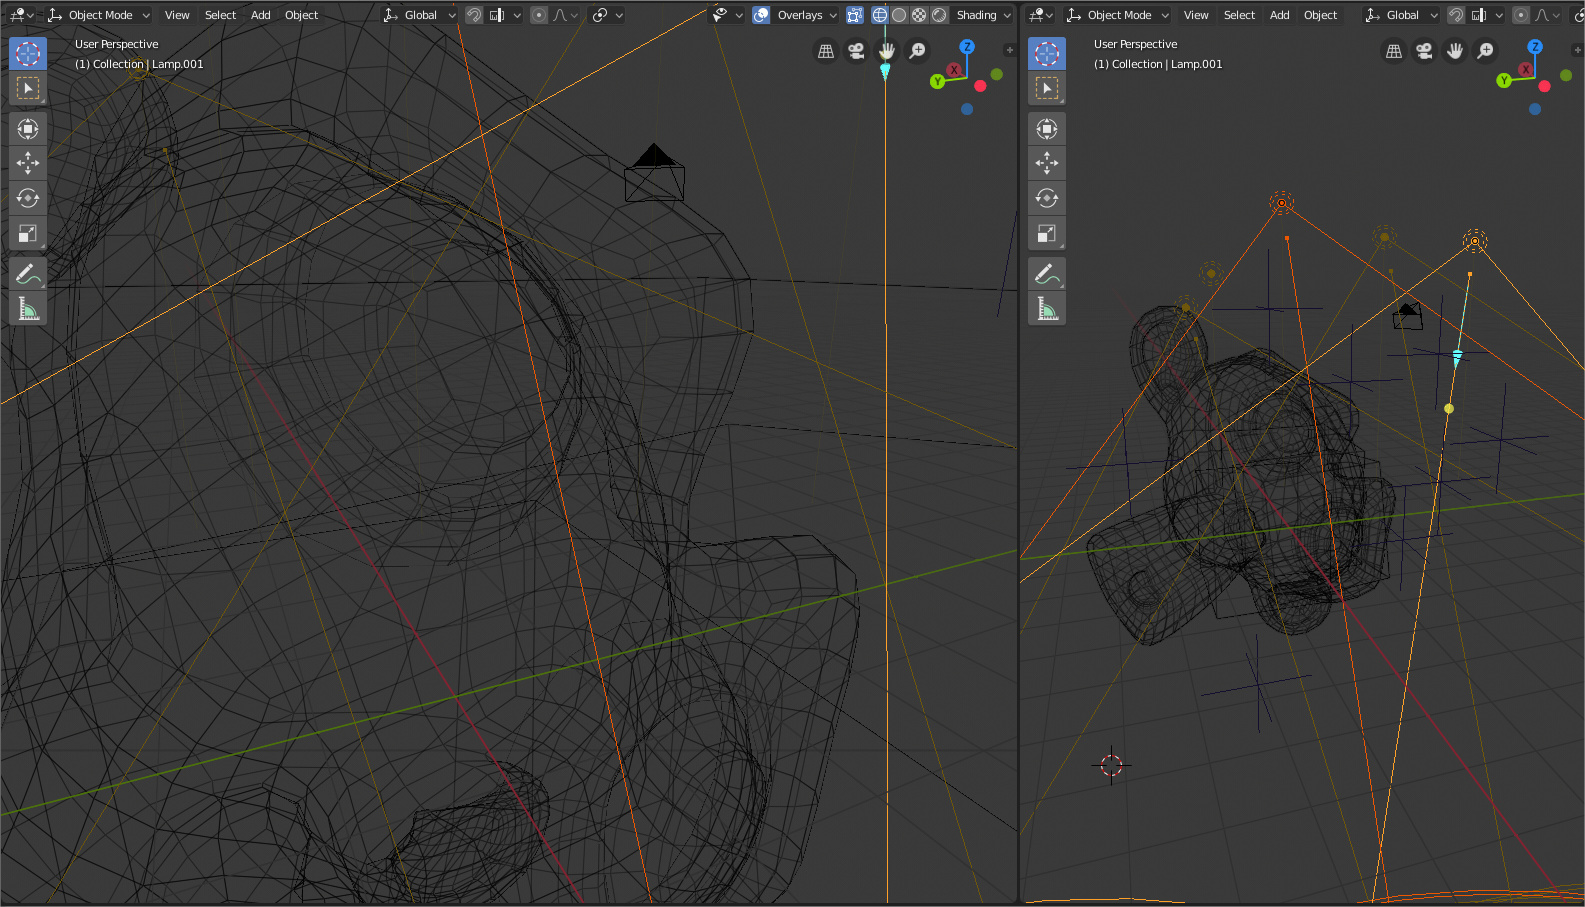
Lack of picker for bones. Armatures can be picked but not bones. Ideally if i pick over a certain bone should pick the armature and the bone i aim at, however being able to manually point pic a bone on a second action would be nice too.
8 Likes
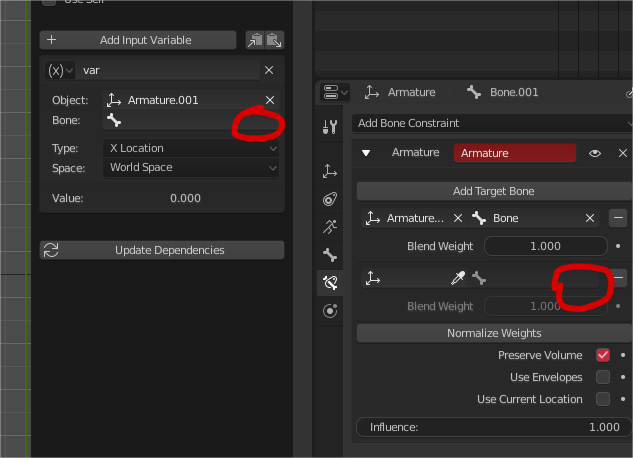
Can’t pick an armature or bone from a floating drivers window. Simply doesn’t register the armature since its a different window

its my last one tonight ^- ^ sorry, im not sure what its more practical if to do one with everything or like post in different replys like this.
7 Likes
Hello, my first paper cut post. 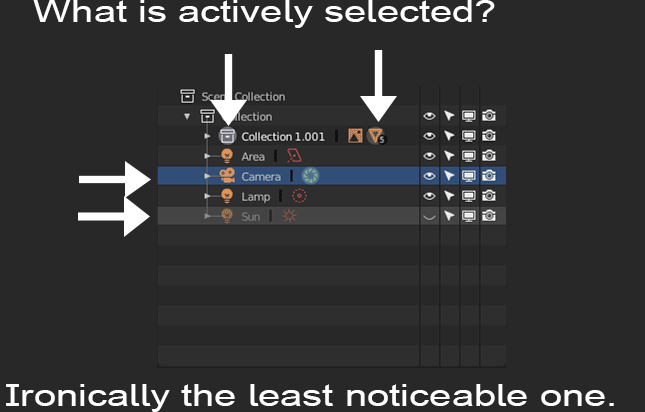
The outlier is fashionable as it gets but is functionality disconnected as the image shows. The blue “selected from within the outliner” highlight and light grey “last hovered over in the outline” highlight completely overpower what is actually selected and can be completely misleading. A quick little fix in the theme is to have no hover color or blue selected color but the actually selected object is still hard to find. So for the best results, I think a bit very tiny bit of code would be needed for this.
-
Is it possible to remove the light grey “last hovered over’’ highlight when the mouse leaves in the outliner?
-
When selecting something from the viewport, is it possible to auto blue highlight in the outliner?
-
Bonus, It would be awesome if when selecting something from the outliner, then that reflected in the properties panel. Yes, those specific material properties show up if already in the materials tab, but it would be extremely users (especially new users still learning the tabs) if it also automatically selected the tab. For example, if you click on a selecting a modifier, material, etc. in the outliner, then it would automatically show that modifier, material, etc. tab in the properties panel.
Thanks for reading.
23 Likes
There is a bit of a maze involved in trying to get refractions to work in Eevee, mainly I just wanted to simplify the three-step process into to steps but also found other mini things.
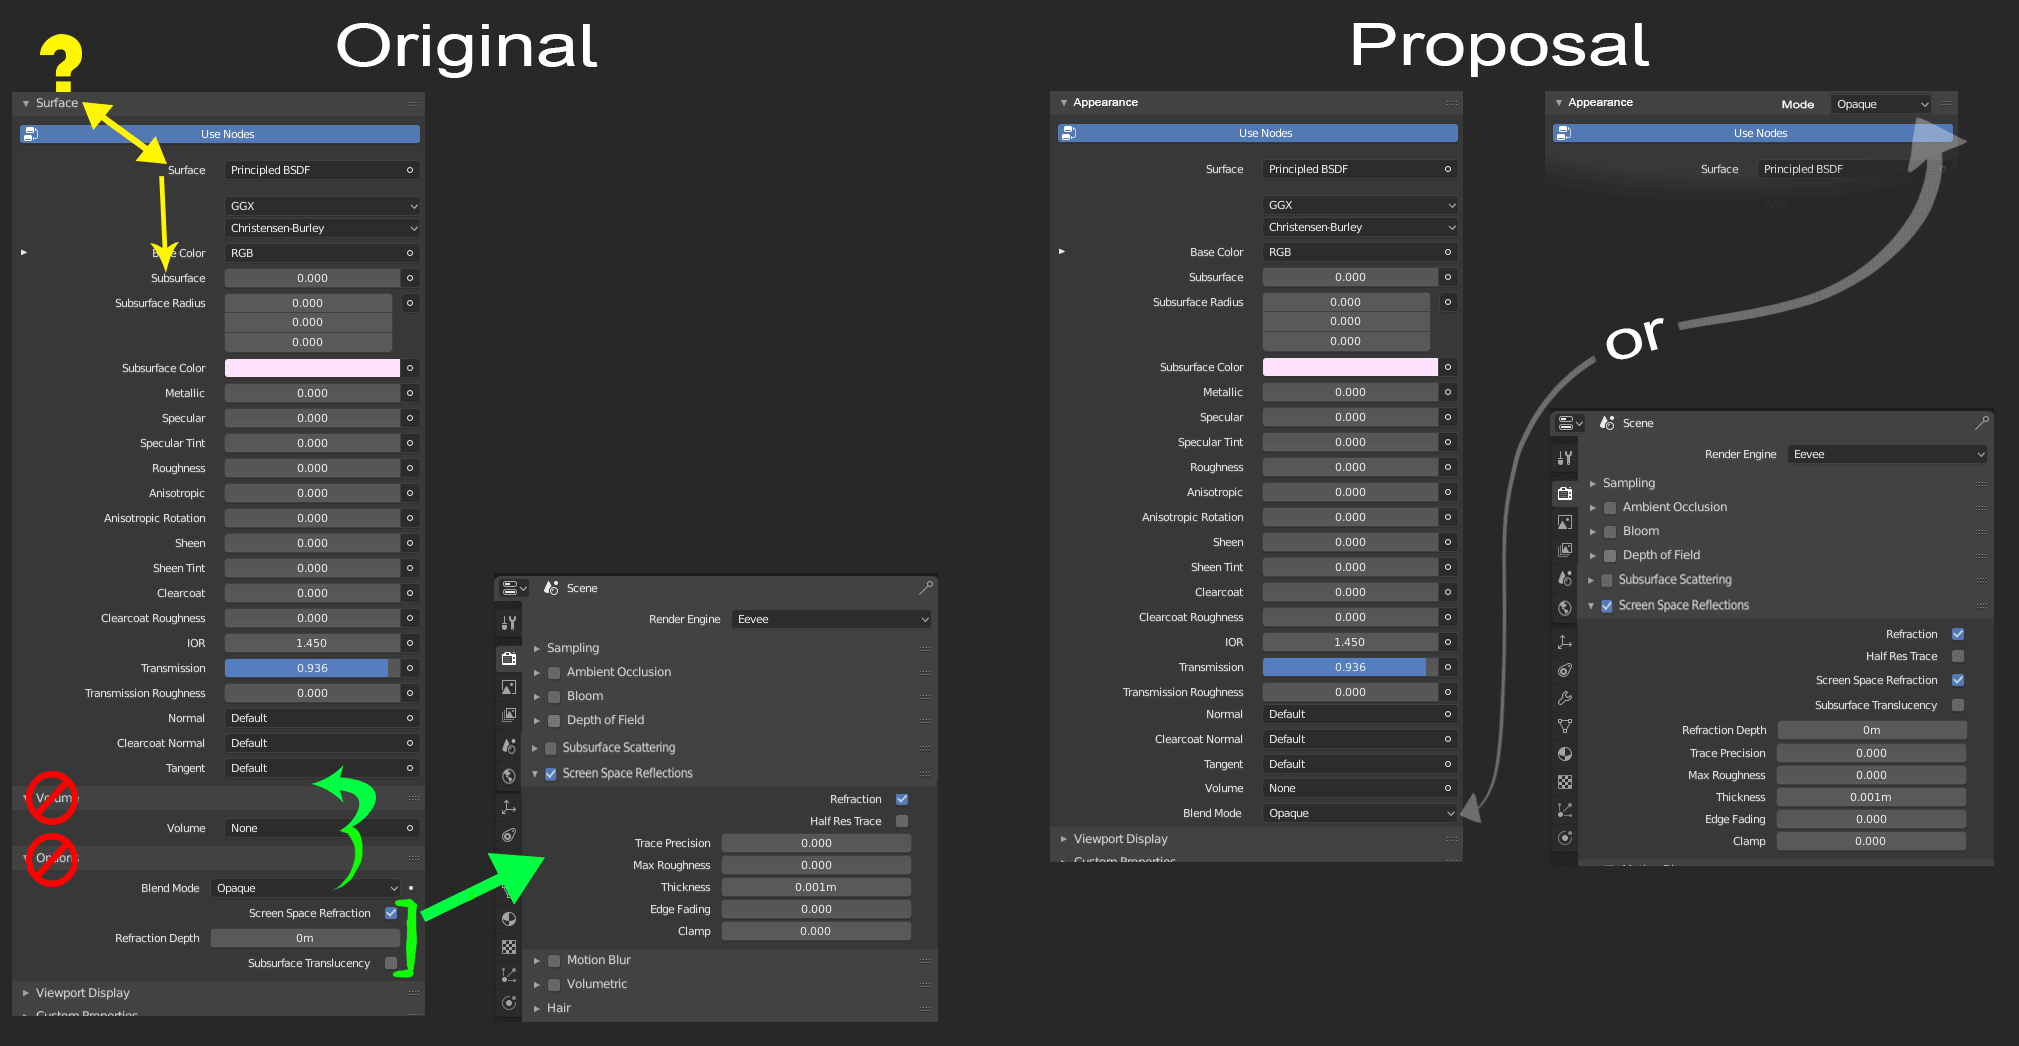
- It is a bit redundant and ironic that this drop down is named Surface when it holds Surface and Subsurface as an option. It might be worth changing the drop-down title to appearance?
- This would let volume join in the drop-down since it is technically the same idea as Subsurface, which makes the thing look cleaner and it is also just kind of strange not being in there since the drop down only shows up when “Use Nodes” is active, being in the surface dropdown.
- I would consider moving Blend Mode to“Surface/Appearance”. Since it affects the entire material, I could see it at the very top, similar to how Photoshop and Substance, but for clean and consistency sake maybe just at the very bottom.
- Finally, I moved Screen Space Refractions (and the following options) under Render tab’s Screen Space Reflections, because it goes hand and hand with the Refractions check box. (This feature just feels hidden under the Options tab because of the name is “Options” is very vague to the point it feels unrelated. Also, it doesn’t belong under the Materials tab in my opinion, because of this aren’t the type of features you would want to have different from material to material, but instead the entire scene to gain performance.)
I know this isn’t the most exciting of proposals but Blender does real-time refractions better than Zbrush, Maya, and Unity so I wanted to polish up this gem so it is a little more accessible for newcomers. Let me know what you think and thanks for reading.
4 Likes
A 100+ object scene opened in 2.8 with all objects disabled in the viewport in the outliner for some reason.
- I found no easy way of selecting all children (“select hierarchy” did nothing).
- Even when I pressed A to select all, no amout of shift, control or alt clicking on the enable button would enable anything but the actual object I was clicking on.
- Control clicking the view icon in the outliner now isolates the object clicked (but not its children), and there’s no obvious easy way to get out of that (control clicking again, like in 2.79, does nothing).
- Control clicking the view icon in 2.79 showed/hid the entire hierarchy, and I found no equivalent shortcut for that in 2.8.
- Shift clicking an object in the outliner and then shift clicking an objects below that should select every object in between (industry standard, but I know, Blender doesn’t care).
3 Likes
I just noticed this when I pressed “,” to try to find the object I had selected in the tree and I couldn’t find it. The ever so slight shift to white on the text is absolutely unusable, when the blue (whatever that thing is) screams at you.
14 Likes
That already exists, with the button to deactivate all overlays. Or only text info in overlays.
Automatically pack the textures into the .blend by default, and a warning in the exit popup if the textures aren’t saved, to me doesn’t even need to have the save image options there but could be good maybe, it’s only that sometimes I close fast and I forget to save that.
3 Likes
Hell NO! Why on Earth??
4 Likes
Could we change the defualt startup file to have the front of the cube facing the camera?
Right now, you’re looking at a side view of the cube.
The amount of files I receive from students and people new to Blender with everything facing to the right is ridiculous. Even some studios give me rotated stuff. 
Anyway, it has always baffled me why this was done.

11 Likes
I suspect he is referring to textures added or modified inside Blender, where it’s very easy to have loss of data if you are not careful. Simply saving your blend file doesn’t save any added bitmap textures, so you must remember to individually save them all before quitting.
4 Likes
Ah ok, in that case, not only I apologize for the reaction, but I also agree! 
2 Likes
I just fixed this!
Another idea I had to make Blender more consistent with this recent change would be to reflect these changes the other object types. For example: curves, bones, metaballs, and all of the other object types so size would be default, and radius would be used for the objects that actually have a radius.
Full list of needed dimension renames
Rename all of the following dimensions from radius to size:
Curves
Curve > Bezier
Curve > Path
Surfaces
Surface > Nurbs Surface
Metaballs
Metaball > Plane
Metaball > Cube
Text
Grease Pencil
Grease Pencil > Blank
Grease Pencil > Stroke
Grease Pencil > Monkey
Armatures
Armature > Bone
Lattice
Empties (Not sure how to best hand this situation, suggestions?)
Empty > Cube (this one does make sense to rename to size)
Lights (Again, not sure on the best approach, radius might be best)
Light Probes
Light Probe > Reflection Cubemap
Light Probe > Reflection Plane
Light Probe > Irradiance Volume
Force Fields (Probably do whatever is done to Empties)
7 Likes
My first instinct when I tried out the new vertical property tabs (which I love) was to try and scroll on them like I used to with the Tool Shelf tabs in 2.79. It would be nice to have that same functionality on these vertical tabs too.
Thanks for looking at our tiny inconveniences!
1 Like
What do you mean exactly? You can also scroll these tabs.
The main strange thing is that this works anywhere, not just in the tab area, and you cannot hold and drag over the tabs to change the active one. These have already been noted though.
Looks like I can scroll through the tabs, but only while holding CTRL, is this intended?